
سير عمل الطباعة بالأشعة فوق البنفسجية: عملية خطوة بخطوة لإنتاج مستقر ومتكرر
لا تقتصر الطباعة بالأشعة فوق البنفسجية على الضغط على زر الطباعة فقط. يتضمن سير العمل المستقر إعداد العمل الفني، وإعداد RIP، وتنظيف المواد، وتحديد موضع الكائن، وضبط الارتفاع، واختبار الفوهة، والتحكم في الحبر الأبيض وطبقة الورنيش، والمعالجة بالأشعة فوق البنفسجية، وفحص الجودة، والصيانة بعد الطباعة. يشرح هذا الدليل العملية الكاملة للطباعة المسطحة بالأشعة فوق البنفسجية ويساعد المشغلين على تقليل الفاقد والعيوب ووقت التوقف عن العمل.
ملخص سير العمل
يحضر
يثبت
مطبعة
فحص
إعداد العمل الفني
قم بإعداد الحجم والدقة والعمل الفني الملون وطبقة الحبر الأبيض وطبقة الورنيش بشكل صحيح.
تحضير المواد
قم بتنظيف السطح والتحقق من استواءه والتأكد من خطورة الالتصاق واستخدام التركيبات عند الحاجة.
التحكم في الطباعة
استخدم وضع التمرير الصحيح، وإعداد الارتفاع، وترتيب طبقة الحبر، وقوة المعالجة بالأشعة فوق البنفسجية.
فحص الجودة
افحص اللون والالتصاق والحبر الأبيض والورنيش والمحاذاة والتكرار قبل إخراج الدفعة.
أساسيات سير العمل
لماذا تحتاج الطباعة بالأشعة فوق البنفسجية إلى سير عمل قياسي
تجمع الطباعة بالأشعة فوق البنفسجية بين الطباعة النافثة للحبر الرقمية والمعالجة بالأشعة فوق البنفسجية ومعالجة المواد والتحكم في الحبر متعدد الطبقات. خطأ صغير في خطوة واحدة يمكن أن يؤثر على النتيجة بأكملها. على سبيل المثال، يمكن أن يتسبب سطح الأكريليك المتسخ في ضعف الالتصاق، ويمكن لطبقة الحبر الأبيض غير الصحيحة أن تجعل الألوان تبدو ضعيفة، ويمكن أن يؤدي ضبط الارتفاع الخاطئ إلى إنشاء حواف غير واضحة أو خطر تصادم رأس الطباعة.
يساعد سير العمل القابل للتكرار المشغلين على الطباعة بشكل أكثر اتساقًا، وتقليل التجربة والخطأ، والتوسع من الطلبات المخصصة الفردية إلى الإنتاج المجمع. سواء كنت تقوم بطباعة حافظات الهاتف، أو اللافتات الأكريليكية، أو العلامات المعدنية، أو الهدايا الخشبية، أو الألواح الزجاجية، أو العناصر الترويجية، فيجب توحيد سير العمل قبل الإنتاج.
قاعدة بسيطة
لا تبدأ الإنتاج حتى يتم فحص ملف التصميم وسطح المادة وارتفاع الجسم وحالة الفوهة وإعدادات RIP ونتائج المعالجة على عينة صغيرة.
سير العمل الرئيسي
استكمال جدول سير عمل الطباعة بالأشعة فوق البنفسجية
استخدم هذا الجدول كنظرة عامة سريعة على عملية الطباعة بالأشعة فوق البنفسجية الكاملة.
| خطوة | مرحلة سير العمل | ما يجب القيام به | لماذا يهم؟ | المخاطر المشتركة |
|---|---|---|---|---|
| 1 | تأكيد المنتج والمواد | التحقق من الحجم والسطح والتسطيح واللون والطلاء واحتياجات التطبيق | يحدد ما إذا كانت الطباعة المسطحة بالأشعة فوق البنفسجية مناسبة أم لا | اختيار عملية خاطئة أو التصاق ضعيف |
| 2 | إعداد العمل الفني | قم بتعيين الحجم الصحيح والدقة والعمل الفني الملون والحبر الأبيض ومناطق الورنيش | يمنع الحجم الخاطئ أو الطبقة البيضاء المفقودة أو الورنيش في غير مكانه | أخطاء الطبقة ومشاكل المحاذاة |
| 3 | قم بتعيين معلمات RIP | اختر وضع المرور وترتيب الطبقات وكثافة الحبر وملف تعريف المادة | يتحكم في الجودة والسرعة واللون والحبر الأبيض والورنيش | لون ضعيف، طبقة خاطئة، إخراج بطيء |
| 4 | تحضير المواد | سطح نظيف، وإزالة الغبار والزيوت وبصمات الأصابع والجسيمات السائبة | يحسن الالتصاق والمظهر النهائي | خدوش الحبر أو عيوب السطح |
| 5 | كائن الموقف | ضع المنتج بدقة واستخدم أدوات الرقص أو التركيبات عند الحاجة | يحسن التكرار ويقلل من المحاذاة الخاطئة | الطباعة أو الحركة خارج المركز |
| 6 | ضبط الارتفاع | تأكد من ارتفاع الكائن ومسافة رأس الطباعة | يحمي رأس الطباعة ويحسن الحدة | طباعة ضبابية أو ضربة رأس الطباعة |
| 7 | تشغيل اختبار الفوهة | تحقق من قنوات CMYK والحبر الأبيض والورنيش قبل الإنتاج | يمنع النطاقات والخطوط المفقودة والدفعات الفاشلة | الطباعة مع الفوهات المسدودة |
| 8 | طباعة العينة | اختبار قطعة واحدة قبل إنتاج الدفعة | يؤكد اللون والالتصاق والمعالجة والمحاذاة | دفعة النفايات من الإعدادات غير المختبرة |
| 9 | إنتاج دفعة | اطبع باستخدام المواضع والإعدادات والفحص الدوري الذي يتم التحكم فيه | يحافظ على اتساق الإخراج | تغير اللون أو العيوب المفقودة |
| 10 | فحص ما بعد الطباعة | فحص الالتصاق والمعالجة والورنيش والحبر الأبيض والتشطيب السطحي | يضمن أن المنتج جاهز للتسليم | شكاوى العملاء أو إعادة العمل |
الخطوة 1
تأكد من المنتج والمواد وطريقة الطباعة
قبل إعداد العمل الفني، تأكد مما إذا كان المنتج مناسبًا للطباعة المسطحة UV المباشرة. عادةً ما تكون المنتجات المسطحة أو المستقرة أو الصلبة أو شبه الصلبة أسهل في الطباعة مباشرة. قد تكون الكائنات المنحنية أو غير المنتظمة أو التي يصعب تحديد موضعها أفضل لطباعة نقل UV DTF.
مناسب جيدًا للأشعة فوق البنفسجية المسطحة
- لوحات وعلامات الاكريليك
- حافظات الهاتف مع الرقص المستقر
- العلامات المعدنية ولوحات الأسماء
- ألواح وألواح خشبية
- قطع من الزجاج المسطح أو السيراميك
قد يناسب الأشعة فوق البنفسجية DTF بشكل أفضل
- الكؤوس والزجاجات
- الأسطح الصلبة المنحنية
- مواد ترويجية غير منتظمة
- يصعب وضع المنتجات على سطح مسطح
- إنتاج الملصقات أو الملصقات الكريستالية
الخطوة 2
قم بإعداد العمل الفني والحجم وطبقات الطباعة
غالبًا ما تتطلب الطباعة بالأشعة فوق البنفسجية أكثر من طبقة عمل فني واحدة. قد تستخدم المهمة الأساسية CMYK فقط. قد تتطلب المواد الشفافة أو الداكنة أو الملونة طبقة حبر بيضاء. قد تتطلب المنتجات المتميزة طبقة ورنيش للحصول على لمعان أو تسليط الضوء أو الملمس المرتفع.
| عنصر العمل الفني | غاية | عند الحاجة | خطأ شائع |
|---|---|---|---|
| طبقة كميك | يقوم بإنشاء الصورة بالألوان الكاملة | جميع وظائف الطباعة بالأشعة فوق البنفسجية تقريبًا | عمل فني منخفض الجودة أو حجم غير صحيح |
| طبقة الحبر الأبيض | يخلق قاعدة سفلية للون قوي | مواد شفافة أو داكنة أو ملونة | نسيان القاعدة البيضاء على المنتجات الشفافة |
| طبقة الورنيش | يضيف لمعانًا أو تأثيرًا موضعيًا أو نسيجًا مرتفعًا | هدايا مميزة، ولافتات، وعناصر العلامات التجارية | الورنيش في غير مكانه أو ترتيب الطبقات بشكل خاطئ |
| قطع / مرجع الموقف | يساعد على محاذاة المنتج والأعمال الفنية | كرر الطلبات، والرقص، وحافظات الهاتف، والعمل الجماعي | العمل الفني لا يتركز على المنتج |
الخطوة 3
قم بتعيين معلمات RIP للون والحبر الأبيض والورنيش ووضع المرور
يقوم برنامج RIP بتحويل العمل الفني إلى بيانات قابلة للطباعة ويتحكم في إخراج الطبقة. بالنسبة للطباعة بالأشعة فوق البنفسجية، تعد إعدادات RIP ذات أهمية خاصة لأن الطابعة قد تحتاج إلى طباعة الحبر الأبيض تحت اللون، أو الورنيش فوق اللون، أو كثافات حبر مختلفة لمواد مختلفة.
نصيحة سير العمل
حفظ إعدادات RIP الناجحة حسب نوع المنتج. على سبيل المثال، احتفظ بإعدادات مسبقة منفصلة للأكريليك الشفاف، وحافظات الهاتف الداكنة، والعلامات المعدنية، والألواح الخشبية.
ترتيب الطبقة
تأكد ما إذا كانت المهمة يجب أن تطبع بالألوان فقط، أو الأبيض مع الألوان، أو الألوان مع الورنيش، أو الأبيض مع الألوان مع الورنيش.
وضع المرور
قد تؤدي أوضاع التمرير الأعلى إلى تحسين الجودة ولكنها تقلل السرعة. قد تؤدي أوضاع التمرير المنخفضة إلى زيادة الإخراج ولكنها قد تظهر نطاقات على بعض المواد.
كثافة الحبر
تؤثر كثافة الحبر على قوة اللون، وعتامة اللون الأبيض، ونتيجة المعالجة، وتشطيب السطح.
ملف تعريف المواد
احفظ الإعدادات التي تم اختبارها للمواد المتكررة مثل الأكريليك وحافظات الهاتف والمعادن والخشب والزجاج.
الخطوة 4
تنظيف وإعداد سطح المادة
يعد إعداد المواد أحد أهم أجزاء سير عمل الطباعة بالأشعة فوق البنفسجية. حتى لو كانت الطابعة والعمل الفني صحيحين، فإن الغبار أو بصمات الأصابع أو الزيت أو بقايا الطلاء أو الأسطح غير المستوية يمكن أن تسبب ضعف الالتصاق أو الخدوش أو اللون الضعيف أو العيوب المرئية.
| مادة | التركيز التحضيري | المخاطر المشتركة |
|---|---|---|
| أكريليك | قم بإزالة الغشاء الواقي بشكل نظيف، وامسح بصمات الأصابع، وتجنب الخدوش | لون ضعيف على الأكريليك الشفاف إذا لم يكن هناك قاعدة سفلية بيضاء |
| زجاج | قم بتنظيف الزيت وبصمات الأصابع والغبار بعناية | التصاق ضعيف على سطح أملس |
| معدن | إزالة الزيت والأكسدة وبقايا السطح | ينخدش الحبر إذا كان السطح ملوثًا |
| خشب | إزالة الغبار والتحقق من استواء السطح | صورة غير متساوية على سطح خشن أو مسامي |
| حالات الهاتف | تحقق من الطلاء، وسطح نظيف، واستخدم رقصة ثابتة | اختلافات المحاذاة أو الالتصاق حسب نوع الحالة |
الخطوة 5
ضع المنتج واستخدم التركيبات عند الحاجة
يؤثر تحديد موضع المنتج على جودة القطعة الواحدة وكفاءة الدفعة. بالنسبة للمطبوعات لمرة واحدة، قد يكون الوضع اليدوي الدقيق كافيًا. بالنسبة للمنتجات المتكررة مثل حافظات الهاتف، أو لوحات الأسماء، أو قطع الأكريليك الصغيرة، أو الهدايا، يمكن أن تعمل أدوات الرقص والقوالب على تحسين السرعة والاتساق بشكل كبير.
التنسيب اليدوي
مناسبة للعينات أو المنتجات لمرة واحدة مع متطلبات تحديد المواقع البسيطة.
تحديد المواقع الرقصة
مفيد لحالات الهاتف والعلامات والملحقات والمنتجات التي تتكرر على دفعات.
سير عمل القالب
يساعد المشغلين على محاذاة الأعمال الفنية والمنتجات بسرعة أثناء الإنتاج المتكرر.
نصيحة الإنتاج
إذا كنت تخطط لبيع نفس المنتج بشكل متكرر، فقم بإنشاء سير عمل لتحديد المواقع بشكل ثابت. يمكن أن تؤدي الرقصة الجيدة إلى تقليل الأخطاء وتحسين سرعة الإخراج وتسهيل تدريب المشغلين الجدد.
الخطوة 6
اضبط ارتفاع الطباعة وقم بحماية رأس الطباعة
يعد ارتفاع الطباعة الصحيح أمرًا بالغ الأهمية في الطباعة المسطحة بالأشعة فوق البنفسجية. إذا كان رأس الطباعة بعيدًا جدًا عن السطح، فقد تبدو الطباعة ضبابية أو مظللة. إذا كان الجسم مرتفعًا للغاية أو غير مستقر، فقد يصطدم رأس الطباعة بالمنتج أو الجهاز أو الحطام الموجود على المنصة.
مخاطر الارتفاع الخاطئ
- حواف ضبابية أو تفاصيل صورة ناعمة
- صورة مزدوجة أو تأثير الظل
- وضع الحبر غير المتكافئ
- اصطدام رأس الطباعة أو تلفه
قائمة مراجعة المشغل
- قياس أو تأكيد ارتفاع الكائن.
- تحقق مما إذا كان سطح المنتج مسطحًا.
- إزالة كافة الحطام من المنصة.
- استخدم تركيبات ثابتة للمنتجات المتكررة.
الخطوة 7
قم بإجراء اختبار الفوهة قبل الإنتاج
يعد اختبار الفوهة أحد أبسط الطرق لمنع إهدار المواد. يوضح ما إذا كانت قنوات CMYK والحبر الأبيض والورنيش يتم إخراجها بشكل صحيح. إذا تم كسر نمط الفوهة، فلا تبدأ الإنتاج دفعة واحدة.
| نتيجة اختبار الفوهة | ماذا قد يعني | الإجراء الموصى به |
|---|---|---|
| نمط كامل | تبدو قنوات الحبر مستقرة | انتقل إلى طباعة العينات |
| خطوط CMYK مفقودة | احتمالية انسداد الفوهة أو تدفق الحبر غير المستقر | اتبع روتين التنظيف قبل الطباعة |
| الخطوط البيضاء المفقودة | رواسب الحبر الأبيض أو انسداده أو مشكلة في الدورة الدموية | تحقق من نظام الحبر الأبيض وإخراج الفوهة |
| إخراج الورنيش غير متساوي | مشكلة في فوهة الورنيش أو طبقة الإخراج | تحقق من قناة الورنيش قبل الوظائف المتميزة |
الخطوة 8
اطبع عينة قبل إنتاج الدفعة
طباعة العينات هي الجسر بين الإعداد والإنتاج. تؤكد العينة أن العمل الفني والطبقات وإعداد المواد والارتفاع والمعالجة وجودة الإخراج صحيحة. تعتبر هذه الخطوة مهمة بشكل خاص عند الطباعة على مادة جديدة أو باستخدام الحبر الأبيض والورنيش.
ما يجب فحصه
- موضع العمل الفني وحجمه
- قوة اللون ودقته
- تغطية الحبر الأبيض
- لمعان الورنيش أو الملمس
- التصاق وعلاج النتيجة
متى يتم إعادة الاختبار
- مادة جديدة أو دفعة المورد
- عمل فني جديد أو وضع طبقة
- تأثير الورنيش الجديد
- بعد الصيانة أو فترة الخمول الطويلة
- قبل طلبات العملاء الكبيرة
الخطوة 9
قم بتشغيل إنتاج الدُفعات باستخدام الفحوصات الدورية
بعد الموافقة على العينة، يمكن أن يستمر الإنتاج. ومع ذلك، يجب على المشغلين مراقبة الإخراج أثناء العمل المجمع. يمكن أن تظهر مشكلات الطباعة بالأشعة فوق البنفسجية تدريجيًا بسبب حالة الفوهة، أو اختلاف المواد، أو تدفق الحبر، أو بقايا المنصة، أو تعامل المشغل.
| نقطة تفتيش دفعة | ما يجب مراقبته | لماذا يهم؟ |
|---|---|---|
| القطعة النهائية الأولى | الموضع، اللون، الحبر الأبيض، الورنيش، المعالجة | يكتشف أخطاء الإعداد قبل الدفعة الكاملة |
| كل قطع قليلة | تناسق الألوان والخطوط المتعلقة بالفوهة | يمنع العيوب الخفية من الانتشار |
| تحميل المواد | التنسيب، الارتفاع، الغبار، حالة المباراة | يحافظ على التكرار وسلامة رأس الطباعة |
| نتيجة المعالجة | صلابة السطح واللمعان ومقاومة الخدش | يؤكد جودة المنتج النهائي |
الخطوة 10
فحص ما بعد الطباعة والتشطيب
بعد الطباعة، قم بفحص المنتج النهائي قبل التعبئة أو التسليم. يمكن أن تبدو الطباعة بالأشعة فوق البنفسجية جيدة على الفور، ولكن لا يزال يتعين فحص المنتج للتأكد من الالتصاق والمعالجة والمحاذاة واللون والانتهاء من السطح.
فحص بصري
وقف الإنتاج الكامل وتجنب إهدار المزيد من الفراغات.
فحص السطح
تحقق مما إذا كان الحبر معالجًا أو ناعمًا أو لامعًا أو مزخرفًا أو مرتفعًا حسب الحاجة.
فحص الالتصاق
اختبار حالة الاستخدام الدقيقة قبل بيع أو تسليم نوع منتج جديد.
بعد الطباعة
قم بتنظيف الطابعة وصيانتها بعد الإنتاج
لا ينتهي سير العمل عند انتهاء الطباعة. تعمل صيانة ما بعد الطباعة على حماية الجهاز للمهمة التالية. هذا مهم بشكل خاص للطابعات التي تستخدم الحبر الأبيض والورنيش.
| مهمة ما بعد الطباعة | غاية | مشكلة يمنع |
|---|---|---|
| تنظيف المنصة | قم بإزالة الغبار والبقايا والقصاصات والأجزاء السائبة | أخطاء تحديد المواقع ومخاطر تصادم رأس الطباعة |
| تحقق من منطقة السد | تأكد من حماية رأس الطباعة أثناء وقت الخمول | تجفيف الفوهة وإعادة التشغيل الصعبة |
| تحقق من نفايات الحبر | منع الفائض والتلوث | عملية تنظيف فوضوية واسترداد غير مستقر |
| حفظ الإعدادات الناجحة | إنشاء إعدادات مسبقة للإنتاج قابلة للتكرار | دفعات مستقبلية غير متناسقة |
سير عمل التطبيق
سير عمل الطباعة بالأشعة فوق البنفسجية حسب نوع المنتج
تحتاج المنتجات المختلفة إلى تركيز مختلف على سير العمل. يساعد الجدول أدناه المشغلين على التركيز على أهم نقاط التحكم.
| نوع المنتج | التركيز الرئيسي على سير العمل | المخاطر الرئيسية | الدليل الموصى به |
|---|---|---|---|
| حالات الهاتف | تحديد موضع الرقصة، والتكرار، وتنظيف السطح | اختلافات المحاذاة والالتصاق | دليل المواد |
| أكريليك شفاف | الحبر الأبيض underbase ونظافة السطح | لون ضعيف بدون حبر أبيض | دليل الحبر للأشعة فوق البنفسجية |
| العلامات المعدنية | إزالة الزيت، اختبار الالتصاق، فحص المعالجة | خدوش الحبر | دليل استكشاف الأخطاء وإصلاحها |
| الهدايا الخشبية | إزالة الغبار، التسطيح، التحكم في الملمس | إخراج خشن أو غير متساوٍ | دليل المواد |
| علامات قسط | الحبر الأبيض، الورنيش، التحكم في الطبقة، الفحص النهائي | الورنيش في غير محله أو لمعان ضعيف | دليل الحبر للأشعة فوق البنفسجية |
الأخطاء الشائعة
أخطاء سير عمل الطباعة بالأشعة فوق البنفسجية التي يجب تجنبها
تخطي اختبار الفوهة
يمكن أن يؤدي بدء الإنتاج بفوهات مفقودة إلى ظهور خطوط، وحبر أبيض ضعيف، وفشل الورنيش، وإهدار المواد.
الطباعة دون تنظيف المواد
يعد الغبار والزيت وبصمات الأصابع من الأسباب الشائعة لضعف الالتصاق والعيوب السطحية المرئية.
تجاهل التحكم في الارتفاع
يمكن أن يؤدي الارتفاع الخاطئ للكائن إلى ظهور نتائج غير واضحة أو خطر تصادم رأس الطباعة.
استخدام إعداد واحد لكل مادة
قد تتطلب حافظات الأكريليك والزجاج والمعادن والخشب والبلاستيك والهواتف إعدادات RIP وخطوات تحضير مختلفة.
مسار نموذج EraSmart
ما هو تكوين طابعة UV الذي يجب عليك مراعاته؟
عند مقارنة طابعات EraSmart UV، ضع في اعتبارك المواد المستهدفة، وما إذا كنت بحاجة إلى حبر أبيض، وما إذا كانت تأثيرات الورنيش جزءًا من قيمة منتجك، وحجم الطباعة الذي تتطلبه منتجاتك.

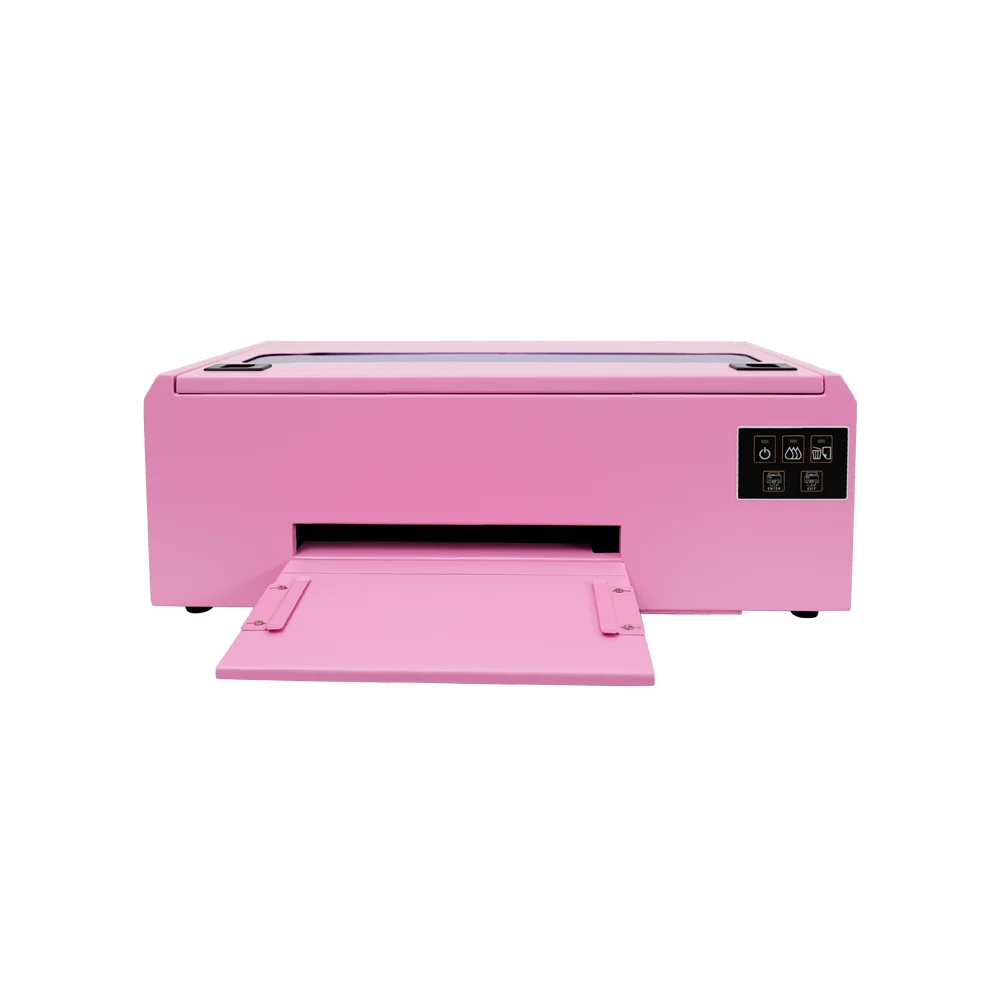
خيار عملي لحافظات الهواتف والملحقات ومنتجات الأكريليك الصغيرة وسير عمل تخصيص الهدايا.

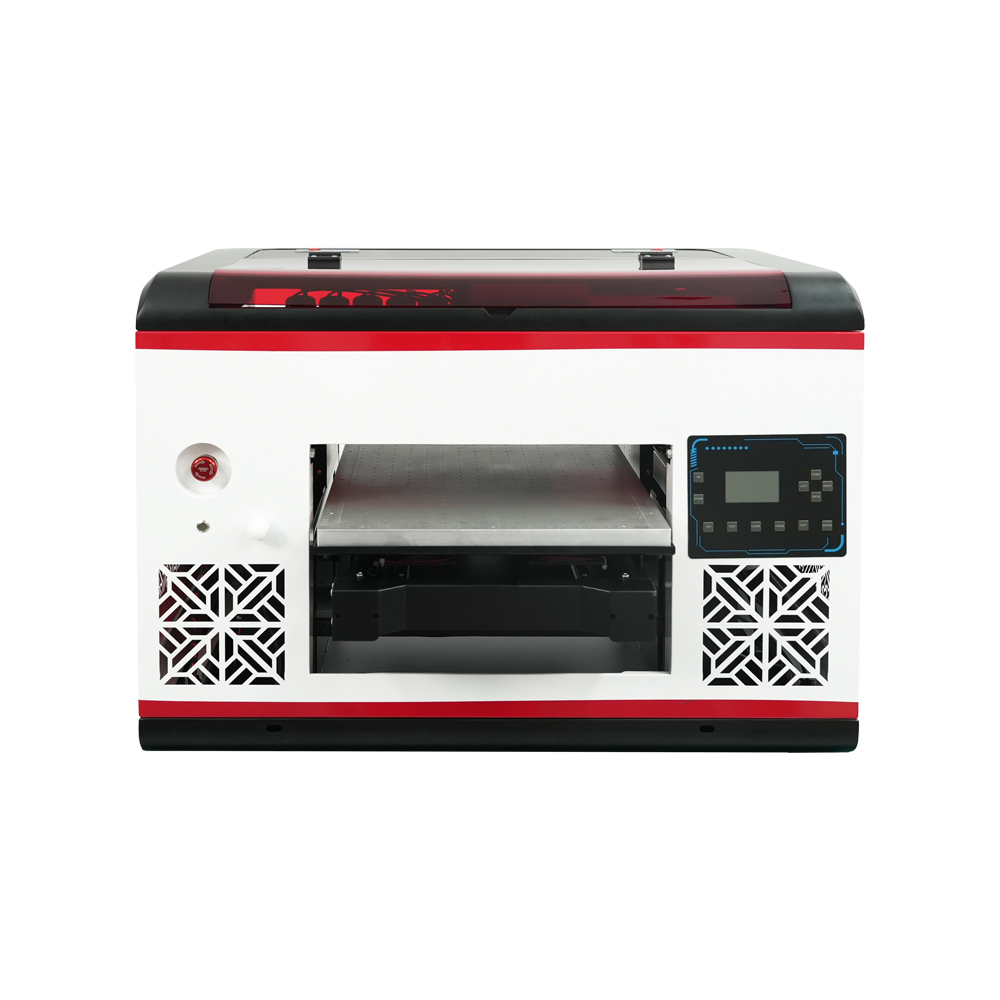
مناسبة للمستخدمين الذين يحتاجون إلى مساحة مسطحة أكبر وتغطية مادية أوسع.

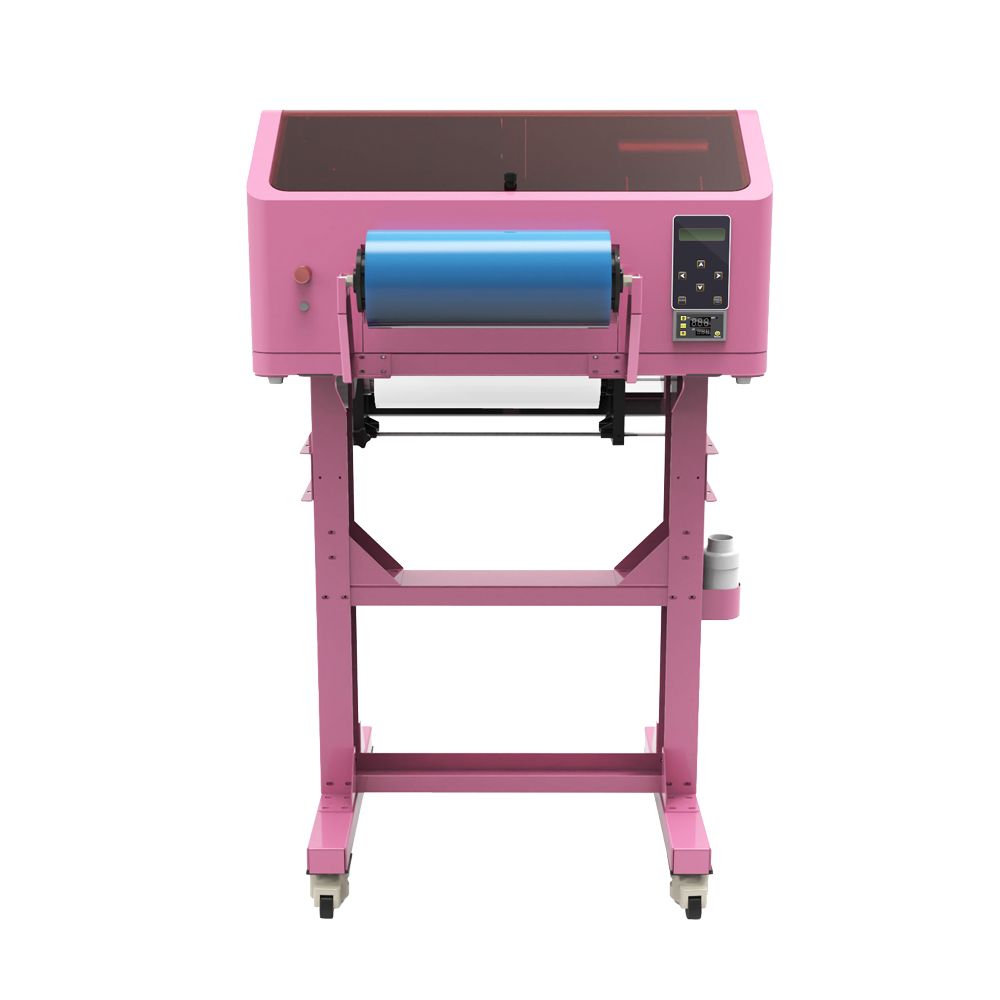
أفضل لشارات الأشعة فوق البنفسجية DTF، ولفائف الأكواب، والملصقات، والزجاجات، وتطبيقات النقل على الأسطح الصلبة.

مناسب بشكل أفضل للوحات واللافتات واللوحات الكبيرة وفرق الإنتاج التي تحتاج إلى مساحة أكبر للمنصة.
الأسئلة الشائعة حول سير عمل الطباعة بالأشعة فوق البنفسجية
-
1. ما هو سير العمل الأساسي للطباعة بالأشعة فوق البنفسجية؟
يتضمن سير العمل الأساسي للطباعة بالأشعة فوق البنفسجية إعداد العمل الفني، وإعداد RIP، وتنظيف المواد، وتحديد موضع الكائن، وضبط الارتفاع، واختبار الفوهة، وطباعة العينات، والمعالجة بالأشعة فوق البنفسجية، والفحص، وصيانة ما بعد الطباعة.
-
2. هل أحتاج إلى إجراء اختبار الفوهة قبل كل مهمة طباعة بالأشعة فوق البنفسجية؟
نعم. يساعد اختبار الفوهة على منع ظهور النطاقات والخطوط المفقودة والحبر الأبيض الضعيف وفشل إنتاج الورنيش قبل إهدار المواد في الإنتاج.
-
3. ما أهمية الحبر الأبيض في سير العمل؟
يعد الحبر الأبيض مهمًا للمواد الشفافة والداكنة والملونة. إنه ينشئ قاعدة سفلية تساعد ألوان CMYK على أن تبدو أقوى وأكثر دقة.
-
4. متى يجب علي استخدام الورنيش في الطباعة بالأشعة فوق البنفسجية؟
استخدم الورنيش عندما يحتاج المنتج إلى لمعان أو طلاء موضعي أو نسيج مرتفع أو تأثير سطحي متميز. الورنيش شائع في اللافتات والهدايا واللوحات الزخرفية ومنتجات العلامات التجارية.
-
5. لماذا يجب علي طباعة عينة أولاً؟
تؤكد العينة حجم العمل الفني، وإعداد المواد، وترتيب الطبقات، والارتفاع، والمعالجة، واللون، والحبر الأبيض، والورنيش، والالتصاق قبل إنتاج الدفعة.
-
6. كيف يمكنني تحسين التكرار في الطباعة بالأشعة فوق البنفسجية؟
استخدم أدوات الرقص والقوالب وإعدادات RIP المسبقة المحفوظة والإعدادات الخاصة بالمواد وإجراءات التنظيف المتسقة وفحوصات الجودة المنتظمة.
-
7. ما الذي يسبب معظم مشاكل سير عمل الطباعة بالأشعة فوق البنفسجية؟
تشمل الأسباب الشائعة تخطي عمليات فحص الفوهات، وأسطح المواد المتسخة، والارتفاع غير الصحيح، وإعدادات RIP الخاطئة، وصيانة الحبر الأبيض الضعيفة، والمواد غير المختبرة.
-
8. هل الأشعة فوق البنفسجية DTF هي نفس سير العمل مثل الطباعة المسطحة بالأشعة فوق البنفسجية؟
لا، فالطباعة المسطحة بالأشعة فوق البنفسجية تطبع مباشرة على المنتج، بينما تقوم الطباعة بالأشعة فوق البنفسجية DTF بإنشاء ملصقات النقل. يتطلب UV DTF فيلم A/B وسير عمل النقل بدلاً من تحديد الموضع المسطح المباشر.
سلسلة طابعات EraSmart
High-quality UV Printers for metal, acrylic, glass, wood & more. Instant curing, vivid 1440dpi prints, versatile for diverse materials.
اطبع ملصقات بارزة ونابضة بالحياة باستخدام **CMYK + White + Varnish** بتمريرة واحدة. لا مسحوق. لا يوجد فرن. قشر والصق على العناصر المسطحة أو المنحنية في دقائق.
لم تتمكن من العثور على دليل مناسب؟ احصل على الدعم الفني المجاني الآن!
ما عليك سوى تقديم بعض التفاصيل وسنساعدك في الحصول على عروض أسعار سريعة!
طابعة Erasmart
طابعة الأشعة فوق البنفسجية
طابعة DTF
طابعة DTG
آلة الصحافة الحرارية
طابعة الإعلان
أدوات الطابعة
DTF الفرن
الصحافة الساخنة
آلة نحت
نقل الحرارة القدح
آلة التصفيح
المواد الاستهلاكية
طباعة الحبر
حالة الهاتف المحمول
منتج زجاجي
سائل التنظيف
مسحة القطن
اتصل بنا
WhatsApp : +8618566233796
WeChat : +8618566233796
Mobile : +8618566233796
الويب :www.erasmart.com
محل:www.erasmartmall.com
راسلنا على الواتساب
downlond
أترك لك البريد الإلكتروني وأرسل عنوان URL للتنزيل إلى البريد الإلكتروني.
هل تحتاج إلى سعر الطابعة؟
أخبرنا باحتياجات الطباعة الخاصة بك. سيقوم فريقنا بالرد خلال 24 ساعة.
اطلب عرض أسعار
ما عليك سوى تقديم بعض التفاصيل وسنساعدك في الحصول على عروض أسعار سريعة!