
UV Yazıcı Sorun Giderme Kılavuzu: Yaygın Sorunlar, Nedenleri ve Çözümleri
UV yazıcı sorunları genellikle küçük bir grup nedenden kaynaklanır: püskürtme ucu durumu, beyaz mürekkebin stabilitesi, malzeme hazırlığı, baskı yüksekliği, RIP katman ayarları, UV kürleme ve bakım alışkanlıkları. Bu kılavuz, operatörlerin yaygın belirtileri teşhis etmesine ve malzemeleri israf etmeden veya yazıcı kafasının hasar görmesi riskine girmeden önce ilk olarak neyi kontrol etmesi gerektiğine karar vermesine yardımcı olur.
Sorun Giderme Öncelikleri
İlk Kontrol
İkinci Kontrol
Üçüncü Kontrol
Son Kontrol
Memeyi kontrol edin
Şeritlenme, eksik çizgiler, zayıf beyaz mürekkep ve düzgün olmayan vernik genellikle püskürtme ucu sorunlarıyla başlar.
Malzemeyi Kontrol Edin
Zayıf yapışma, çizikler ve bulanık çıktılar genellikle yüzey veya yükseklik sorunlarından kaynaklanır.
RIP'yi kontrol edin
Yanlış beyaz mürekkep, vernik, geçiş modu veya renk profili önlenebilir kusurlar yaratabilir.
Bakımı Kontrol Edin
Atlanan temizlik, yetersiz kapaklama ve uzun boşta kalma süreleri birçok tekrar eden soruna neden olur.
Sorun Giderme Temelleri
Sorun Gidermeye Tahminle Değil Belirtiyle Başlayın
UV yazıcı sorunu karmaşık görünebilir ancak çoğu sorun, belirtilerin sırayla kontrol edilmesiyle daraltılabilir. Örneğin şeritlenme genellikle püskürtme ucu durumuna, mürekkep akışına veya geçiş ayarlarına işaret eder. Kötü yapışma genellikle malzeme yüzeyine, temizliğe, kürlenmeye veya mürekkep uyumluluğuna işaret eder. Zayıf beyaz mürekkep genellikle beyaz mürekkep sirkülasyonuna, tortuya, püskürtme ucu durumuna veya RIP katmanı ayarlarına işaret eder.
Önemli olan rastgele ayarlamalardan kaçınmaktır. Her seferinde bir alanı kontrol edin, nelerin değiştiğini kaydedin ve tam üretime dönmeden önce küçük bir numuneyle test edin. Bu, israf edilen malzemeleri azaltır ve yazıcı kafasını korur.
Basit Teşhis Kuralı
Sorun püskürtme ucu testinde ortaya çıkarsa mürekkep sistemi ve yazıcı kafasıyla başlayın. Nozül testi normalse ancak ürün başarısız olursa malzeme hazırlamayı, yüksekliği, RIP ayarlarını ve kürlemeyi kontrol edin.
Hızlı Teşhis
UV Yazıcı Sorunları: Belirtiler, Nedenleri ve İlk Kontroller
Görünür bir sorunu ilk önce incelenmesi en muhtemel alanla hızlı bir şekilde ilişkilendirmek için bu tabloyu kullanın.
| Sorun | Yaygın Belirtiler | Muhtemel Neden | Önce Kontrol Et | İlgili Kılavuz |
|---|---|---|---|---|
| Meme tıkanması | Eksik çizgiler, kırık püskürtme ucu düzeni, zayıf kanal çıkışı | Kurumuş mürekkep, zayıf kapaklama, beyaz mürekkep tortusu, uzun boşta kalma süresi | Nozül testi, kapak kapatma istasyonu, temizleme rutini | Bakım Kılavuzu |
| Bantlanma | Yatay çizgiler, eşit olmayan renkler, eksik geçişler | Püskürtme ucu kaybı, geçiş ayarı, medya hareketi, mürekkep akışı | Nozül deseni ve geçiş modu | Bakım Kılavuzu |
| Kötü yapışma | Mürekkep çiziliyor, soyuluyor veya iyi yapışmıyor | Kirli yüzey, uyumsuz kaplama, zayıf kürlenme, yanlış malzeme | Yüzey temizleme ve kürleme ayarları | Malzeme Rehberi |
| Zayıf beyaz mürekkep | Beyaz katman ince, düzensiz veya şeffaf görünüyor | Tortu, sirkülasyon sorunu, tıkalı nozul, yanlış katman ayarı | Beyaz mürekkep sistemi ve RIP beyaz katman | UV Mürekkep Kılavuzu |
| Vernik sorunu | Parlak değil, düzgün olmayan doku, yanlış yerleştirilmiş vernik | Katman ayarı, kürleme gücü, nozül çıkışı, yüzey durumu | Vernik katmanı ve püskürtme ucu deseni | UV Mürekkep Kılavuzu |
| Bulanık baskı | Yumuşak kenarlar, gölgelenme, net olmayan ayrıntılar | Yanlış yükseklik, dengesiz nesne, hizalama sorunu | Nesne yüksekliği ve platform stabilitesi | İş Akışı Kılavuzu |
| Renk uyuşmazlığı | Çıktı dosyayla veya önceki grupla eşleşmiyor | ICC ayarı, geçiş modu, mürekkep durumu, malzeme değişimi | RIP profili ve malzeme ayarları | UV Mürekkep Kılavuzu |
| Mürekkep kurumuyor | Yüzey yumuşak, yapışkan veya kolayca çiziliyor gibi geliyor | Zayıf UV kürleme, yanlış hız, malzeme sorunu, kalın mürekkep katmanı | UV lambası ve kürleme ayarları | Bakım Kılavuzu |
Sorun 1
UV Yazıcı Nozulu Tıkanması veya Eksik Çizgiler
Nozul tıkanması en yaygın UV yazıcı sorunlarından biridir. Püskürtme ucu testinde eksik çizgiler, bozuk renkli çıktı, zayıf beyaz mürekkep veya bitmiş baskılarda şeritlenme gibi görünebilir. Beyaz mürekkep kanalları genellikle ekstra dikkat gerektirir çünkü beyaz pigment renkli mürekkebe göre daha kolay yerleşebilir.
Olası Nedenler
- Yazıcı doğru hazırlık yapılmadan boşta kaldı.
- Kapak kapatma istasyonu yazıcı kafasını düzgün şekilde kapatmadı.
- Beyaz mürekkep dolaşımı veya karıştırma yetersizdi.
- Günlük nozül kontrolleri ve temizliği atlandı.
- Püskürtme ucu çevresinde mürekkep kalıntısı birikmiş.
İlk Olarak Kontrol Edilmesi Gerekenler
- Bir püskürtme ucu testi çalıştırın ve hangi kanalın eksik olduğunu belirleyin.
- Kapatma istasyonunu, sileceği ve görünür kalıntıları inceleyin.
- Mürekkep sisteminin normal şekilde dolaşıp dolaşmadığını kontrol edin.
- Önerilen temizleme işlemini kademeli olarak gerçekleştirin.
- Temel kontrollerden önce agresif temizliğe atlamayın.
Operatör Uyarısı
Meme düzeni bozulduğunda tam üretime devam etmeyin. Eksik püskürtme uçları ile yazdırmak malzeme israfına neden olabilir ve sorunun daha sonra teşhis edilmesini zorlaştırabilir.
Sorun 2
Şeritlenme, Yatay Çizgiler veya Düzensiz Renk
Şeritlenme, baskı boyunca görünür çizgiler veya eşit olmayan yoğunluk şeklinde görünüyor. Bunun nedeni püskürtme ucu kaybı, dengesiz mürekkep akışı, yanlış geçiş modu, zayıf hizalama veya yazdırma sırasında malzemenin hareket etmesi olabilir.
| Alanı Kontrol Et | Neden Önemlidir? | Pratik Eylem |
|---|---|---|
| Nozul Deseni | Eksik nozullar genellikle gözle görülür bant oluşumuna neden olur | Diğer ayarları değiştirmeden önce püskürtme ucu testi yapın |
| Geçiş Modu | Düşük geçiş ayarları bazı işlerde daha fazla satır gösterebilir | Karşılaştırma için daha yüksek kalite modunu test edin |
| Mürekkep Akışı | Dengesiz mürekkep beslemesi yoğunluk değişimi yaratabilir | Mürekkep düzeyini, mürekkep yolunu ve kanal çıkışını kontrol edin |
| Malzeme Kararlılığı | Yazdırma sırasındaki hareket, tekrarlanan çizgi kusurlarına neden olur | Sabit fikstürler, mastarlar veya daha iyi yerleştirme kullanın |
Sorun 3
Zayıf Yapışma: Mürekkep Çiziliyor veya Soyuluyor
Zayıf yapışma genellikle mürekkebin malzeme yüzeyine düzgün şekilde bağlanmadığı anlamına gelir. Bu, camda, metalde, bazı plastiklerde, kaplamalı ürünlerde ve yağ, toz veya yüzey kirliliği olan malzemelerde meydana gelebilir.
Önerilen Test
Seri üretimden önce, tam malzeme üzerine küçük bir numune yazdırın, yüzeyi üretimde yaptığınız gibi temizleyin, istenen ayarda sertleştirin ve baskı tamamen yerleştikten sonra yapışmayı test edin.
Yüzey Temizleme
Parmak izleri, yağ, toz ve kaplama kalıntıları kalıcı yapışmayı engelleyebilir
Malzeme Uyumluluğu
Farklı plastikler, metaller ve cam yüzeyler farklı davranabilir.
UV Kürleme
Yetersiz kürleme veya yanlış kürleme ayarları mürekkebi zayıflatabilir veya çizilmeye karşı hassas bırakabilir.
Sorun 4
Beyaz Mürekkep Sorunları: Zayıf, Düzensiz veya Eksik Beyaz Katman
Beyaz mürekkep şeffaf, koyu ve renkli malzemeler için kritik öneme sahiptir. Beyaz katman zayıf veya düzensiz olduğunda son baskı donuk, şeffaf veya tutarsız görünebilir. Beyaz mürekkep sorunları hem donanım bakımından hem de RIP katmanı ayarlarından kaynaklanabilir.
| Belirti | Olası Neden | Neler Kontrol Edilmeli? |
|---|---|---|
| Beyaz katman ince görünüyor | Zayıf beyaz çıktı veya yanlış mürekkep yoğunluğu | Beyaz püskürtme ucu testi ve RIP beyaz mürekkep ayarı |
| Beyaz katman düzensiz | Pigment tortusu veya kararsız dolaşım | Beyaz mürekkep dolaşımı, karıştırma ve çıktı modeli |
| Şeffaf akrilik üzerinde renk zayıf görünüyor | Beyaz alt taban veya yanlış katman sırası yok | RIP yazılımında beyaz taban altı kurulumu |
| Beyaz çizgiler eksik | Beyaz püskürtme ucu tıkanması veya mürekkep akışı sorunu | Püskürtme ucu testi, kapatma istasyonu, beyaz mürekkep yolu |
Sorun 5
Vernik Sorunları: Parlak Değil, Düzensiz veya Yanlış Yerleştirilmiş
Vernik parlaklık, spot kaplama, yükseltilmiş doku ve birinci sınıf yüzey efektleri için kullanılır. Vernik sonucu zayıf veya tutarsız olduğunda hem vernik çıkış kanalını hem de RIP katmanı ayarlarını kontrol edin.
Vernik Parlak Değilse
Vernik katmanının kalınlığını, kürlenme gücünü, yüzey temizliğini ve baskı modunun istenen son işlem için uygun olup olmadığını kontrol edin.
Vernik Yanlış Yerleştirilirse
Resim hizalamasını, RIP katmanı kurulumunu, kaydını ve vernik dosyasının renkli resimle doğru şekilde eşleşip eşleşmediğini kontrol edin.
Vernik Düzensiz ise
Yazdırma sırasında püskürtme ucu durumunu, mürekkep çıkışını, malzemenin düzlüğünü ve nesne yüzeyinin sabit olup olmadığını kontrol edin.
Yükseltilmiş Etki Çok Zayıfsa
Katman oluşturma ayarlarını, geçiş modunu, vernik yoğunluğunu ve hedef efekt için birden fazla vernik geçişinin gerekli olup olmadığını kontrol edin.
Sorun 6
Bulanık Baskılar, Çift Görüntüler veya Yanlış Hizalama
Bulanık çıktı genellikle yazdırma yüksekliği, nesne hareketi, platform stabilitesi veya hizalama ayarlarıyla ilgilidir. UV düz yataklı baskı, nesnenin doğru bir şekilde yerleştirilmesini ve baskı sırasında sabit tutulmasını gerektirir.
| Belirti | Muhtemel Neden | Yönü Sabitle |
|---|---|---|
| Yumuşak kenarlar | Yazıcı kafası yüksekliği yüzeyden çok uzakta | Nesne yüksekliğini ve yazdırma mesafesini yeniden kontrol edin |
| Çift görüntü veya gölge | Çift yönlü hizalama veya platform hareketi | Hizalamayı ve nesne stabilitesini kontrol edin |
| Sanat eseri ortalanmamış | Yanlış konumlandırma veya jig kurulumu | Şablonları, mastarları ve konumlandırma işaretlerini kullanın |
| Ürün genelinde eşit olmayan ayrıntılar | Yüzey düz değil veya nesne kalınlığı değişiklik gösteriyor | Yüzey düzlüğünü ve fikstür desteğini test edin |
Sorun 7
Mürekkep Kürlenmiyor, Yapışkan Yüzey veya Kolay Çiziliyor
UV mürekkebi, yazdırma sırasında UV ışığı altında kürlenmelidir. Baskı yumuşak, yapışkan veya çizilmesi kolaysa sorun UV lamba performansı, kürlenme gücü, baskı hızı, mürekkep kalınlığı veya malzeme uyumluluğuyla ilgili olabilir.
UV Lambası
Sertleştirmenin tutarlı kalıp kalmadığını ve lamba çıkışının işe uygun olup olmadığını kontrol edin.
Yazdırma Modu
Yüksek mürekkep yoğunluğu veya kalın vernik katmanları farklı kürleme ayarları gerektirebilir.
Malzeme Yüzeyi
Bazı kaplamalı malzemeler veya plastiklerin üretimden önce ek testlere ihtiyacı olabilir.
Yapışmayı Çok Erken Yargılamayın
Bazı ürünler baskı oturduktan sonra değerlendirilmelidir. Ticari siparişler için, yalnızca baskıdan hemen sonraki görünümü değil, tam kullanım durumunu da test edin.
Sorun 8
Renk Uyuşmazlığı veya Tutarsız Çıktı
Renk tutarsızlığı RIP ayarlarından, ICC profillerinden, geçiş modundan, mürekkep durumundan, beyaz mürekkep alt tabanından, malzeme renginden veya operatör iş akışından kaynaklanabilir. Aynı tasarım akrilik, cam, metal, ahşap ve plastik üzerinde farklı görünebilir çünkü her malzeme ışığı farklı şekilde yansıtır.
| Renk Sorunu | Muhtemel Neden | Önce Kontrol Et |
|---|---|---|
| Renk başka bir malzemede farklı görünüyor | Malzeme yüzeyi ve arka plan rengi değiştirildi | Malzeme profili, beyaz mürekkepli alt taban, yüzey tipi |
| Partiler arasında renk değişti | Farklı RIP ayarı, mürekkep durumu veya malzeme partisi | Kaydedilen yazdırma ayarları ve malzeme tutarlılığı |
| Renkler donuk görünüyor | Beyaz alt taban yok, zayıf mürekkep yoğunluğu, zayıf yüzey | Beyaz mürekkep ayarı ve geçiş modu |
| Degrade kaba görünüyor | Düşük kalite modu veya RIP ayarı sorunu | Geçiş modu ve görüntü kalitesi ayarları |
Sorun 9
Yazıcı Kafası Çarpması veya Nesne Çarpışması
Yazıcı kafası çarpması en ciddi UV yazıcı risklerinden biridir. Yazıcı kafası platformdaki nesneye, sabitlemeye, yükseltilmiş alana veya gevşek malzemeye temas ettiğinde bu durum meydana gelir. Bu, yazıcı kafasına zarar verebilir ve üretimi durdurabilir.
Yaygın Nedenler
- Ürün yüzeyi düzensiz veya dengesizdi.
- Nesne yüksekliği doğru ölçülmedi.
- Platform üzerinde gevşek donanım, malzeme hurdası veya döküntü bırakılmış.
- Yazdırma sırasında nesne taşındı.
- Yeni bir ürün için yanlış yükseklik ayarı kullanıldı.
Önleme Adımları
- Her yeni ürün tipinden önce nesne yüksekliğini kontrol edin.
- Tekrarlanabilir ürünler için sabit fikstürler veya mastarlar kullanın.
- Platformdaki tüm kırıntıları, vidaları ve gevşek eşyaları çıkarın.
- Dengesiz veya hareketli nesnelerin üzerine baskı yapmayın.
- Yeni bir ürün şekli kullanırken yavaşça test edin.
İş Akışında Sorun Giderme
Pratik Adım Adım Sorun Giderme İş Akışı
Bir yazdırma sorunu ortaya çıktığında birden fazla ayarı aynı anda değiştirmek yerine tekrarlanabilir bir iş akışını izleyin.
Duraklat
Tam üretimi durdurun ve daha fazla ham parça israfını önleyin.
Test
Püskürtme ucu testini çalıştırın ve basılı semptomu dikkatlice inceleyin.
İzole et
Bir alanı kontrol edin: mürekkep, malzeme, yükseklik, RIP veya kürleme.
Ayarlamak
Her seferinde bir ayarı veya işlem adımını değiştirin.
Onaylamak
Üretime dönmeden önce küçük bir örnek yazdırın.
Durdur ve Kontrol Et
Yazdırmayı Derhal Durdurmanız Gerektiğinde
Olası Yazıcı Kafası Çarpışması
Nesne çok yüksekse, dengesizse veya yazıcı kafasına temas etme olasılığı varsa durun.
Ciddi Nozul Kaybı
Birden fazla kanal eksikse veya püskürtme ucu testi ciddi şekilde bozuksa durun.
Mürekkep Akışı Anormalliği
Mürekkep çıkışı aniden değişirse, hatta hava belirirse veya kanallardan biri dengesiz hale gelirse durun.
Kürleşmemiş veya Yapışkan Mürekkep
Özellikle tam bir müşteri partisi üretmeden önce mürekkep düzgün şekilde sertleşmiyorsa durun.
EraSmart Model Yolu
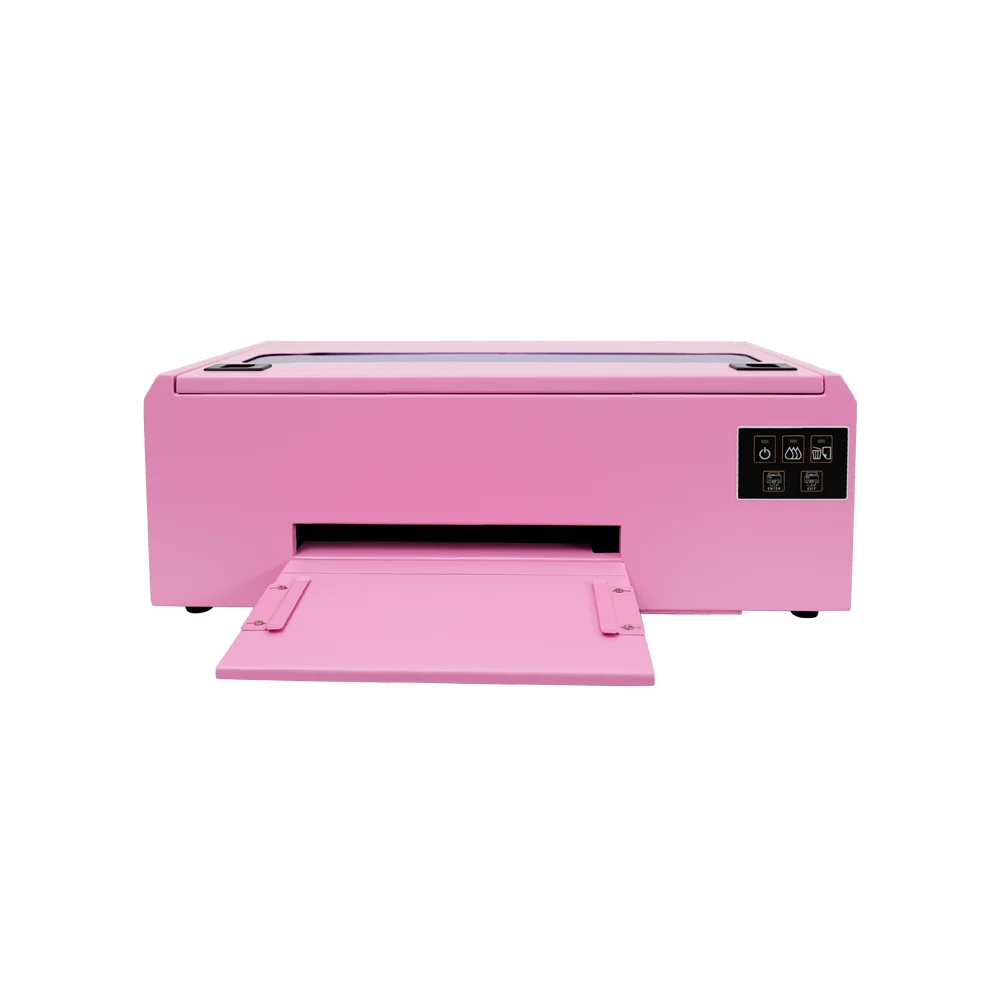
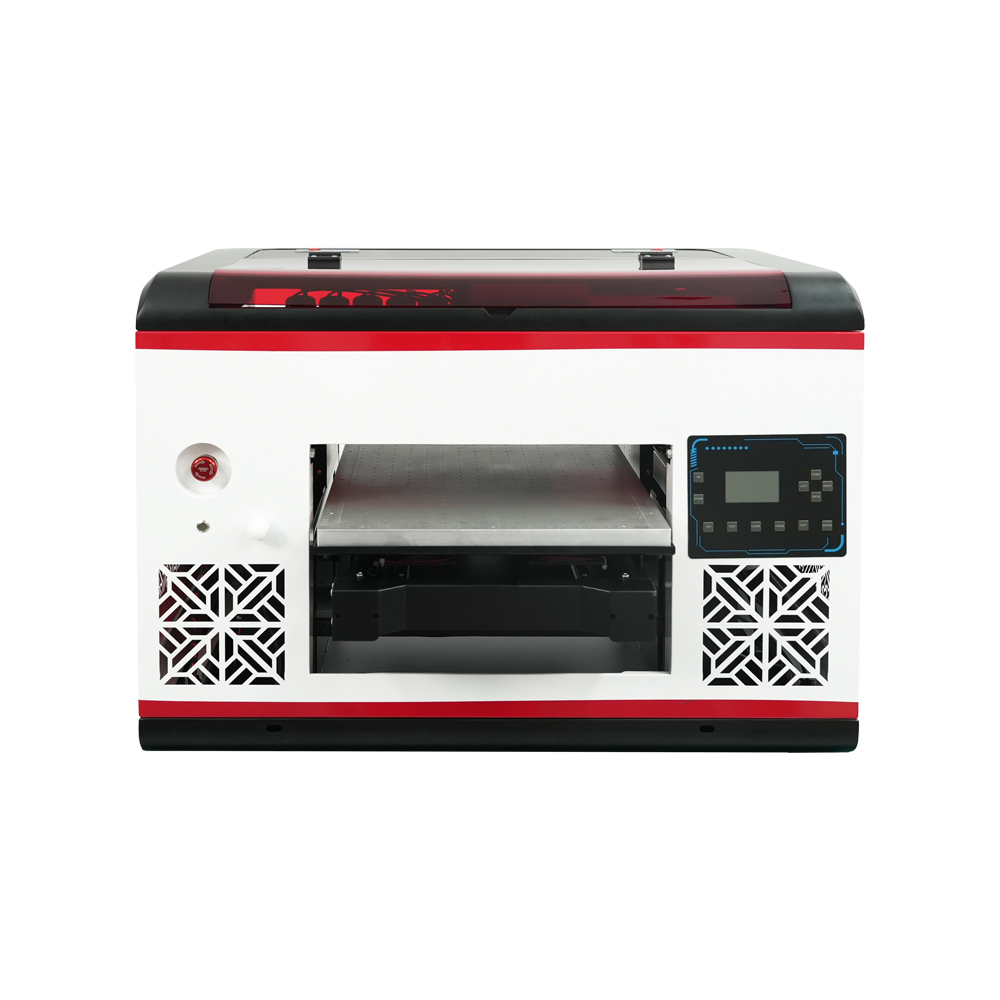
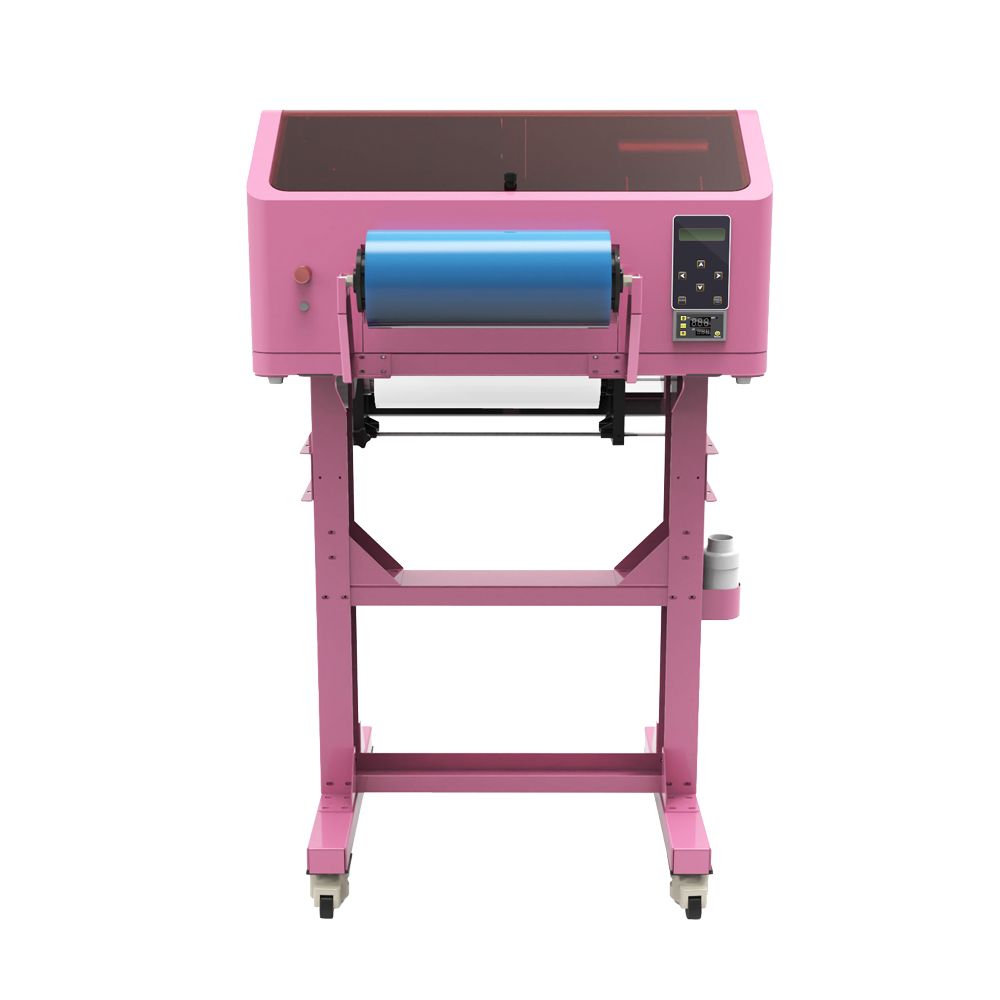
Hangi UV Yazıcı Yapılandırmasını Düşünmelisiniz?
EraSmart UV yazıcılarını karşılaştırırken hedef malzemelerinizi, beyaz mürekkebe ihtiyacınız olup olmadığını, vernik efektlerinin ürün değerinizin bir parçası olup olmadığını ve ürünlerinizin hangi baskı boyutunu gerektirdiğini göz önünde bulundurun.

Telefon kılıfları, aksesuarlar, küçük akrilik ürünler ve hediye kişiselleştirme iş akışları için pratik bir seçim.

Daha geniş bir düz yatak alanına ve daha geniş malzeme kapsamına ihtiyaç duyan kullanıcılar için uygundur.

UV DTF çıkartmaları, bardak ambalajları, çıkartmalar, şişeler ve sert yüzey transfer uygulamaları için daha iyidir.

Daha fazla platform alanına ihtiyaç duyan daha büyük paneller, tabelalar, panolar ve üretim ekipleri için daha uygun.
Önleme
UV Yazıcı Sorunlarının Çoğu Nasıl Önlenir
| Önleme Alanı | Önerilen Alışkanlık | Sorunun Önlenmesine Yardımcı Olur |
|---|---|---|
| Nozül Kontrolü | Üretimden önce, özellikle de boşta kalma süresinden sonra çalıştırın | Şeritlenme, eksik satırlar, zayıf çıktı |
| Beyaz Mürekkep Bakımı | Dolaşımı, karıştırmayı ve düzenli çıktı kontrollerini sürdürün | Beyaz mürekkep tortusu ve zayıf opaklık |
| Malzeme Temizliği | Tozu, yağı, parmak izlerini ve kaplama kalıntılarını çıkarın | Zayıf yapışma ve düzgün olmayan yüzey |
| Yükseklik Kontrolü | Her yeni ürün türünden önce nesne yüksekliğini onaylayın | Bulanık çıktı ve yazıcı kafasının çarpması |
| RIP Ön Ayarları | Her malzeme ve ürün için test edilen ayarları kaydedin | Renk uyumsuzluğu ve katman hataları |
| Uzun Süre Boşta Rutin | Uzun boşta kalma sürelerinden önce kapatma ve yeniden başlatma adımlarını izleyin | Kurutma, tıkanma ve başlatma hatası |
UV Yazıcı Sorun Giderme SSS
-
1. UV yazıcımda neden baskı hatları var?
Çizgiler veya şeritler genellikle eksik püskürtme uçlarından, dengesiz mürekkep akışından, yanlış geçiş ayarlarından veya malzeme hareketinden kaynaklanır. RIP ayarlarını değiştirmeden önce bir püskürtme ucu testiyle başlayın.
-
2. UV mürekkebi neden malzememe yapışmıyor?
Zayıf yapışma genellikle yüzeyin kirlenmesi, uyumsuz malzeme kaplaması, zayıf kürleme veya yetersiz malzeme testiyle ilişkilidir. Üretimden önce malzemeyi temizleyin ve alt tabakayı tam olarak test edin.
-
3. Beyaz mürekkep neden zayıf veya düzensiz görünüyor?
Zayıf beyaz mürekkep; pigment tortusu, zayıf dolaşım, püskürtme ucu tıkanması, yanlış beyaz mürekkep yoğunluğu veya hatalı RIP katmanı ayarları nedeniyle ortaya çıkabilir.
-
4. UV baskısım neden bulanık?
Bulanık çıktılar genellikle yanlış yazdırma yüksekliğinden, dengesiz nesne yerleşiminden, düzgün olmayan ürün yüzeyinden veya hizalama sorunlarından kaynaklanır.
-
5. Vernik neden yeterince parlak değil?
Katmanın çok ince olması, kürlenme mukavemetinin uygun olmaması, nozül çıkışının eşit olmaması veya malzeme yüzeyinin doğru şekilde hazırlanmaması durumunda vernik zayıf görünebilir.
-
6. UV mürekkebi neden yapışkanlık hissi veriyor?
Yapışkan mürekkep, yetersiz kürlemenin, yanlış yazdırma hızının, uygun olmayan kürleme kuvvetinin, aşırı kalın mürekkep katmanlarının veya malzeme uyumluluk sorunlarının göstergesi olabilir.
-
7. Püskürtme ucu testi kötüyse yazdırmaya devam etmeli miyim?
Hayır. Üretimden önce kötü bir nozul testi yapılmalıdır. Yazdırmaya devam etmek malzeme israfına neden olabilir ve sorunun teşhis edilmesini zorlaştırabilir.
-
8. UV yazıcı sorun giderme sorunlarını uzun vadede nasıl azaltabilirim?
Püskürtme ucu kontrolleri, beyaz mürekkep bakımı, platform temizliği, malzeme testi, yükseklik kontrolü, kayıtlı RIP ön ayarları ve uzun süre boşta kalma koruması etrafında bir rutin oluşturun.
EraSmart Yazıcı Serisi
High-quality UV Printers for metal, acrylic, glass, wood & more. Instant curing, vivid 1440dpi prints, versatile for diverse materials.
**CMYK + Beyaz + Vernik** ile tek geçişte canlı, kabartmalı çıkartmalar yazdırın. Toz yok. Fırın yok. Düz veya kavisli nesneleri dakikalar içinde soyun ve yapıştırın.
Uygun bir rehber bulamadınız mı? Şimdi Ücretsiz Teknik Destek Alın!
Sadece birkaç ayrıntı sağlayın ve hızlı teklifler almanıza yardımcı olacağız!
Erasmart yazıcısı
UV yazıcı
DTF yazıcı
DTG yazıcı
Isı Pres Makinesi
Reklam yazıcısı
Yazıcı Araçları
DTF Fırını
Sıcak Pres
Oyma makinesi
Kupa ısı transferi
Laminasyon makinesi
Sarf malzemeleri
Mürekkep Mürekkebi
Cep telefonu kasası
Cam ürün
Temizlik sıvısı
Pamuklu çubuk
Bize Ulaşın
WhatsApp : +8618566233796
Wechat : +8618566233796
Mobil : +8618566233796
Web :www.erasmart.com
Mağaza:www.erasmartmall.com
Bize WhatsApp
Teklif isteyin
Sadece birkaç ayrıntı sağlayın ve hızlı teklifler almanıza yardımcı olacağız!
aşağı doğru
Size e-posta bırakın ve indirme URL'sini e-postaya gönderin.
Yazıcı Fiyatına mı ihtiyacınız var?
Baskı ihtiyaçlarınızı bize bildirin. Ekibimiz 24 saat içinde cevap verecektir.