
گردش کار چاپ UV: یک فرآیند گام به گام برای تولید پایدار و قابل تکرار
چاپ UV تنها با فشار دادن دکمه چاپ نیست. یک جریان کاری پایدار شامل آماده سازی آثار هنری، راه اندازی RIP، تمیز کردن مواد، تعیین موقعیت اشیا، تنظیم ارتفاع، آزمایش نازل، کنترل لایه جوهر سفید و لاک، پخت UV، بازرسی کیفیت و نگهداری پس از چاپ است. این راهنما فرآیند کامل چاپ تخت UV را توضیح میدهد و به اپراتورها کمک میکند تا ضایعات، نقصها و زمان خرابی را کاهش دهند.
خلاصه گردش کار
آماده کنید
راه اندازی کنید
چاپ
بازرسی کنید
راه اندازی آثار هنری
اندازه، وضوح، آثار هنری رنگی، لایه جوهر سفید و لایه لاک را به درستی آماده کنید.
آماده سازی مواد
سطح را تمیز کنید، صافی را بررسی کنید، خطر چسبندگی را تایید کنید و در صورت نیاز از لامپ استفاده کنید.
کنترل چاپ
از حالت عبور مناسب، تنظیم ارتفاع، ترتیب لایه جوهر و قدرت پخت UV استفاده کنید.
بررسی کیفیت
رنگ، چسبندگی، جوهر سفید، لاک، تراز و تکرارپذیری را قبل از خروجی دسته ای بررسی کنید.
مبانی گردش کار
چرا چاپ UV به یک گردش کار استاندارد نیاز دارد؟
چاپ UV ترکیبی از چاپ جوهر افشان دیجیتال، پخت UV، جابجایی مواد و کنترل جوهر لایه ای است. یک اشتباه کوچک در یک مرحله می تواند بر کل نتیجه تأثیر بگذارد. به عنوان مثال، یک سطح اکریلیک کثیف می تواند باعث چسبندگی ضعیف شود، یک لایه جوهر سفید نادرست می تواند رنگ ها را ضعیف به نظر برساند، و تنظیم اشتباه ارتفاع می تواند لبه های تار یا خطر برخورد سر چاپ را ایجاد کند.
یک گردش کار تکرارپذیر به اپراتورها کمک می کند تا به طور مداوم چاپ کنند، آزمون و خطا را کاهش دهند و از سفارش های سفارشی منفرد به تولید دسته ای مقیاس کنند. فرقی نمیکند قاب گوشی، تابلوهای اکریلیک، برچسبهای فلزی، هدایای چوبی، پانلهای شیشهای یا اقلام تبلیغاتی را چاپ میکنید، گردش کار باید قبل از تولید استاندارد شود.
قانون ساده
تا زمانی که فایل طراحی، سطح مواد، ارتفاع جسم، وضعیت نازل، تنظیمات RIP و نتیجه پخت روی یک نمونه کوچک بررسی نشده است، تولید را شروع نکنید.
جریان کار استاد
جدول گردش کار پرینت UV کامل
از این جدول به عنوان یک نمای کلی از فرآیند کامل چاپ UV استفاده کنید.
| مرحله | مرحله گردش کار | چه باید کرد | چرا اهمیت دارد | ریسک مشترک |
|---|---|---|---|---|
| 1 | محصول و مواد را تایید کنید | اندازه، سطح، صافی، رنگ، پوشش و نیازهای کاربرد را بررسی کنید | تعیین می کند که آیا چاپ تخت UV مناسب است یا خیر | انتخاب فرآیند اشتباه یا چسبندگی ضعیف |
| 2 | کار هنری را آماده کنید | اندازه، وضوح، آثار هنری رنگی، جوهر سفید، و مناطق لاک را درست تنظیم کنید | از اندازه اشتباه، لایه سفید از دست رفته یا لاک نابجا جلوگیری می کند | خطاهای لایه و مشکلات تراز |
| 3 | پارامترهای RIP را تنظیم کنید | حالت عبور، ترتیب لایه، تراکم جوهر و نمایه مواد را انتخاب کنید | کیفیت، سرعت، رنگ، جوهر سفید و لاک را کنترل می کند | رنگ ضعیف، لایه اشتباه، خروجی کند |
| 4 | مواد را آماده کنید | سطح را تمیز کنید، گرد و غبار، روغن، اثر انگشت و ذرات سست را حذف کنید | چسبندگی و ظاهر نهایی را بهبود می بخشد | خراش جوهر یا نقص سطح |
| 5 | موقعیت شی | محصول را با دقت قرار دهید و در صورت نیاز از جک یا فیکسچر استفاده کنید | تکرارپذیری را بهبود می بخشد و ناهماهنگی را کاهش می دهد | چاپ یا حرکت خارج از مرکز |
| 6 | ارتفاع را تنظیم کنید | ارتفاع شی و فاصله سر چاپ را تأیید کنید | از هد چاپ محافظت می کند و وضوح را بهبود می بخشد | چاپ تار یا ضربه سر چاپ |
| 7 | تست نازل را اجرا کنید | قبل از تولید، کانال های CMYK، جوهر سفید و لاک را بررسی کنید | از باند شدن، خطوط از دست رفته و دسته های ناموفق جلوگیری می کند | چاپ با نازل های گرفتگی |
| 8 | نمونه چاپ | قبل از تولید دسته ای یک قطعه را تست کنید | رنگ، چسبندگی، پخت و تراز را تایید می کند | ضایعات دسته ای از تنظیمات آزمایش نشده |
| 9 | تولید دسته ای | با قرار دادن کنترل شده، تنظیمات، و بازرسی دوره ای چاپ کنید | خروجی را ثابت نگه می دارد | تغییر رنگ یا نقص از دست رفته |
| 10 | بررسی پس از چاپ | چسبندگی، پخت، لاک، جوهر سفید و پوشش سطح را بررسی کنید | اطمینان حاصل می کند که محصول آماده تحویل است | شکایات مشتری یا دوباره کاری |
مرحله 1
محصول، مواد و روش چاپ را تأیید کنید
قبل از آماده کردن آثار هنری، تأیید کنید که آیا محصول برای چاپ مستقیم UV مسطح مناسب است یا خیر. معمولاً چاپ مستقیم محصولات تخت، پایدار، سفت و سخت یا نیمه سفت آسان تر است. اجسام منحنی، نامنظم یا با موقعیت سخت ممکن است برای چاپ انتقالی UV DTF بهتر باشند.
مناسب برای تخت تخت UV
- تابلوها و تابلوهای اکریلیک
- قاب گوشی با جیگ های ثابت
- برچسب ها و پلاک های فلزی
- تخته و پلاک چوبی
- قطعات شیشه ای یا سرامیکی تخت
ممکن است بهتر با UV DTF سازگار شود
- فنجان و بطری
- سطوح سخت منحنی
- اقلام تبلیغاتی نامنظم
- قرار دادن محصولات روی یک تخت مسطح دشوار است
- تولید برچسب یا برچسب کریستالی
مرحله 2
آثار هنری، اندازه و لایه های چاپ را آماده کنید
چاپ UV اغلب به بیش از یک لایه اثر هنری نیاز دارد. یک کار پایه ممکن است فقط از CMYK استفاده کند. مواد شفاف، تیره یا رنگی ممکن است به یک لایه جوهر سفید نیاز داشته باشند. محصولات ممتاز ممکن است به یک لایه لاک برای براقیت، هایلایت یا بافت برجسته نیاز داشته باشند.
| عنصر اثر هنری | هدف | هنگامی که مورد نیاز است | اشتباه رایج |
|---|---|---|---|
| لایه CMYK | تصویر تمام رنگی را ایجاد می کند | تقریباً تمام کارهای چاپ UV | آثار هنری با کیفیت پایین یا اندازه نادرست |
| لایه جوهر سفید | زیرپایه برای رنگ قوی ایجاد می کند | مواد شفاف، تیره یا رنگی | فراموش کردن زیرپایه سفید روی محصولات شفاف |
| لایه لاک الکل | براق، اثر نقطه ای یا بافت برجسته می افزاید | هدایای ممتاز، علائم، اقلام برندسازی | لاک نابجا یا ترتیب لایه اشتباه |
| مرجع برش / موقعیت | به تراز کردن محصول و آثار هنری کمک می کند | تکرار سفارشات، جیگ، کیف تلفن، کار دسته ای | اثر هنری بر محصول متمرکز نیست |
مرحله 3
پارامترهای RIP را برای رنگ، جوهر سفید، لاک و حالت عبور تنظیم کنید
نرم افزار RIP آثار هنری را به داده های قابل چاپ تبدیل می کند و خروجی لایه را کنترل می کند. برای چاپ UV، تنظیمات RIP از اهمیت ویژه ای برخوردار است زیرا ممکن است چاپگر نیاز به چاپ جوهر سفید زیر رنگ، لاک روی رنگ یا تراکم جوهر متفاوت برای مواد مختلف داشته باشد.
نکته گردش کار
تنظیمات RIP موفق را بر اساس نوع محصول ذخیره کنید. به عنوان مثال، برای اکریلیک شفاف، قابهای تلفن تیره، برچسبهای فلزی و تختههای چوبی از پیش تنظیمات جداگانه استفاده کنید.
ترتیب لایه ها
تأیید کنید که آیا کار باید فقط رنگ، سفید به اضافه رنگ، رنگ به اضافه لاک، یا سفید به اضافه رنگ به اضافه لاک چاپ شود.
حالت پاس
حالتهای عبور بالاتر ممکن است کیفیت را بهبود بخشند اما سرعت را کاهش دهند. حالتهای گذر پایینتر ممکن است خروجی را افزایش دهند، اما میتوانند نوارهایی را روی برخی مواد نشان دهند.
تراکم جوهر
تراکم جوهر بر استحکام رنگ، کدورت سفید، نتیجه پخت و پرداخت سطح تأثیر می گذارد.
نمایه مواد
تنظیمات آزمایش شده را برای مواد تکراری مانند اکریلیک، قاب گوشی، فلز، چوب و شیشه ذخیره کنید.
مرحله 4
سطح مواد را تمیز و آماده کنید
آماده سازی مواد یکی از مهم ترین بخش های گردش کار چاپ UV است. حتی اگر چاپگر و آثار هنری درست باشند، گرد و غبار، اثر انگشت، روغن، باقیمانده پوشش یا سطوح ناهموار میتوانند باعث چسبندگی ضعیف، خراش، رنگ ضعیف یا عیوب قابل مشاهده شوند.
| مواد | تمرکز آماده سازی | ریسک مشترک |
|---|---|---|
| اکریلیک | فیلم محافظ را تمیز بردارید، اثر انگشت را پاک کنید، از خراشیدگی جلوگیری کنید | رنگ ضعیف روی اکریلیک شفاف اگر زیرپایه سفید نباشد |
| شیشه ای | روغن، اثر انگشت و گرد و غبار را با دقت تمیز کنید | چسبندگی ضعیف روی سطح صاف |
| فلز | روغن، اکسیداسیون و باقی مانده سطح را حذف کنید | جوهر اگر سطح آلوده باشد خراشیده می شود |
| چوب | گرد و غبار را بردارید و صافی سطح را بررسی کنید | تصویر ناهموار روی سطح ناهموار یا متخلخل |
| قاب های گوشی | پوشش را بررسی کنید، سطح را تمیز کنید، از جک پایدار استفاده کنید | عدم تراز یا تفاوت چسبندگی بر اساس نوع مورد |
مرحله 5
محصول را قرار دهید و در صورت نیاز از وسایل استفاده کنید
موقعیت یابی محصول هم بر کیفیت تک قطعه و هم کارایی دسته ای تأثیر می گذارد. برای چاپ های یکباره، قرار دادن دقیق دستی ممکن است کافی باشد. برای محصولات تکراری مانند قاب گوشی، پلاکهای اسم، قطعات کوچک اکریلیک یا اقلام هدیه، جیگها و قالبها میتوانند به طور قابل توجهی سرعت و ثبات را بهبود بخشند.
قرار دادن دستی
مناسب برای نمونه های یکبار مصرف یا محصولات با شرایط موقعیت یابی ساده.
موقعیت یابی جیگ
برای قابهای گوشی، برچسبها، لوازم جانبی و محصولاتی که به صورت دستهای تکرار میشوند مفید است.
گردش کار الگو
به اپراتورها کمک می کند آثار هنری و محصولات را به سرعت در طول تولید تکراری تراز کنند.
نکته تولید
اگر قصد دارید همان محصول را به طور مکرر بفروشید، یک گردش کار موقعیت یابی ثابت ایجاد کنید. یک جیگ خوب می تواند اشتباهات را کاهش دهد، سرعت خروجی را بهبود بخشد و آموزش اپراتورهای جدید را آسان تر کند.
مرحله 6
ارتفاع چاپ را تنظیم کنید و از سر چاپ محافظت کنید
ارتفاع چاپ صحیح در چاپ تخت UV بسیار مهم است. اگر هد چاپ بیش از حد از سطح دور باشد، چاپ ممکن است تار یا سایه دار به نظر برسد. اگر جسم بیش از حد بالا یا ناپایدار باشد، هد چاپ ممکن است به محصول، وسایل یا زباله های روی پلت فرم برخورد کند.
خطرات قد نامناسب
- لبه های تار یا جزئیات نرم تصویر
- دو تصویر یا افکت سایه
- قرارگیری جوهر ناهموار
- برخورد یا آسیب هد چاپگر
چک لیست اپراتور
- ارتفاع جسم را اندازه گیری یا تأیید کنید.
- بررسی کنید که آیا سطح محصول صاف است یا خیر.
- تمام زباله ها را از روی سکو بردارید.
- از وسایل ثابت برای محصولات تکراری استفاده کنید.
مرحله 7
قبل از تولید تست نازل را انجام دهید
تست نازل یکی از ساده ترین راه ها برای جلوگیری از هدر رفتن مواد است. این نشان می دهد که آیا کانال های CMYK، جوهر سفید و لاک به درستی خروجی دارند یا خیر. اگر الگوی نازل شکسته است، تولید دسته ای را شروع نکنید.
| نتیجه تست نازل | ممکن است به چه معنا باشد | اقدام توصیه شده |
|---|---|---|
| الگوی کامل | کانال های جوهر ثابت به نظر می رسند | برای چاپ نمونه اقدام کنید |
| خطوط CMYK وجود ندارد | مسدود شدن نازل احتمالی یا جریان جوهر ناپایدار | قبل از چاپ، روال تمیز کردن را دنبال کنید |
| خطوط سفید از دست رفته | رسوب جوهر سفید، گرفتگی، یا مشکل گردش خون | سیستم جوهر سفید و خروجی نازل را بررسی کنید |
| خروجی لاک ناهموار | مشکل خروجی نازل یا لایه لاک الکل | قبل از کارهای برتر، کانال لاک را بررسی کنید |
مرحله 8
چاپ نمونه قبل از تولید دسته ای
چاپ نمونه پل بین راه اندازی و تولید است. یک نمونه تأیید می کند که آثار هنری، لایه ها، آماده سازی مواد، ارتفاع، پخت و کیفیت خروجی درست هستند. این مرحله به ویژه هنگام چاپ روی ماده جدید یا استفاده از جوهر و لاک سفید اهمیت دارد.
چه چیزی را بازرسی کنیم
- موقعیت و اندازه اثر هنری
- قدرت و دقت رنگ
- پوشش جوهر سفید
- براق یا بافت لاک الکل
- نتیجه چسبندگی و پخت
زمان تست مجدد
- مواد جدید یا دسته تامین کننده
- اثر هنری جدید یا حالت لایه
- اثر لاک جدید
- پس از تعمیر و نگهداری یا دوره بیکاری طولانی
- قبل از سفارشات بزرگ مشتری
مرحله 9
تولید دسته ای را با چک های دوره ای اجرا کنید
پس از تایید نمونه، تولید می تواند ادامه یابد. با این حال، اپراتورها همچنان باید خروجی را در طول کار دسته ای نظارت کنند. مشکلات چاپ UV ممکن است به تدریج به دلیل وضعیت نازل، تنوع مواد، جریان جوهر، باقیمانده پلت فرم یا کار با اپراتور ظاهر شوند.
| ایست بازرسی دسته ای | چه چیزی را مانیتور کنیم | چرا اهمیت دارد |
|---|---|---|
| اولین قطعه تمام شده | موقعیت، رنگ، جوهر سفید، لاک، پخت | خطاهای راهاندازی را قبل از دسته کامل میگیرد |
| هر چند قطعه | قوام رنگ و خطوط مربوط به نازل | از گسترش عیوب پنهان جلوگیری می کند |
| بارگیری مواد | محل قرارگیری، ارتفاع، گرد و غبار، وضعیت ثابت | تکرارپذیری و ایمنی هد چاپ را حفظ می کند |
| نتیجه درمان | سختی سطح، براقیت و مقاومت در برابر خراش | کیفیت محصول نهایی را تایید می کند |
مرحله 10
بازرسی و تکمیل پس از چاپ
پس از چاپ، محصول نهایی را قبل از بسته بندی یا تحویل بررسی کنید. چاپ UV می تواند فوراً خوب به نظر برسد، اما محصول همچنان باید از نظر چسبندگی، پخت، تراز، رنگ و پرداخت سطح بررسی شود.
بررسی بصری
تولید کامل را متوقف کنید و از هدر دادن بیشتر جای خالی خودداری کنید.
بررسی سطح
بررسی کنید که آیا جوهر در صورت لزوم پخته، صاف، براق، بافت یا برجسته شده است.
بررسی چسبندگی
قبل از فروش یا تحویل نوع محصول جدید، شرایط استفاده دقیق را آزمایش کنید.
پس از چاپ
چاپگر را بعد از تولید تمیز و نگهداری کنید
پس از اتمام چاپ، گردش کار به پایان نمی رسد. تعمیر و نگهداری پس از چاپ از دستگاه برای کار بعدی محافظت می کند. این امر به ویژه برای چاپگرهایی که از جوهر و لاک سفید استفاده می کنند بسیار مهم است.
| وظیفه پس از چاپ | هدف | مشکل از آن جلوگیری می کند |
|---|---|---|
| پلت فرم را تمیز کنید | گرد و غبار، باقیمانده، ضایعات و قطعات سست را حذف کنید | خطاهای موقعیت یابی و خطر برخورد هد چاپگر |
| منطقه درپوش را بررسی کنید | از محافظت هد چاپ در زمان بیکاری اطمینان حاصل کنید | خشک شدن نازل و راه اندازی مجدد دشوار |
| جوهر زباله را بررسی کنید | از سرریز و آلودگی جلوگیری کنید | فرآیند تمیز کردن کثیف و بازیابی ناپایدار |
| تنظیمات موفق را ذخیره کنید | از پیش تنظیم های تولید قابل تکرار بسازید | دسته های آینده ناسازگار |
گردش کار برنامه
گردش کار چاپ UV بر اساس نوع محصول
محصولات مختلف نیاز به تاکید بر گردش کار متفاوتی دارند. جدول زیر به اپراتورها کمک می کند تا روی مهم ترین نقاط کنترل تمرکز کنند.
| نوع محصول | تمرکز جریان کار اصلی | ریسک کلیدی | راهنمای پیشنهادی |
|---|---|---|---|
| موارد تلفنی | موقعیت جیگ، تکرارپذیری، تمیز کردن سطح | ناهماهنگی و تفاوت چسبندگی | راهنمای مواد |
| اکریلیک شفاف | جوهر سفید زیر پایه و تمیزی سطح | رنگ ضعیف بدون جوهر سفید | راهنمای جوهر UV |
| برچسب های فلزی | حذف روغن، تست چسبندگی، بررسی پخت | جوهر خراشیده می شود | راهنمای عیب یابی |
| هدایای چوبی | حذف گرد و غبار، صافی، کنترل بافت | خروجی ناهموار یا ناهموار | راهنمای مواد |
| علائم درجه یک | جوهر سفید، لاک، کنترل لایه، بازرسی نهایی | لاک نابجا یا براقی ضعیف | راهنمای جوهر UV |
اشتباهات رایج
اشتباهات گردش کار چاپ UV که باید از آنها اجتناب کنید
رد شدن از تست نازل
شروع تولید با نازل های از دست رفته می تواند باعث ایجاد باند، جوهر سفید ضعیف، لاک ناموفق و هدر رفتن مواد شود.
چاپ بدون تمیز کردن مواد
گرد و غبار، روغن و اثر انگشت از علل شایع چسبندگی ضعیف و عیوب سطحی قابل مشاهده هستند.
نادیده گرفتن کنترل قد
ارتفاع اشتباه شی می تواند باعث تار شدن خروجی یا خطر برخورد هد چاپ شود.
استفاده از یک تنظیم برای هر ماده
قاب های اکریلیک، شیشه، فلز، چوب، پلاستیک و تلفن ممکن است به تنظیمات RIP و مراحل آماده سازی متفاوتی نیاز داشته باشند.
مسیر مدل EraSmart
کدام پیکربندی پرینتر UV را باید در نظر بگیرید؟
هنگام مقایسه چاپگرهای UV EraSmart، مواد مورد نظر خود را در نظر بگیرید، اینکه آیا به جوهر سفید نیاز دارید، آیا اثرات لاک بخشی از ارزش محصول شما است یا خیر، و اندازه چاپ محصولات شما به چه اندازه نیاز دارد.

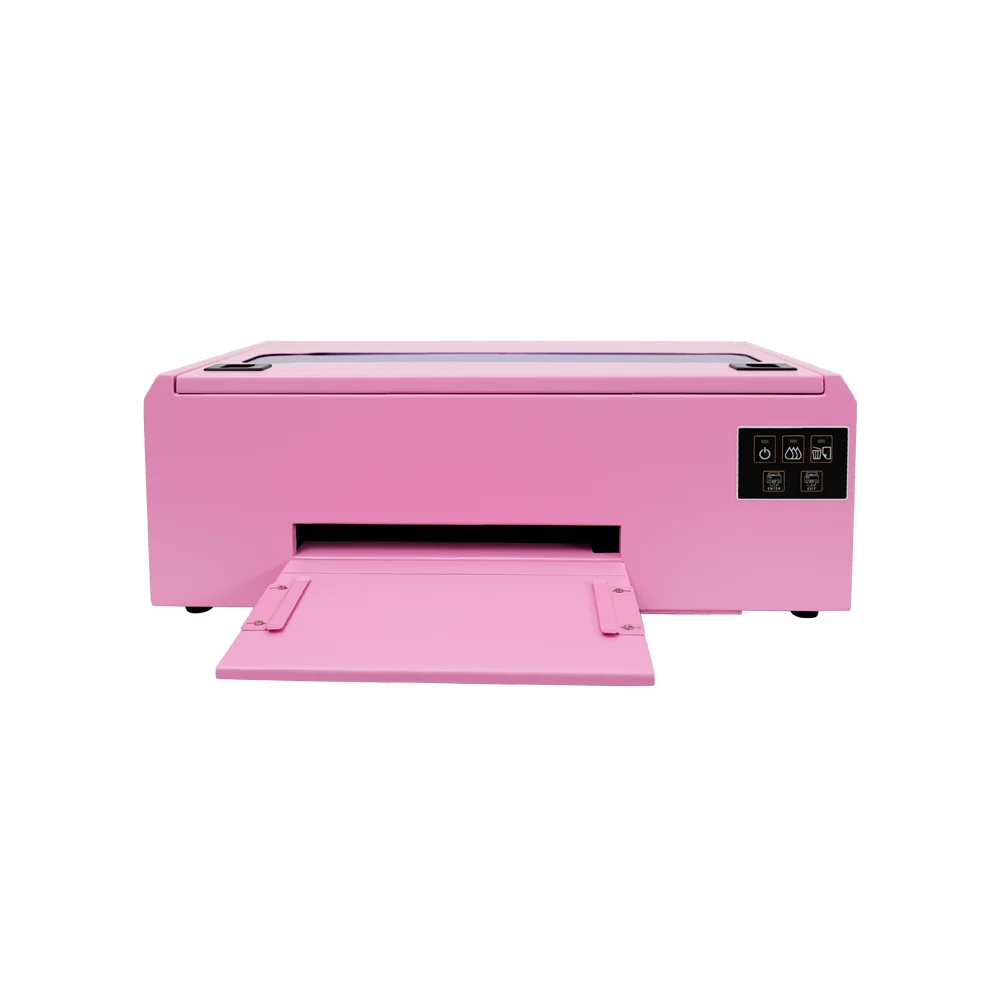
یک انتخاب عملی برای قاب گوشی، لوازم جانبی، محصولات کوچک اکریلیک، و گردش کار سفارشیسازی هدیه.

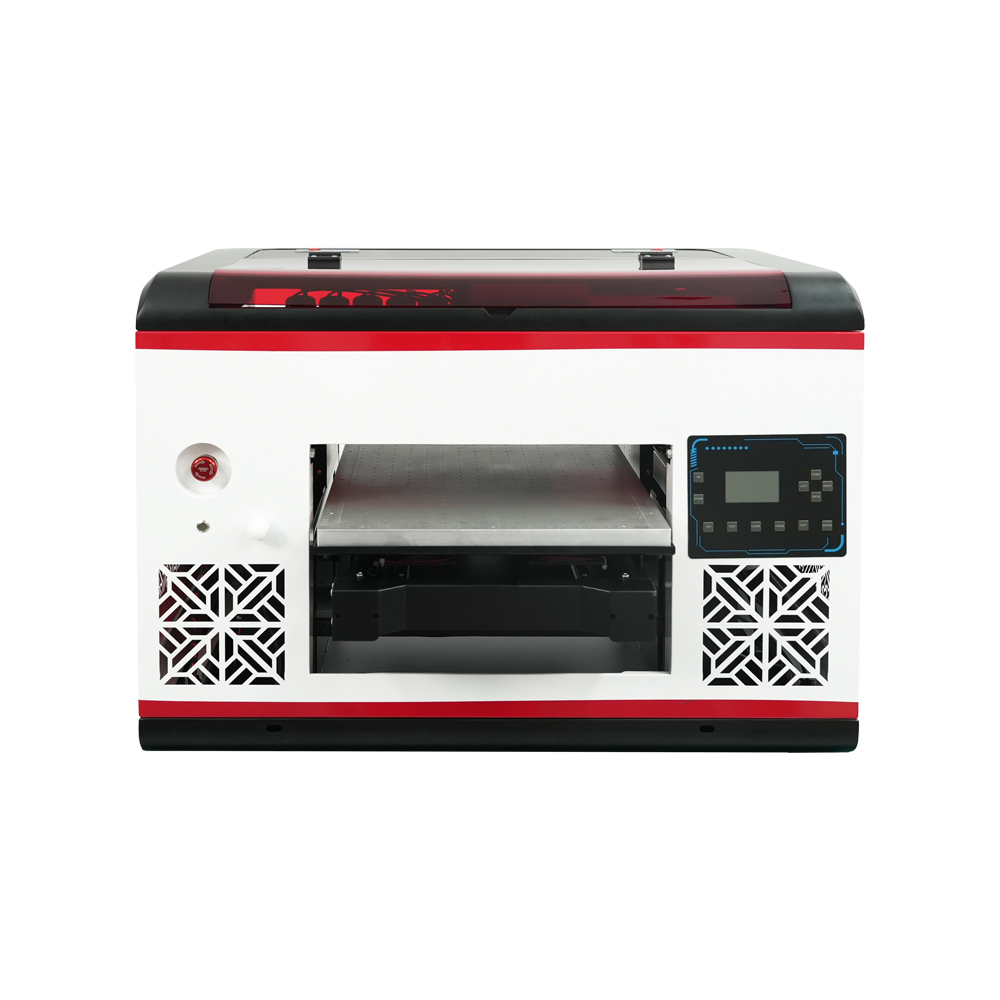
مناسب برای کاربرانی که به فضای مسطح بزرگتر و پوشش مواد وسیع تری نیاز دارند.

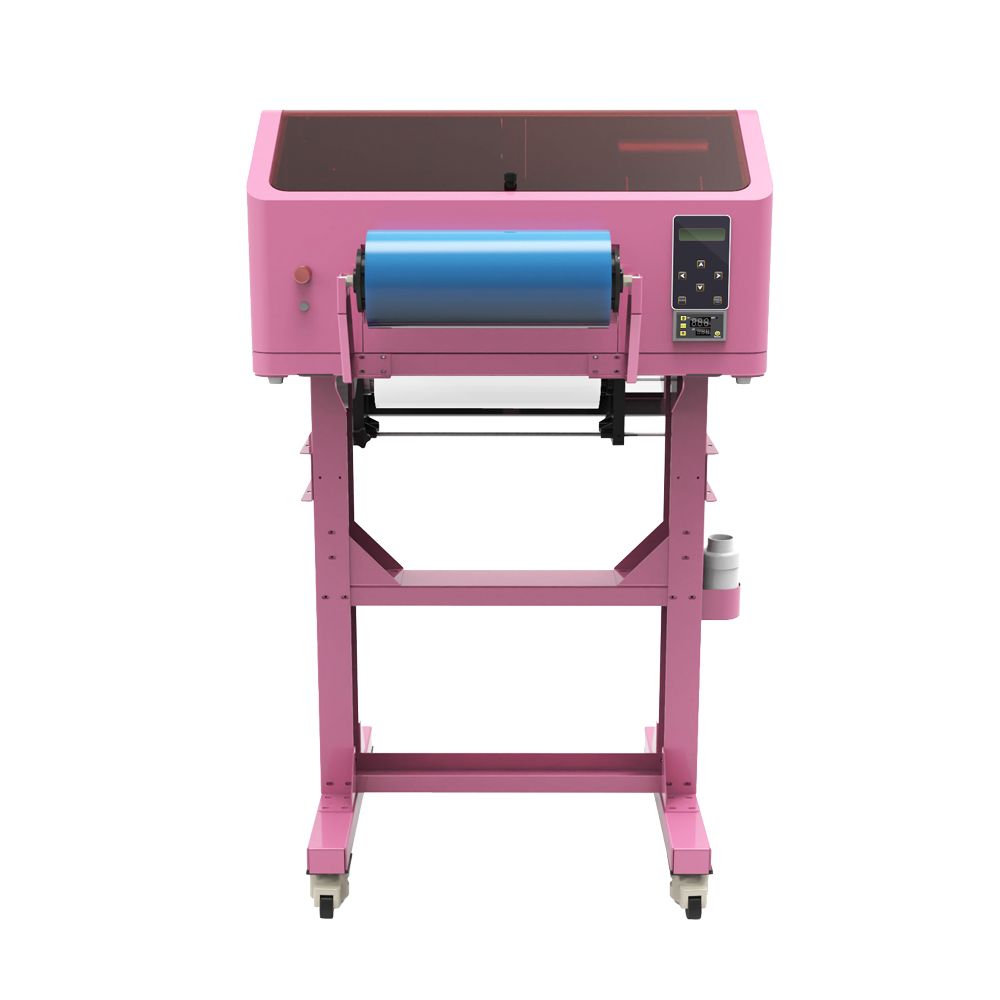
برای برگردانهای UV DTF، روکشهای فنجانی، برچسبها، بطریها و کاربردهای انتقال سطح سخت بهتر است.

مناسبتر برای پانلهای بزرگتر، تابلوها، تابلوها و تیمهای تولیدی که به فضای پلت فرم بیشتری نیاز دارند.
سوالات متداول گردش کار چاپ UV
-
1 گردش کار اصلی چاپ UV چیست؟
گردش کار اصلی چاپ UV شامل آماده سازی آثار هنری، راه اندازی RIP، تمیز کردن مواد، تعیین موقعیت اشیا، تنظیم ارتفاع، تست نازل، چاپ نمونه، پخت UV، بازرسی و نگهداری پس از چاپ است.
-
2 آیا باید قبل از هر کار پرینت UV آزمایش نازل انجام دهم؟
بله. آزمایش نازل به جلوگیری از ایجاد نوار، خطوط از دست رفته، جوهر سفید ضعیف و خروجی ناموفق لاک قبل از هدر دادن مواد در تولید کمک می کند.
-
3 چرا جوهر سفید در گردش کار مهم است؟
جوهر سفید برای مواد شفاف، تیره و رنگی مهم است. زیرپایه ای ایجاد می کند که به رنگ های CMYK کمک می کند قوی تر و دقیق تر به نظر برسند.
-
4 چه زمانی باید از لاک در چاپ UV استفاده کنم؟
زمانی که محصول نیاز به براقی، پوشش نقطه ای، بافت برجسته یا جلوه سطح برتر دارد، از لاک استفاده کنید. لاک برای تابلوها، هدایا، پانل های تزئینی و محصولات برند رایج است.
-
5 چرا ابتدا باید یک نمونه چاپ کنم؟
یک نمونه اندازه اثر هنری، آمادهسازی مواد، ترتیب لایه، ارتفاع، پخت، رنگ، جوهر سفید، لاک، و چسبندگی را قبل از تولید دستهای تأیید میکند.
-
6 چگونه می توانم تکرارپذیری را در چاپ UV بهبود بخشم؟
از جیگها، الگوها، از پیش تنظیمهای RIP ذخیرهشده، تنظیمات خاص مواد، روال تمیز کردن مداوم و بررسیهای منظم کیفیت استفاده کنید.
-
7 چه چیزی باعث بیشتر مشکلات گردش کار چاپ UV می شود؟
دلایل رایج عبارتند از چک نشدن نازل، سطوح مواد کثیف، ارتفاع نادرست، تنظیمات RIP اشتباه، نگهداری جوهر سفید ضعیف، و مواد آزمایش نشده.
-
8 آیا UV DTF همان گردش کار چاپ UV تخت است؟
خیر. چاپ تخت UV مستقیماً روی محصول چاپ می شود، در حالی که چاپ UV DTF برگردان های انتقالی را ایجاد می کند. UV DTF به فیلم A/B و انتقال جریان کار به جای قرارگیری مستقیم در بستر مسطح نیاز دارد.
سری پرینترهای EraSmart
High-quality UV Printers for metal, acrylic, glass, wood & more. Instant curing, vivid 1440dpi prints, versatile for diverse materials.
عکس برگردان های واضح و برجسته را با **CMYK + White + Varnish** در یک مرحله چاپ کنید. بدون پودر بدون فر اقلام صاف یا منحنی را در عرض چند دقیقه پوست بگیرید و بچسبانید.
راهنمای مناسبی پیدا نکردید؟ اکنون پشتیبانی فنی رایگان دریافت کنید!
فقط چند جزئیات را ارائه دهید و ما به شما کمک خواهیم کرد تا سریع نقل قول کنید!
چاپگر اراسمارت
چاپگر اشعه ماوراء بنفش
چاپگر DTF
چاپگر DTG
دستگاه فشار خون
چاپگر تبلیغاتی
ابزارهای چاپی
فر DTF
مطبوعات داغ
دستگاه حک شده
انتقال حرارت لیوان
دستگاه لمینت
مواد مخدر
جوهر چاپ
پرونده تلفن همراه
کالای شیشه ای
مایع تمیز کننده
پنبه
با ما تماس بگیرید
WhatsApp : +8618566233796
WeChat : +8618566233796
موبایل : +8618566233796
وبwww.erasmart.com
فروشگاهwww.erasmartmall.com
واتساپ ما
downlond
برای شما ایمیل بگذارید و آدرس دانلود را به ایمیل ارسال کنید.
به قیمت چاپگر نیاز دارید؟
نیازهای چاپ خود را به ما بگویید. تیم ما ظرف 24 ساعت پاسخ خواهد داد.
درخواست نقل قول
فقط چند جزئیات را ارائه دهید و ما به شما کمک خواهیم کرد تا سریع نقل قول کنید!