
Guia de solução de problemas de impressora UV: problemas comuns, causas e soluções
Os problemas da impressora UV geralmente vêm de um pequeno grupo de causas: condição do bico, estabilidade da tinta branca, preparação do material, altura de impressão, configurações da camada RIP, cura UV e hábitos de manutenção. Este guia ajuda os operadores a diagnosticar sintomas comuns e decidir o que verificar primeiro antes de desperdiçar materiais ou correr o risco de danificar o cabeçote de impressão.
Prioridades de solução de problemas
Primeira verificação
Segunda verificação
Terceira verificação
Verificação final
Verifique o bico
Faixas, linhas faltantes, tinta branca fraca e verniz irregular geralmente causam problemas nos bicos.
Verifique o material
Má adesão, arranhões e resultados borrados geralmente são causados por problemas de superfície ou altura.
Verifique o RIP
Tinta branca, verniz, modo de passagem ou perfil de cores incorretos podem criar defeitos evitáveis.
Verifique a manutenção
A falta de limpeza, a má cobertura e longos períodos de inatividade causam muitos problemas recorrentes.
Noções básicas de solução de problemas
Comece a solucionar problemas com o sintoma, não com um palpite
Um problema de impressora UV pode parecer complicado, mas a maioria dos problemas pode ser reduzida verificando os sintomas em ordem. Por exemplo, as faixas geralmente indicam a condição dos bicos, o fluxo de tinta ou as configurações de passagem. A má adesão geralmente indica superfície do material, limpeza, cura ou compatibilidade da tinta. Tinta branca fraca geralmente indica circulação de tinta branca, sedimentos, condição do bico ou configurações da camada RIP.
A chave é evitar ajustes aleatórios. Verifique uma área de cada vez, registre o que mudou e teste com uma pequena amostra antes de retornar à produção total. Isso reduz o desperdício de materiais e protege o cabeçote de impressão.
Regra de diagnóstico simples
Se o problema aparecer no teste dos bicos, comece pelo sistema de tinta e pelo cabeçote de impressão. Se o teste do bico estiver normal, mas o produto falhar, verifique a preparação do material, a altura, as configurações RIP e a cura.
Diagnóstico Rápido
Problemas de impressora UV: sintomas, causas e primeiras verificações
Use esta tabela para conectar rapidamente um problema visível à área mais provável de ser inspecionada primeiro.
| Problema | Sintomas comuns | Causa provável | Verifique primeiro | Guia relacionado |
|---|---|---|---|---|
| Bico entupido | Linhas faltando, padrão de bico quebrado, saída de canal fraca | Tinta seca, cobertura deficiente, sedimentos de tinta branca, longo tempo de inatividade | Teste de bico, estação de nivelamento, rotina de limpeza | Guia de manutenção |
| Bandas | Linhas horizontais, cores irregulares, falta de passagens | Perda de bico, configuração de passagem, movimento de mídia, fluxo de tinta | Padrão do bico e modo de passagem | Guia de manutenção |
| Má adesão | A tinta arranha, descasca ou não adere bem | Superfície suja, revestimento incompatível, cura fraca, material errado | Configurações de limpeza e cura de superfície | Guia de Materiais |
| Tinta branca fraca | A camada branca parece fina, irregular ou transparente | Sedimento, problema de circulação, bocal entupido, configuração de camada errada | Sistema de tinta branca e camada branca RIP | Guia de tinta UV |
| Problema de verniz | Não brilhante, textura irregular, verniz mal colocado | Configuração da camada, resistência à cura, saída do bico, condição da superfície | Camada de verniz e padrão de bico | Guia de tinta UV |
| Impressão desfocada | Bordas suaves, sombreamento, detalhes pouco claros | Altura errada, objeto instável, problema de alinhamento | Altura do objeto e estabilidade da plataforma | Guia de fluxo de trabalho |
| Incompatibilidade de cores | A saída não corresponde ao arquivo ou ao lote anterior | Configuração ICC, modo de passagem, condição da tinta, mudança de material | Perfil RIP e configurações de material | Guia de tinta UV |
| Tinta não cura | A superfície parece macia, pegajosa ou arranha facilmente | Cura UV fraca, velocidade errada, problema de material, camada espessa de tinta | Lâmpada UV e configurações de cura | Guia de manutenção |
Problema 1
Bico da impressora UV obstruído ou falta de linhas
O entupimento do bico é um dos problemas mais comuns das impressoras UV. Podem aparecer linhas faltantes no teste dos bicos, saída de cores quebrada, tinta branca fraca ou faixas nas impressões finalizadas. Os canais de tinta branca geralmente requerem atenção extra porque o pigmento branco pode assentar mais facilmente do que a tinta colorida.
Possíveis causas
- A impressora ficou ociosa sem preparação correta.
- A estação de proteção não vedou o cabeçote de impressão corretamente.
- A circulação ou agitação da tinta branca foi insuficiente.
- As verificações diárias dos bicos e a limpeza foram ignoradas.
- Resíduos de tinta acumulados ao redor da área do bico.
O que verificar primeiro
- Execute um teste de bico e identifique qual canal está faltando.
- Inspecione a estação de nivelamento, o limpador e os resíduos visíveis.
- Verifique se o sistema de tinta está circulando normalmente.
- Execute o processo de limpeza recomendado gradualmente.
- Não comece uma limpeza agressiva antes das verificações básicas.
Aviso do Operador
Não continue a produção completa quando o padrão do bico estiver quebrado. Imprimir com bicos faltantes pode desperdiçar materiais e dificultar o diagnóstico posterior do problema.
Problema 2
Faixas, linhas horizontais ou cores irregulares
As faixas aparecem como linhas visíveis ou densidade irregular na impressão. Isso pode ser causado por perda de bico, fluxo de tinta instável, modo de passagem incorreto, alinhamento incorreto ou movimento do material durante a impressão.
| Verifique a área | Por que é importante | Ação Prática |
|---|---|---|
| Padrão de bico | Bicos ausentes geralmente criam faixas visíveis | Execute um teste de bico antes de alterar outras configurações |
| Modo de passagem | As configurações de passagem baixa podem mostrar mais linhas em alguns trabalhos | Teste um modo de qualidade superior para comparação |
| Fluxo de tinta | O fornecimento instável de tinta pode criar variação de densidade | Verifique o nível de tinta, o caminho da tinta e a saída do canal |
| Estabilidade de materiais | O movimento durante a impressão causa defeitos repetidos nas linhas | Use acessórios estáveis, gabaritos ou melhor posicionamento |
Problema 3
Má adesão: a tinta arranha ou descasca
A má adesão geralmente significa que a tinta não está aderindo adequadamente à superfície do material. Isso pode acontecer em vidro, metal, alguns plásticos, produtos revestidos e materiais com óleo, poeira ou contaminação superficial.
Teste recomendado
Antes da produção em massa, imprima uma pequena amostra no material exato, limpe a superfície da mesma forma que faria na produção, cure-a na configuração pretendida e teste a adesão depois que a impressão estiver totalmente assentada.
Limpeza de superfície
Impressões digitais, óleo, poeira e resíduos de revestimento podem impedir uma adesão estável
Compatibilidade de materiais
Diferentes plásticos, metais e superfícies de vidro podem se comportar de maneira diferente.
Cura UV
Configurações de cura insuficiente ou incorretas podem deixar a tinta fraca ou sensível a arranhões.
Problema 4
Problemas de tinta branca: camada branca fraca, irregular ou ausente
A tinta branca é fundamental para materiais transparentes, escuros e coloridos. Quando a camada branca é fraca ou irregular, a impressão final pode parecer opaca, transparente ou inconsistente. Problemas de tinta branca podem surgir tanto da manutenção do hardware quanto das configurações da camada RIP.
| Sintoma | Possível causa | O que verificar |
|---|---|---|
| A camada branca parece fina | Saída de branco fraca ou densidade de tinta incorreta | Teste de bico branco e configuração de tinta branca RIP |
| A camada branca é irregular | Sedimento de pigmento ou circulação instável | Circulação de tinta branca, agitação e padrão de saída |
| A cor parece fraca em acrílico transparente | Sem base branca ou ordem de camada errada | Configuração de base branca no software RIP |
| Faltando linhas brancas | Obstrução do bico branco ou problema de fluxo de tinta | Teste de bico, estação de nivelamento, caminho de tinta branca |
Problema 5
Problemas de verniz: não brilhante, irregular ou mal colocado
O verniz é usado para brilho, revestimento especial, textura em relevo e efeitos de superfície premium. Quando o resultado do verniz for fraco ou inconsistente, verifique o canal de saída do verniz e as configurações da camada RIP.
Se o verniz não for brilhante
Verifique a espessura da camada de verniz, a resistência à cura, a limpeza da superfície e se o modo de impressão é adequado para o acabamento desejado.
Se o verniz for extraviado
Verifique o alinhamento do trabalho artístico, a configuração da camada RIP, o registro e se o arquivo de verniz corresponde corretamente à arte colorida.
Se o verniz estiver irregular
Verifique a condição dos bicos, a saída de tinta, a planicidade do material e se a superfície do objeto está estável durante a impressão.
Se o efeito elevado for muito fraco
Verifique as configurações de construção da camada, o modo de passagem, a densidade do verniz e se são necessárias múltiplas passagens de verniz para o efeito alvo.
Problema 6
Impressões borradas, imagens duplas ou desalinhamento
A saída desfocada geralmente está relacionada à altura de impressão, movimento do objeto, estabilidade da plataforma ou configurações de alinhamento. A impressão plana UV exige que o objeto seja colocado com precisão e mantido estável durante a impressão.
| Sintoma | Causa provável | Corrigir direção |
|---|---|---|
| Bordas suaves | Altura do cabeçote de impressão muito distante da superfície | Verifique novamente a altura do objeto e a distância de impressão |
| Imagem dupla ou sombra | Alinhamento bidirecional ou movimento da plataforma | Verifique o alinhamento e a estabilidade do objeto |
| Arte não centralizada | Posicionamento incorreto ou configuração do gabarito | Use modelos, gabaritos e marcas de posicionamento |
| Detalhes irregulares em todo o produto | A superfície não é plana ou a espessura do objeto varia | Teste o nivelamento da superfície e suporte de fixação |
Problema 7
Tinta não cura, superfície pegajosa ou arranhões fáceis
A tinta UV deve curar sob luz UV durante a impressão. Se a impressão permanecer macia, pegajosa ou fácil de riscar, o problema poderá envolver o desempenho da lâmpada UV, a resistência da cura, a velocidade de impressão, a espessura da tinta ou a compatibilidade do material.
Lâmpada ultravioleta
Verifique se a cura permanece consistente e se a saída da lâmpada é adequada para o trabalho.
Modo de impressão
Alta densidade de tinta ou camadas espessas de verniz podem exigir diferentes configurações de cura.
Superfície do material
Alguns materiais revestidos ou plásticos podem necessitar de testes adicionais antes da produção.
Não julgue a adesão muito cedo
Alguns produtos devem ser avaliados após a estabilização da impressão. Para pedidos comerciais, teste as condições exatas de uso e não apenas a aparência imediata após a impressão.
Problema 8
Incompatibilidade de cores ou saída inconsistente
A inconsistência de cores pode vir de configurações RIP, perfis ICC, modo de passagem, condição da tinta, base de tinta branca, cor do material ou fluxo de trabalho do operador. O mesmo design pode parecer diferente em acrílico, vidro, metal, madeira e plástico porque cada material reflete a luz de maneira diferente.
| Problema de cor | Causa provável | Verifique primeiro |
|---|---|---|
| A cor parece diferente em outro material | Superfície do material e cor de fundo alteradas | Perfil do material, base em tinta branca, tipo de superfície |
| Cor alterada entre lotes | Diferente configuração RIP, estado da tinta ou lote de material | Configurações de impressão salvas e consistência do material |
| As cores parecem opacas | Sem base branca, densidade de tinta fraca, superfície ruim | Configuração de tinta branca e modo de aprovação |
| O gradiente parece áspero | Modo de baixa qualidade ou problema de configuração RIP | Modo de aprovação e configurações de qualidade de imagem |
Problema 9
Golpe do cabeçote de impressão ou colisão de objetos
Uma colisão com o cabeçote de impressão é um dos riscos mais sérios da impressora UV. Isso acontece quando o cabeçote de impressão entra em contato com um objeto, acessório, área elevada ou material solto na plataforma. Isso pode danificar o cabeçote de impressão e interromper a produção.
Causas Comuns
- A superfície do produto era irregular ou instável.
- A altura do objeto não foi medida corretamente.
- Dispositivos soltos, restos de material ou detritos foram deixados na plataforma.
- Objeto movido durante a impressão.
- A configuração de altura incorreta foi usada para um novo produto.
Etapas de prevenção
- Verifique a altura do objeto antes de cada novo tipo de produto.
- Use acessórios ou gabaritos estáveis para produtos repetíveis.
- Remova todos os restos, parafusos e itens soltos da plataforma.
- Não imprima em objetos instáveis ou em movimento.
- Teste lentamente ao usar um novo formato de produto.
Fluxo de trabalho de solução de problemas
Um fluxo de trabalho prático de solução de problemas passo a passo
Quando surgir um problema de impressão, siga um fluxo de trabalho repetível em vez de alterar várias configurações de uma só vez.
Pausa
Pare a produção total e evite desperdiçar mais espaços em branco.
Teste
Execute o teste dos bicos e inspecione cuidadosamente os sintomas impressos.
Isolar
Verifique uma área: tinta, material, altura, RIP ou cura.
Ajustar
Altere uma configuração ou etapa do processo de cada vez.
Confirmar
Imprima uma pequena amostra antes de retornar à produção.
Pare e verifique
Quando você deve parar de imprimir imediatamente
Possível colisão de cabeçotes de impressão
Pare se o objeto estiver muito alto, instável ou com probabilidade de tocar o cabeçote de impressão.
Perda grave do bico
Pare se vários canais estiverem faltando ou se o teste do bico estiver muito danificado.
Anormalidade no fluxo de tinta
Pare se a saída de tinta mudar repentinamente, aparecer ar na linha ou um canal ficar instável.
Tinta não curada ou pegajosa
Pare se a tinta não curar adequadamente, especialmente antes de produzir um lote completo para o cliente.
Caminho do modelo EraSmart
Qual configuração de impressora UV você deve considerar?
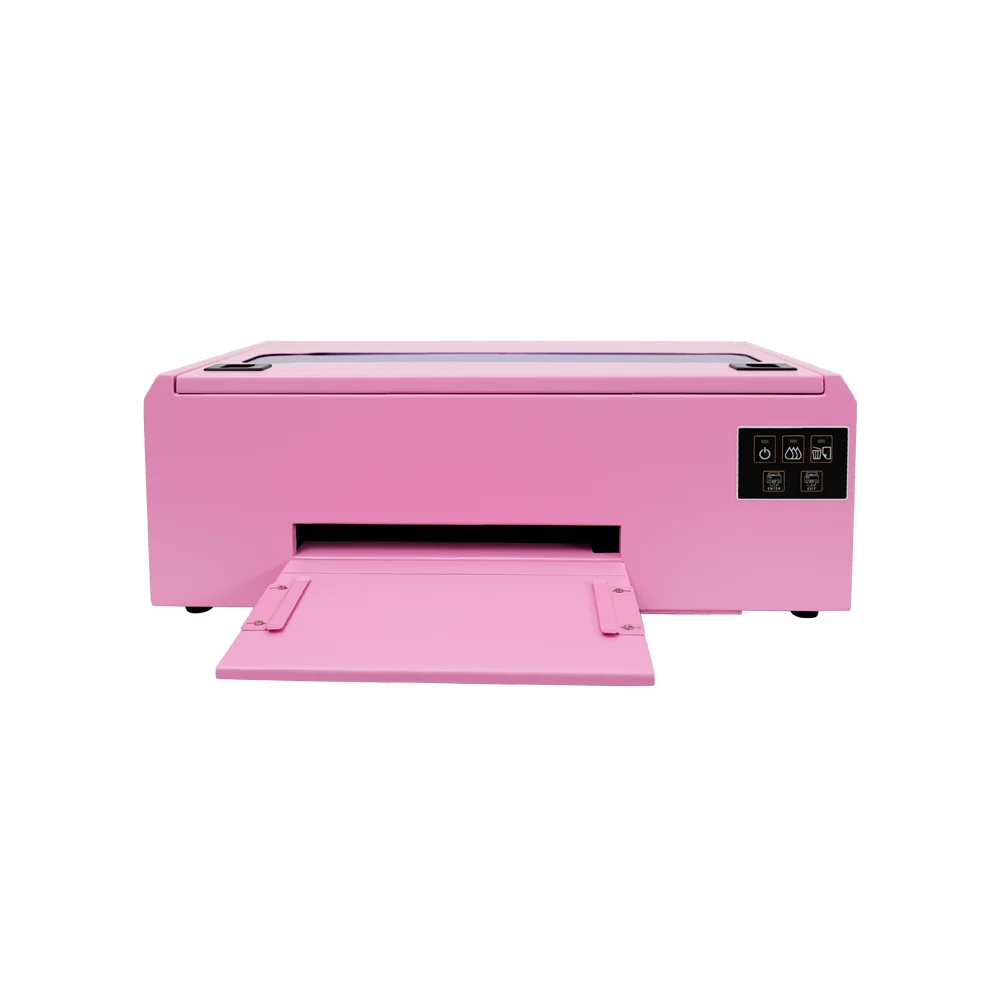
Ao comparar as impressoras UV EraSmart, considere os materiais alvo, se você precisa de tinta branca, se os efeitos de verniz fazem parte do valor do seu produto e qual tamanho de impressão seus produtos exigem.

Uma escolha prática para capas de telefone, acessórios, pequenos produtos de acrílico e fluxos de trabalho de personalização de presentes.

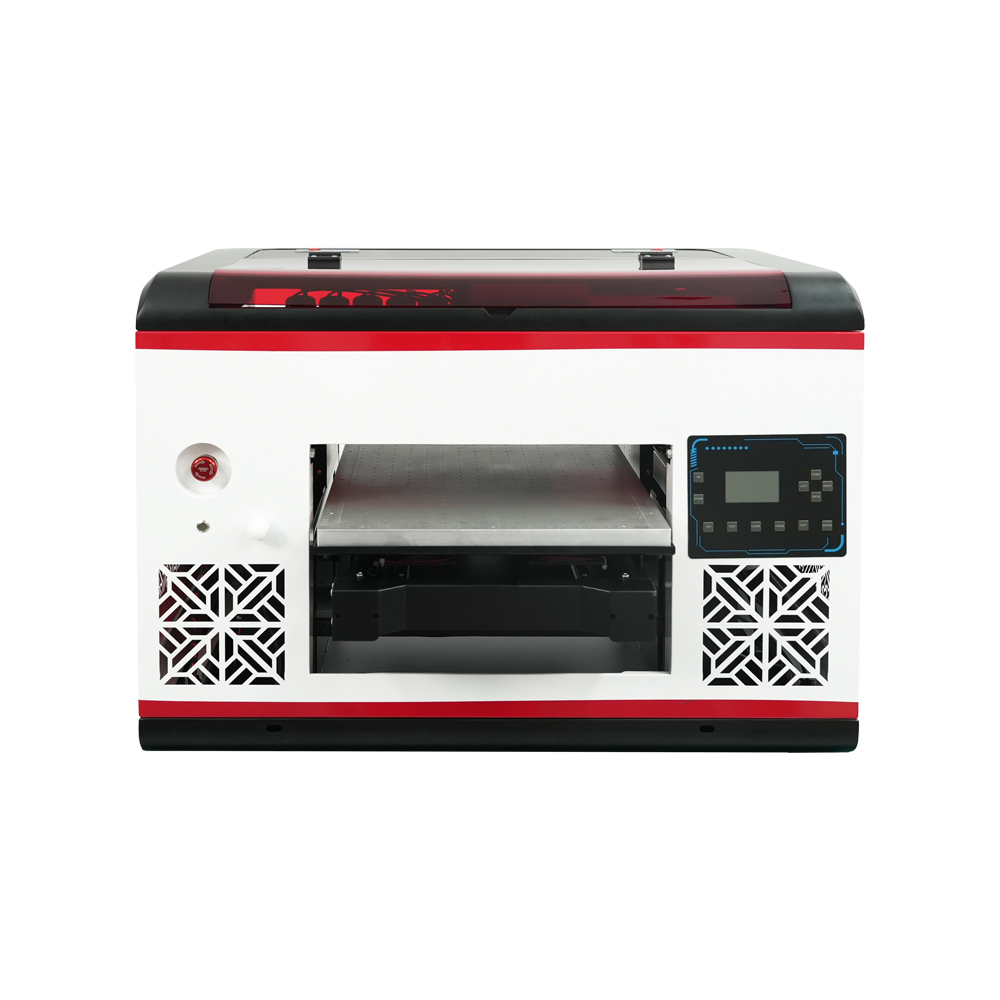
Adequado para usuários que necessitam de uma área de mesa maior e uma cobertura de material mais ampla.

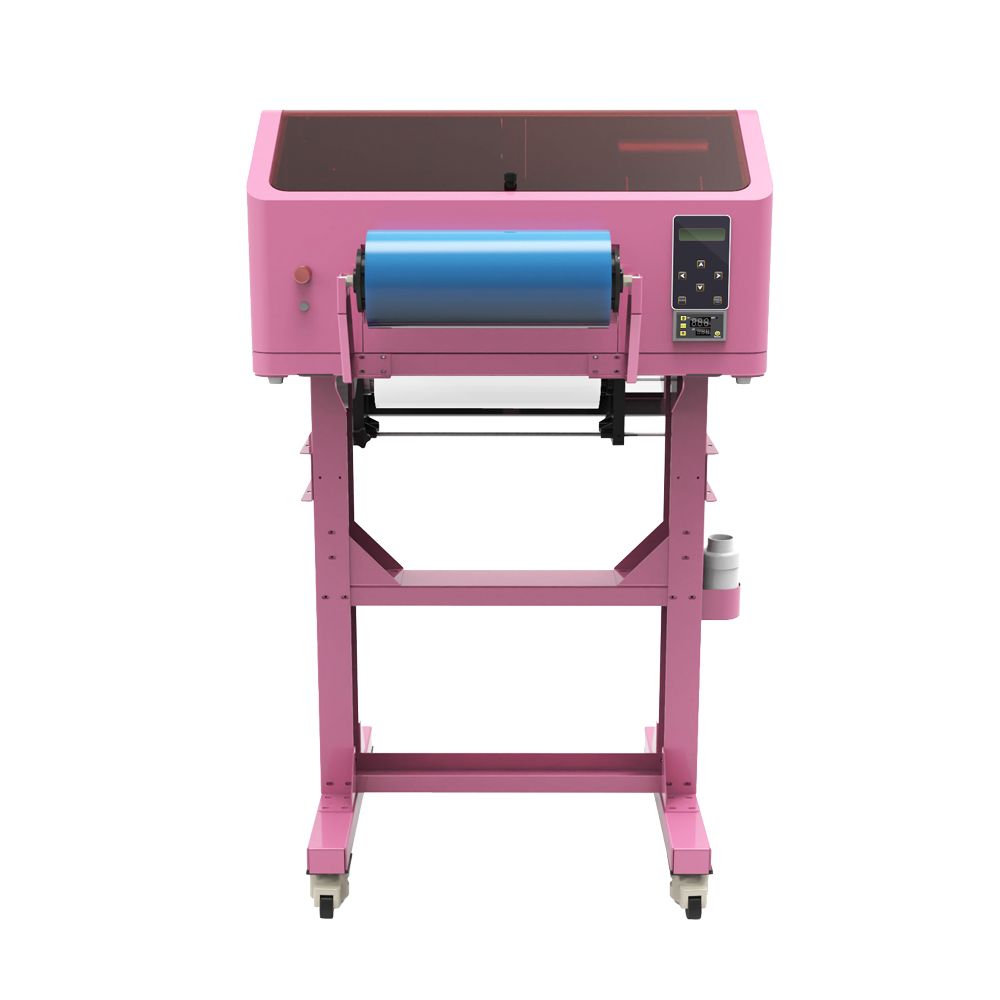
Melhor para decalques UV DTF, embalagens de copos, adesivos, garrafas e aplicações de transferência em superfícies duras.

Uma opção mais adequada para painéis, sinalizações, placas e equipes de produção maiores que precisam de mais espaço na plataforma.
Prevenção
Como prevenir a maioria dos problemas da impressora UV
| Área de Prevenção | Hábito recomendado | Problema que ajuda a prevenir |
|---|---|---|
| Verificação dos bicos | Execute antes da produção, especialmente após o tempo ocioso | Faixas, linhas faltantes, saída fraca |
| Cuidados com tinta branca | Mantenha a circulação, a agitação e verificações regulares de saída | Sedimento de tinta branca e opacidade fraca |
| Limpeza de materiais | Remova poeira, óleo, impressões digitais e resíduos de revestimento | Má adesão e acabamento irregular |
| Controle de altura | Confirme a altura do objeto antes de cada novo tipo de produto | Saída borrada e impacto no cabeçote de impressão |
| Predefinições de RIP | Salve as configurações testadas para cada material e produto | Incompatibilidade de cores e erros de camada |
| Rotina de longa inatividade | Siga as etapas de desligamento e reinicialização antes de longos períodos de inatividade | Secagem, entupimento e falha na inicialização |
Perguntas frequentes sobre solução de problemas de impressora UV
-
1. Por que minha impressora UV está imprimindo linhas?
Linhas ou faixas geralmente vêm de bicos ausentes, fluxo de tinta instável, configurações de passagem incorretas ou movimento do material. Comece com um teste dos bicos antes de alterar as configurações do RIP.
-
2. Por que a tinta UV não adere ao meu material?
A má adesão geralmente está relacionada à contaminação da superfície, revestimento de material incompatível, cura fraca ou testes insuficientes do material. Limpe o material e teste o substrato exato antes da produção.
-
3. Por que a tinta branca parece fraca ou irregular?
A tinta branca fraca pode ser causada por sedimentos de pigmento, má circulação, entupimento dos bicos, densidade incorreta da tinta branca ou configurações incorretas da camada RIP.
-
4. Por que minha impressão UV está borrada?
A saída borrada geralmente é resultado de altura de impressão incorreta, posicionamento instável de objetos, superfície irregular do produto ou problemas de alinhamento.
-
5. Por que o verniz não é suficientemente brilhante?
O verniz pode parecer fraco se a camada for muito fina, se a resistência de cura não for adequada, se a saída do bico for irregular ou se a superfície do material não estiver preparada corretamente.
-
6. Por que a tinta UV parece pegajosa?
A tinta pegajosa pode indicar cura insuficiente, velocidade de impressão incorreta, força de cura inadequada, camadas de tinta excessivamente espessas ou problemas de compatibilidade de materiais.
-
7. Devo continuar imprimindo se o teste dos bicos estiver ruim?
Não. Um teste de bico ruim deve ser realizado antes da produção. Continuar a imprimir pode desperdiçar materiais e dificultar o diagnóstico do problema.
-
8. Como posso reduzir os problemas de solução de problemas da impressora UV a longo prazo?
Crie uma rotina em torno de verificações de bicos, manutenção de tinta branca, limpeza de plataforma, testes de materiais, controle de altura, predefinições de RIP salvas e proteção contra longos períodos de inatividade.
Série de impressoras EraSmart
High-quality UV Printers for metal, acrylic, glass, wood & more. Instant curing, vivid 1440dpi prints, versatile for diverse materials.
Imprima decalques vívidos e em relevo com **CMYK + Branco + Verniz** em uma única passagem. Sem pó. Sem forno. Descasque e cole em itens planos ou curvos em minutos.
Não foi possível encontrar um guia adequado? Obtenha suporte técnico gratuito agora!
Basta fornecer alguns detalhes e ajudaremos você a obter cotações rápidas!
Impressora ERASMART
Impressora UV
Impressora DTF
Impressora DTG
Máquina de prensa de calor
Impressora de publicidade
Ferramentas de impressora
Forno dtf
Hot Press
Máquina de escultura
Transferência de calor da caneca
Máquina de laminação
Consumíveis
Tinta de impressão
Capa do celular
Produto de vidro
Fluido de limpeza
Cotonete
Contate-nos
Whatsapp : +8618566233796
WeChat: +8618566233796
Mobile : +8618566233796
Web:www.erasmart.com
Comprar:www.erasmartmall.com
Solicite uma cotação
Basta fornecer alguns detalhes e ajudaremos você a obter cotações rápidas!
Downlond
Deixe seu e-mail e envie o URL de download para o e-mail.
Precisa do preço da impressora?
Conte-nos suas necessidades de impressão. Nossa equipe responderá dentro de 24 horas.