
Fluxo de trabalho de impressão UV: um processo passo a passo para uma produção estável e repetível
A impressão UV não consiste apenas em pressionar o botão de impressão. Um fluxo de trabalho estável inclui preparação de arte, configuração RIP, limpeza de material, posicionamento de objetos, ajuste de altura, teste de bicos, controle de camada de tinta branca e verniz, cura UV, inspeção de qualidade e manutenção após a impressão. Este guia explica o processo completo de impressão plana UV e ajuda os operadores a reduzir desperdícios, defeitos e tempo de inatividade.
Resumo do fluxo de trabalho
Preparar
Configurar
Imprimir
Inspecionar
Configuração de arte
Prepare corretamente o tamanho, a resolução, a arte colorida, a camada de tinta branca e a camada de verniz.
Preparação de Materiais
Limpe a superfície, verifique o nivelamento, confirme o risco de adesão e use acessórios quando necessário.
Controle de impressão
Use o modo de passagem correto, configuração de altura, ordem da camada de tinta e força de cura UV.
Verificação de qualidade
Inspecione a cor, a adesão, a tinta branca, o verniz, o alinhamento e a repetibilidade antes da saída do lote.
Noções básicas de fluxo de trabalho
Por que a impressão UV precisa de um fluxo de trabalho padrão
A impressão UV combina impressão digital a jato de tinta, cura UV, manuseio de materiais e controle de tinta em camadas. Um pequeno erro em uma etapa pode afetar todo o resultado. Por exemplo, uma superfície de acrílico suja pode causar má adesão, uma camada de tinta branca incorreta pode fazer com que as cores pareçam fracas e o ajuste incorreto da altura pode criar bordas borradas ou risco de colisão do cabeçote de impressão.
Um fluxo de trabalho repetível ajuda os operadores a imprimir de forma mais consistente, reduzir tentativas e erros e escalar desde pedidos únicos personalizados até produção em lote. Quer você imprima capas de telefone, placas de acrílico, etiquetas de metal, presentes de madeira, painéis de vidro ou itens promocionais, o fluxo de trabalho deve ser padronizado antes da produção.
Regra Simples
Não inicie a produção até que o arquivo de projeto, a superfície do material, a altura do objeto, a condição do bico, as configurações RIP e o resultado da cura tenham sido verificados em uma pequena amostra.
Fluxo de Trabalho Mestre
Tabela completa de fluxo de trabalho de impressão UV
Use esta tabela como uma visão geral rápida do processo completo de impressão UV.
| Etapa | Estágio do fluxo de trabalho | O que fazer | Por que é importante | Risco Comum |
|---|---|---|---|---|
| 1 | Confirme produto e material | Verifique tamanho, superfície, planicidade, cor, revestimento e necessidades de aplicação | Determina se a impressão plana UV é adequada | Escolha errada do processo ou má adesão |
| 2 | Preparar arte | Definir tamanho correto, resolução, arte colorida, tinta branca e áreas de verniz | Evita tamanho errado, falta de camada branca ou verniz mal colocado | Erros de camada e problemas de alinhamento |
| 3 | Definir parâmetros RIP | Escolha o modo de passagem, a ordem das camadas, a densidade da tinta e o perfil do material | Controla qualidade, velocidade, cor, tinta branca e verniz | Cor fraca, camada errada, saída lenta |
| 4 | Preparar material | Limpe a superfície, remova poeira, óleo, impressões digitais e partículas soltas | Melhora a adesão e a aparência final | Riscos de tinta ou defeitos superficiais |
| 5 | Posição do objeto | Coloque o produto com precisão e use gabaritos ou acessórios quando necessário | Melhora a repetibilidade e reduz o desalinhamento | Impressão ou movimento descentralizado |
| 6 | Ajustar altura | Confirme a altura do objeto e a distância do cabeçote de impressão | Protege o cabeçote de impressão e melhora a nitidez | Impressão borrada ou impacto no cabeçote de impressão |
| 7 | Execute o teste do bico | Verifique os canais CMYK, tinta branca e verniz antes da produção | Evita faixas, linhas faltantes e lotes com falha | Imprimir com jatos entupidos |
| 8 | Imprimir amostra | Teste uma peça antes da produção em lote | Confirma cor, adesão, cura e alinhamento | Desperdício de lote de configurações não testadas |
| 9 | Produção em lote | Imprima com posicionamento controlado, configurações e inspeção periódica | Mantém a saída consistente | Mudança de cor ou defeitos perdidos |
| 10 | Verificação pós-impressão | Inspecione a adesão, cura, verniz, tinta branca e acabamento superficial | Garante que o produto esteja pronto para entrega | Reclamações de clientes ou retrabalho |
Passo 1
Confirme o produto, material e método de impressão
Antes de preparar a arte, confirme se o produto é adequado para impressão UV direta em mesa. Produtos planos, estáveis, rígidos ou semirrígidos geralmente são mais fáceis de imprimir diretamente. Objetos curvos, irregulares ou difíceis de posicionar podem ser melhores para impressão por transferência UV DTF.
Bom ajuste para mesa UV
- Painéis e letreiros acrílicos
- Capas de telefone com gabaritos estáveis
- Etiquetas e placas de identificação metálicas
- Tábuas e placas de madeira
- Peças planas de vidro ou cerâmica
Pode caber melhor no UV DTF
- Copos e garrafas
- Superfícies duras curvas
- Itens promocionais irregulares
- Produtos difíceis de posicionar em uma mesa
- Produção de adesivos ou etiquetas de cristal
Etapa 2
Prepare a arte, o tamanho e as camadas de impressão
A impressão UV geralmente requer mais de uma camada de arte. Um trabalho básico pode usar apenas CMYK. Materiais transparentes, escuros ou coloridos podem exigir uma camada de tinta branca. Produtos premium podem exigir uma camada de verniz para brilho, destaque ou textura em relevo.
| Elemento de arte | Propósito | Quando necessário | Erro comum |
|---|---|---|---|
| Camada CMYK | Cria a imagem colorida | Quase todos os trabalhos de impressão UV | Arte de baixa qualidade ou tamanho incorreto |
| Camada de tinta branca | Cria base para cores fortes | Materiais claros, escuros ou coloridos | Esquecendo a base branca em produtos transparentes |
| Camada de Verniz | Adiciona brilho, efeito pontual ou textura em relevo | Presentes premium, placas e itens de marca | Verniz mal colocado ou ordem de camada errada |
| Referência de Corte/Posição | Ajuda a alinhar produto e arte | Repetir pedidos, gabaritos, capas de telefone, trabalho em lote | Arte não centrada no produto |
Etapa 3
Definir parâmetros RIP para cor, tinta branca, verniz e modo de passagem
O software RIP converte arte em dados imprimíveis e controla a saída da camada. Para impressão UV, as configurações RIP são especialmente importantes porque a impressora pode precisar imprimir tinta branca sob cor, verniz sobre cor ou densidades de tinta diferentes para materiais diferentes.
Dica de fluxo de trabalho
Salve as configurações de RIP bem-sucedidas por tipo de produto. Por exemplo, mantenha predefinições separadas para acrílico transparente, capas de telefone escuras, etiquetas de metal e placas de madeira.
Ordem das camadas
Confirme se o trabalho deve ser impresso apenas em cores, branco mais cor, cor mais verniz ou branco mais cor mais verniz.
Modo de passagem
Modos de passagem mais altos podem melhorar a qualidade, mas reduzir a velocidade. Os modos de passagem inferior podem aumentar a produção, mas podem apresentar faixas em alguns materiais.
Densidade da tinta
A densidade da tinta afeta a intensidade da cor, a opacidade do branco, o resultado da cura e o acabamento da superfície.
Perfil de Materiais
Salve as configurações testadas para materiais repetidos, como acrílico, capas de telefone, metal, madeira e vidro.
Etapa 4
Limpe e prepare a superfície do material
A preparação do material é uma das partes mais importantes do fluxo de trabalho da impressão UV. Mesmo que a impressora e a arte estejam corretas, poeira, impressões digitais, óleo, resíduos de revestimento ou superfícies irregulares podem causar má adesão, arranhões, cores fracas ou defeitos visíveis.
| Material | Foco na Preparação | Risco Comum |
|---|---|---|
| Acrílico | Remova a película protetora de forma limpa, limpe as impressões digitais, evite arranhões | Cor fraca em acrílico transparente se não houver base branca |
| Vidro | Limpe óleo, impressões digitais e poeira com cuidado | Má adesão em superfície lisa |
| Metal | Remova óleo, oxidação e resíduos de superfície | A tinta arranha se a superfície estiver contaminada |
| Madeira | Remova a poeira e verifique o nivelamento da superfície | Imagem irregular em superfície áspera ou porosa |
| Capas de telefone | Verifique o revestimento, limpe a superfície, use um gabarito estável | Diferenças de desalinhamento ou adesão por tipo de caso |
Etapa 5
Posicione o produto e use acessórios quando necessário
O posicionamento do produto afeta tanto a qualidade da peça única quanto a eficiência do lote. Para impressões únicas, um posicionamento manual cuidadoso pode ser suficiente. Para produtos repetidos, como capas de telefone, placas de identificação, pequenas peças de acrílico ou itens para presentes, gabaritos e modelos podem melhorar significativamente a velocidade e a consistência.
Colocação manual
Adequado para amostras únicas ou produtos com requisitos simples de posicionamento.
Posicionamento do gabarito
Útil para capas de telefone, etiquetas, acessórios e produtos que se repetem em lotes.
Fluxo de trabalho do modelo
Ajuda os operadores a alinhar arte e produtos rapidamente durante a produção repetida.
Dica de produção
Se você planeja vender o mesmo produto repetidamente, crie um fluxo de trabalho de posicionamento fixo. Um bom gabarito pode reduzir erros, melhorar a velocidade de produção e facilitar o treinamento de novos operadores.
Etapa 6
Ajuste a altura de impressão e proteja o cabeçote de impressão
A altura correta de impressão é fundamental na impressão plana UV. Se o cabeçote de impressão estiver muito longe da superfície, a impressão poderá ficar borrada ou sombreada. Se o objeto estiver muito alto ou instável, o cabeçote de impressão poderá atingir o produto, o acessório ou detritos na plataforma.
Riscos de altura errada
- Bordas desfocadas ou detalhes suaves da imagem
- Imagem dupla ou efeito de sombra
- Colocação irregular de tinta
- Colisão ou dano do cabeçote de impressão
Lista de verificação do operador
- Meça ou confirme a altura do objeto.
- Verifique se a superfície do produto está plana.
- Remova todos os detritos da plataforma.
- Use acessórios estáveis para produtos repetidos.
Etapa 7
Execute um teste de bico antes da produção
Um teste de bico é uma das maneiras mais simples de evitar o desperdício de materiais. Mostra se os canais CMYK, tinta branca e verniz estão sendo gerados corretamente. Se o padrão do bico estiver quebrado, não inicie a produção em lote.
| Resultado do teste do bico | O que isso pode significar | Ação recomendada |
|---|---|---|
| Padrão completo | Os canais de tinta parecem estáveis | Prossiga para a impressão de amostra |
| Linhas CMYK ausentes | Possível entupimento do bico ou fluxo de tinta instável | Siga a rotina de limpeza antes de imprimir |
| Faltando linhas brancas | Sedimento de tinta branca, entupimento ou problema de circulação | Verifique o sistema de tinta branca e a saída dos bicos |
| Saída de verniz irregular | Problema com bico de verniz ou saída de camada | Verifique o canal de verniz antes dos trabalhos premium |
Etapa 8
Imprima uma amostra antes da produção em lote
A impressão de amostra é a ponte entre a configuração e a produção. Uma amostra confirma que o trabalho artístico, as camadas, a preparação do material, a altura, a cura e a qualidade da saída estão corretos. Esta etapa é especialmente importante ao imprimir em um material novo ou ao usar tinta branca e verniz.
O que inspecionar
- Posição e tamanho da arte
- Força e precisão da cor
- Cobertura de tinta branca
- Verniz brilho ou textura
- Resultado de adesão e cura
Quando testar novamente
- Novo material ou lote de fornecedor
- Nova arte ou modo de camada
- Novo efeito de verniz
- Após manutenção ou longo período de inatividade
- Antes de grandes pedidos de clientes
Etapa 9
Execute a produção em lote com verificações periódicas
Após a aprovação da amostra, a produção pode continuar. Contudo, os operadores ainda devem monitorar a produção durante o trabalho em lote. Problemas de impressão UV podem aparecer gradualmente devido à condição do bico, variação do material, fluxo de tinta, resíduos da plataforma ou manuseio do operador.
| Ponto de verificação de lote | O que monitorar | Por que é importante |
|---|---|---|
| Primeira peça acabada | Posição, cor, tinta branca, verniz, cura | Captura erros de configuração antes do lote completo |
| Cada poucas peças | Consistência de cores e linhas relacionadas aos bicos | Evita que defeitos ocultos se espalhem |
| Carregamento de materiais | Colocação, altura, poeira, condição de fixação | Mantém a repetibilidade e a segurança do cabeçote de impressão |
| Resultado de cura | Dureza superficial, brilho e resistência a arranhões | Confirma a qualidade do produto acabado |
Etapa 10
Inspeção e acabamento pós-impressão
Após a impressão, inspecione o produto acabado antes de embalar ou entregar. A impressão UV pode ficar boa imediatamente, mas o produto ainda deve ser verificado quanto à adesão, cura, alinhamento, cor e acabamento superficial.
Verificação visual
Pare a produção total e evite desperdiçar mais espaços em branco.
Verificação de superfície
Verifique se a tinta está curada, lisa, brilhante, texturizada ou com relevo conforme necessário.
Verificação de adesão
Teste as condições exatas de uso antes de vender ou entregar um novo tipo de produto.
Após a impressão
Limpe e faça a manutenção da impressora após a produção
O fluxo de trabalho não termina quando a impressão termina. A manutenção pós-impressão protege a máquina para o próximo trabalho. Isto é especialmente importante para impressoras que utilizam tinta branca e verniz.
| Tarefa pós-impressão | Propósito | Problema que evita |
|---|---|---|
| Limpe a plataforma | Remova poeira, resíduos, restos e peças soltas | Erros de posicionamento e risco de colisão do cabeçote de impressão |
| Verifique a área de cobertura | Garanta a proteção do cabeçote de impressão durante o tempo ocioso | Secagem do bico e reinício difícil |
| Verifique a tinta residual | Evitar transbordamento e contaminação | Processo de limpeza confuso e recuperação instável |
| Salvar configurações bem-sucedidas | Crie predefinições de produção repetíveis | Lotes futuros inconsistentes |
Fluxo de trabalho do aplicativo
Fluxo de trabalho de impressão UV por tipo de produto
Produtos diferentes precisam de diferentes ênfases no fluxo de trabalho. A tabela abaixo ajuda os operadores a se concentrarem nos pontos de controle mais importantes.
| Tipo de produto | Foco principal do fluxo de trabalho | Risco Principal | Guia recomendado |
|---|---|---|---|
| Capas de telefone | Posicionamento do gabarito, repetibilidade, limpeza de superfície | Diferenças de desalinhamento e adesão | Guia de Materiais |
| Acrílico transparente | Base de tinta branca e limpeza de superfície | Cor fraca sem tinta branca | Guia de tinta UV |
| Etiquetas metálicas | Remoção de óleo, teste de adesão, verificação de cura | A tinta arranha | Guia de solução de problemas |
| Presentes de madeira | Remoção de poeira, planicidade, controle de textura | Saída irregular ou irregular | Guia de Materiais |
| Sinais premium | Tinta branca, verniz, controle de camada, inspeção final | Verniz mal colocado ou brilho fraco | Guia de tinta UV |
Erros Comuns
Erros de fluxo de trabalho de impressão UV a serem evitados
Ignorando o teste do bico
Iniciar a produção com bicos faltantes pode causar faixas, tinta branca fraca, falha no verniz e desperdício de materiais.
Imprimir sem limpar o material
Poeira, óleo e impressões digitais são causas comuns de má adesão e defeitos superficiais visíveis.
Ignorando o controle de altura
A altura errada do objeto pode causar resultados borrados ou risco de colisão do cabeçote de impressão.
Usando uma configuração para cada material
Capas de acrílico, vidro, metal, madeira, plástico e telefone podem exigir diferentes configurações de RIP e etapas de preparação.
Caminho do modelo EraSmart
Qual configuração de impressora UV você deve considerar?
Ao comparar as impressoras UV EraSmart, considere os materiais alvo, se você precisa de tinta branca, se os efeitos de verniz fazem parte do valor do seu produto e qual tamanho de impressão seus produtos exigem.

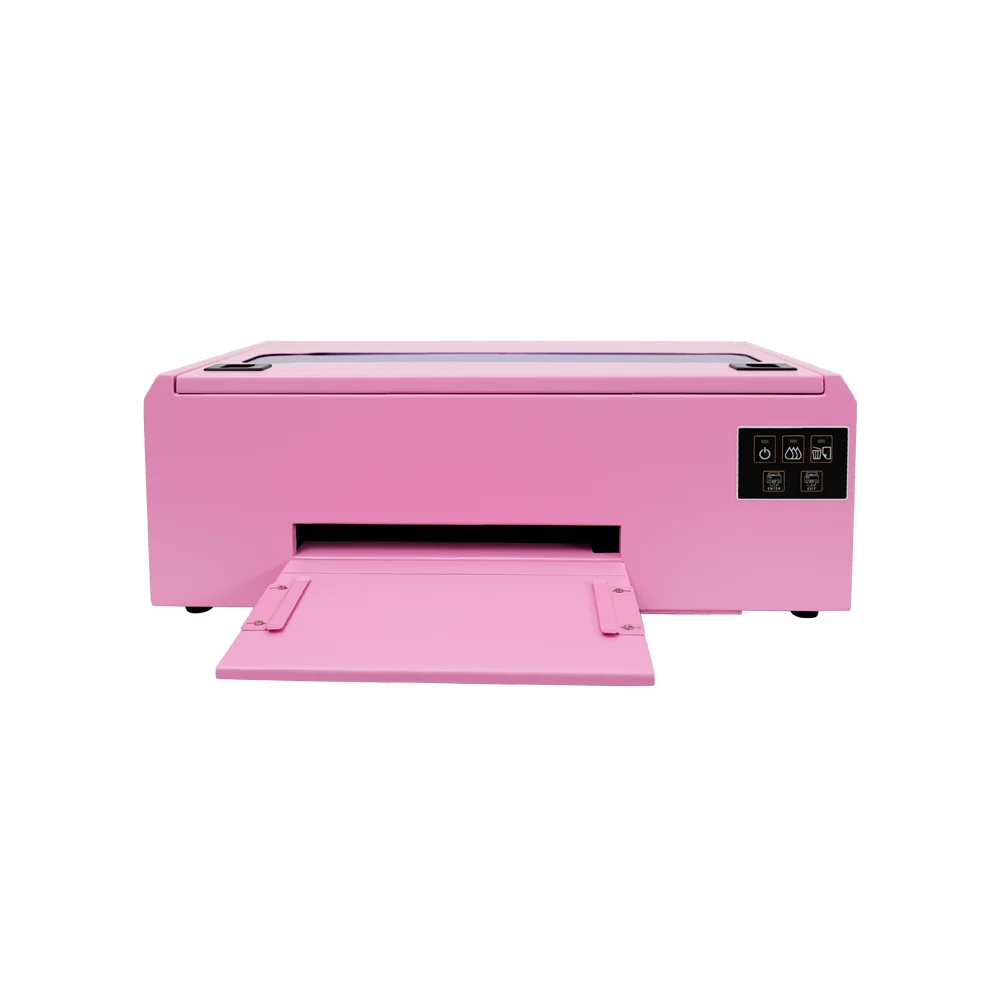
Uma escolha prática para capas de telefone, acessórios, pequenos produtos de acrílico e fluxos de trabalho de personalização de presentes.

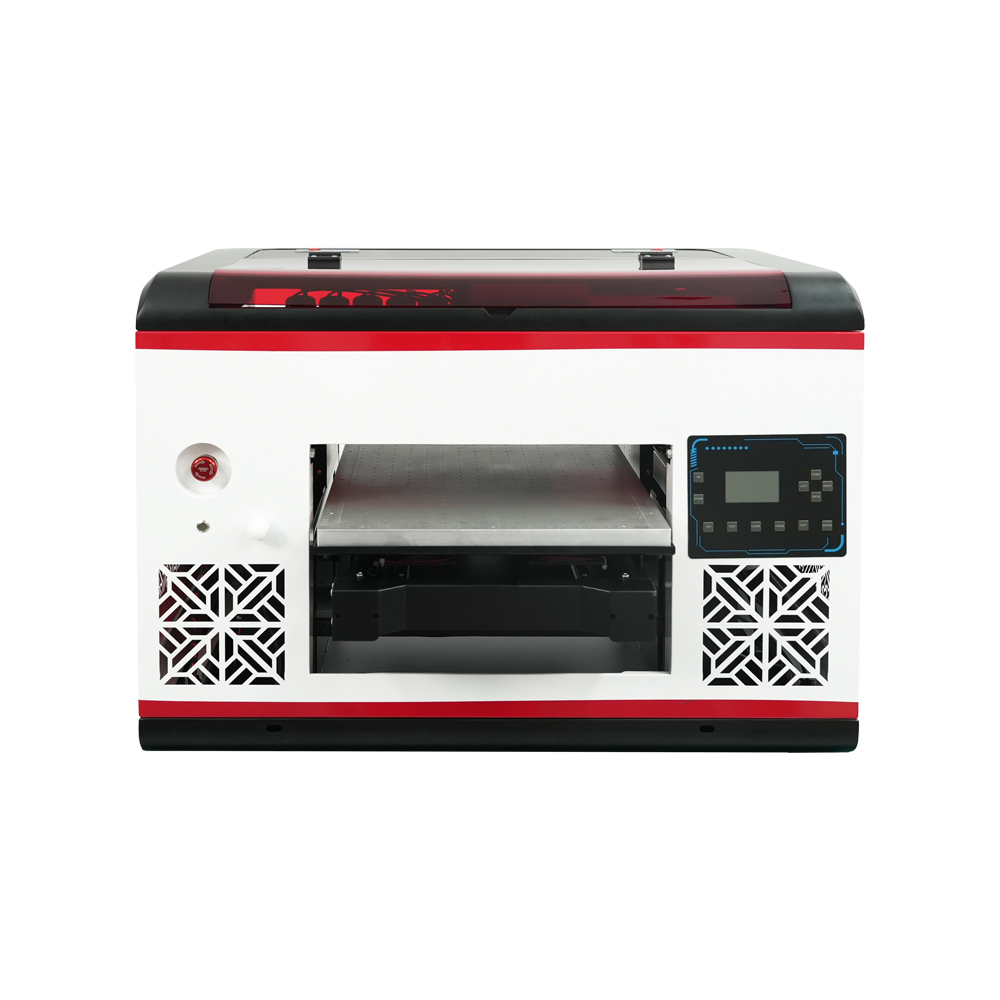
Adequado para usuários que necessitam de uma área de mesa maior e uma cobertura de material mais ampla.

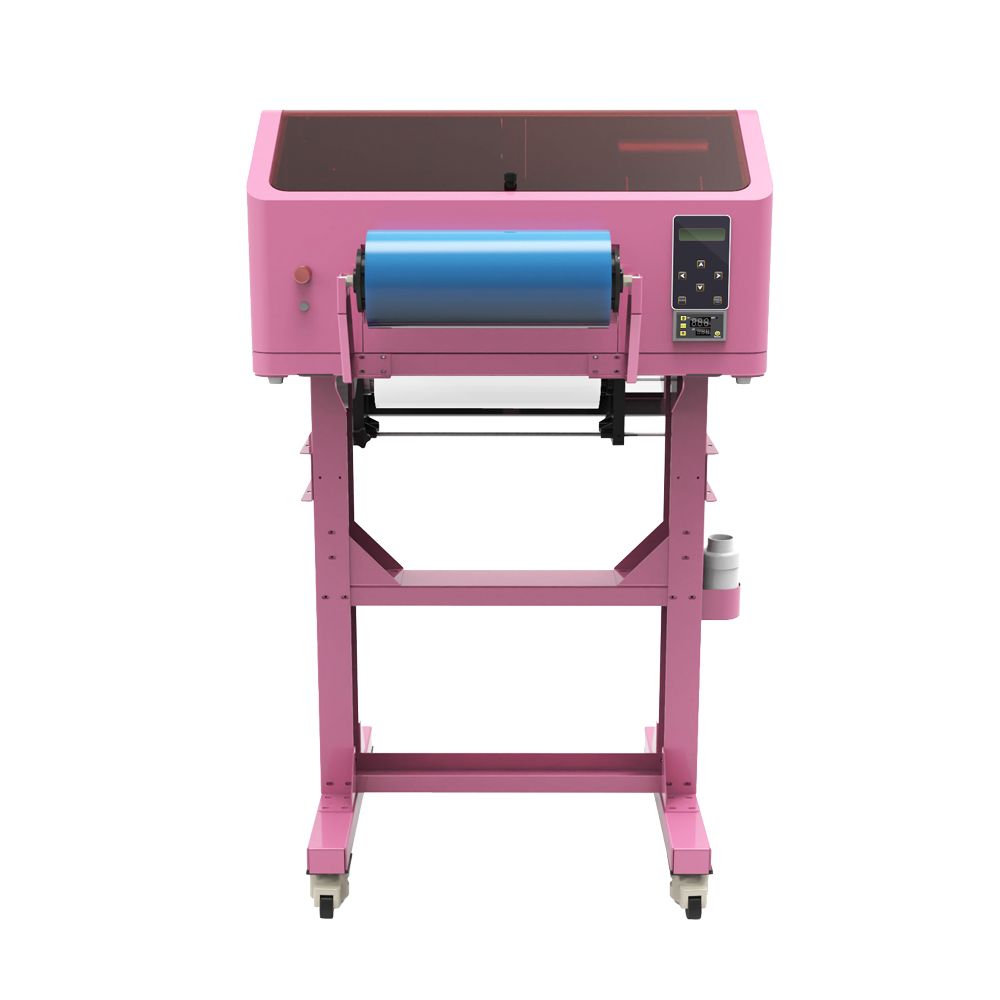
Melhor para decalques UV DTF, embalagens de copos, adesivos, garrafas e aplicações de transferência em superfícies duras.

Uma opção mais adequada para painéis, sinalizações, placas e equipes de produção maiores que precisam de mais espaço na plataforma.
Perguntas frequentes sobre fluxo de trabalho de impressão UV
-
1. Qual é o fluxo de trabalho básico de impressão UV?
O fluxo de trabalho básico de impressão UV inclui preparação de arte, configuração RIP, limpeza de material, posicionamento de objetos, ajuste de altura, teste de bicos, impressão de amostras, cura UV, inspeção e manutenção pós-impressão.
-
2. Preciso realizar um teste de bicos antes de cada trabalho de impressão UV?
Sim. Um teste de bico ajuda a evitar faixas, linhas faltantes, tinta branca fraca e falhas na produção de verniz antes de desperdiçar materiais na produção.
-
3. Por que a tinta branca é importante no fluxo de trabalho?
A tinta branca é importante para materiais transparentes, escuros e coloridos. Ele cria uma base que ajuda as cores CMYK a parecerem mais fortes e precisas.
-
4. Quando devo usar verniz na impressão UV?
Use verniz quando o produto precisar de brilho, revestimento especial, textura em relevo ou efeito de superfície premium. O verniz é comum em placas, presentes, painéis decorativos e produtos de marca.
-
5. Por que devo imprimir uma amostra primeiro?
Uma amostra confirma o tamanho da arte, preparação do material, ordem das camadas, altura, cura, cor, tinta branca, verniz e adesão antes da produção em lote.
-
6. Como posso melhorar a repetibilidade na impressão UV?
Use gabaritos, modelos, predefinições RIP salvas, configurações específicas de material, rotinas de limpeza consistentes e verificações regulares de qualidade.
-
7. O que causa a maioria dos problemas no fluxo de trabalho de impressão UV?
As causas comuns incluem verificações de bicos ignoradas, superfícies de material sujas, altura incorreta, configurações RIP erradas, manutenção fraca da tinta branca e materiais não testados.
-
8. O UV DTF tem o mesmo fluxo de trabalho que a impressão plana UV?
A impressão plana UV imprime diretamente no produto, enquanto a impressão UV DTF cria decalques de transferência. UV DTF requer filme A/B e fluxo de trabalho de transferência em vez de posicionamento direto em mesa.
Série de impressoras EraSmart
High-quality UV Printers for metal, acrylic, glass, wood & more. Instant curing, vivid 1440dpi prints, versatile for diverse materials.
Imprima decalques vívidos e em relevo com **CMYK + Branco + Verniz** em uma única passagem. Sem pó. Sem forno. Descasque e cole em itens planos ou curvos em minutos.
Não foi possível encontrar um guia adequado? Obtenha suporte técnico gratuito agora!
Basta fornecer alguns detalhes e ajudaremos você a obter cotações rápidas!
Impressora ERASMART
Impressora UV
Impressora DTF
Impressora DTG
Máquina de prensa de calor
Impressora de publicidade
Ferramentas de impressora
Forno dtf
Hot Press
Máquina de escultura
Transferência de calor da caneca
Máquina de laminação
Consumíveis
Tinta de impressão
Capa do celular
Produto de vidro
Fluido de limpeza
Cotonete
Contate-nos
Whatsapp : +8618566233796
WeChat: +8618566233796
Mobile : +8618566233796
Web:www.erasmart.com
Comprar:www.erasmartmall.com
Downlond
Deixe seu e-mail e envie o URL de download para o e-mail.
Precisa do preço da impressora?
Conte-nos suas necessidades de impressão. Nossa equipe responderá dentro de 24 horas.
Solicite uma cotação
Basta fornecer alguns detalhes e ajudaremos você a obter cotações rápidas!