Screen printing operates on the basic principle that the image area of the screen stencil allows ink to pass through, while the non-image area blocks ink. During printing, ink is poured onto one end of the screen stencil. A squeegee applies pressure to the ink on the stencil and moves toward the other end, forcing the ink through the mesh of the image area onto the substrate to form the desired design.
- Stencil Preparation: A screen (typically made of nylon, polyester, or other materials) is stretched tightly over a frame. Using photolithography, the desired design is transferred to a film negative, which is then aligned with the screen coated in photosensitive emulsion. After exposure and development, the mesh in the image area remains open, while the non-image area is blocked by cured emulsion.
- Substrate and Ink Preparation: Select a suitable substrate (such as paper, fabric, plastic, or metal) and clean its surface to remove dust or contaminants. Choose ink compatible with the substrate material.
- Printing Operation: Secure the screen stencil to the printing station, place the substrate under the stencil, and pour ink onto one end of the stencil. Use a squeegee to evenly scrape the ink across the stencil at a specific angle and pressure, transferring the ink through the mesh onto the substrate.
- Drying and Curing: Dry the printed substrate based on ink properties—common methods include air-drying, hot-air drying, or infrared drying—to ensure the ink adheres firmly.
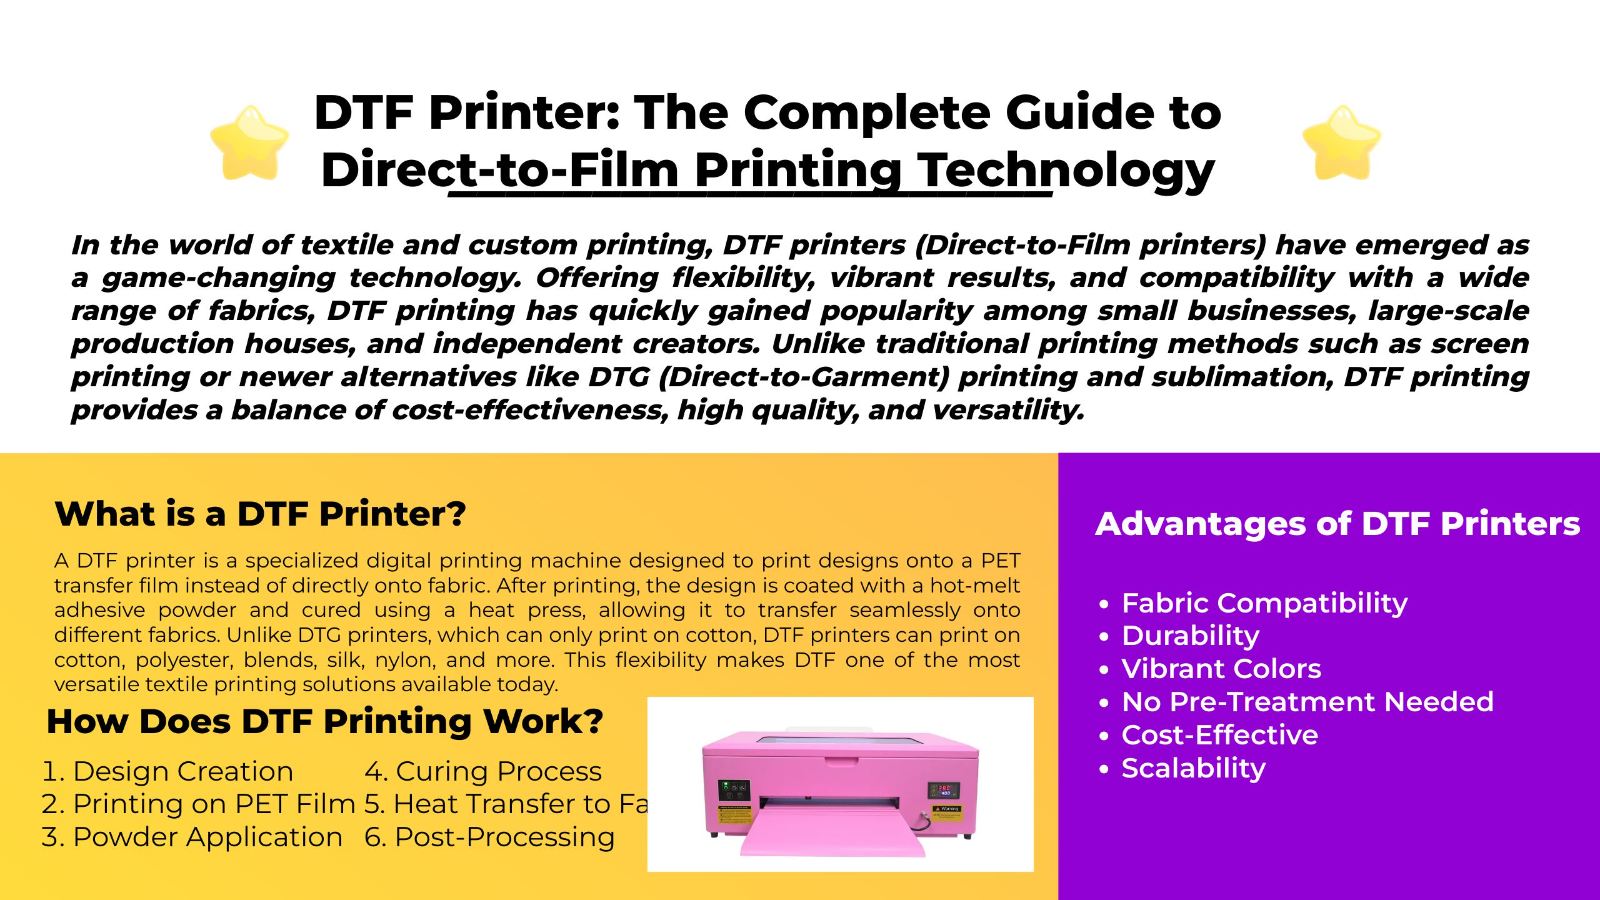
DTF (Direct to Film) printing begins with a printer depositing DTF ink (containing pigments, binders, etc.) onto a DTF transfer film. DTF hot-melt powder is then evenly sprinkled over the printed design. The film is heated in an oven, melting the powder, which fuses with the ink to form an adhesive coating. Finally, a heat press applies high temperature and pressure to transfer the design from the film to the substrate (e.g., textiles). As the hot-melt powder cools, it bonds the design securely to the substrate.
- Design and Layout: Create the desired design using graphic software (e.g., Photoshop, Illustrator) and adjust the layout based on the size of the transfer film and substrate.
- Printing onto DTF Film: Use a DTF printer to precisely print the design onto the DTF transfer film. Control print head accuracy and ink deposition to ensure design clarity and color accuracy.
- Powder Application and Curing: Sprinkle DTF hot-melt powder evenly over the printed design, then place the film in an oven. Bake at a set temperature and duration to melt the powder, which merges with the ink.
- Heat Press Transfer: Position the cured film over the substrate and use a heat press with calibrated temperature, pressure, and time to transfer the design from the film to the substrate.
- Cleanup and Finishing: Peel off the transfer film, inspect the substrate, and remove excess hot-melt powder to complete the finished product.
The core commonality lies in ink transfer for image formation: Both processes transfer ink (or a combination of ink and auxiliary materials) onto the substrate through specific techniques, ultimately achieving stable, visible designs. In essence, they accomplish the “ink-to-substrate” pattern transfer through physical or chemical interactions.
In summary, screen printing excels in large-scale standardized production, while DTF printing offers advantages in customization and small-batch scenarios. Their cost structures and application scenarios complement each other, catering to diverse printing needs across industries.