Small Size Flatbed Inkjet Printer Manufacturer

How to Make 3D Raised Logos with a UV DTF Printer: Complete Workflow
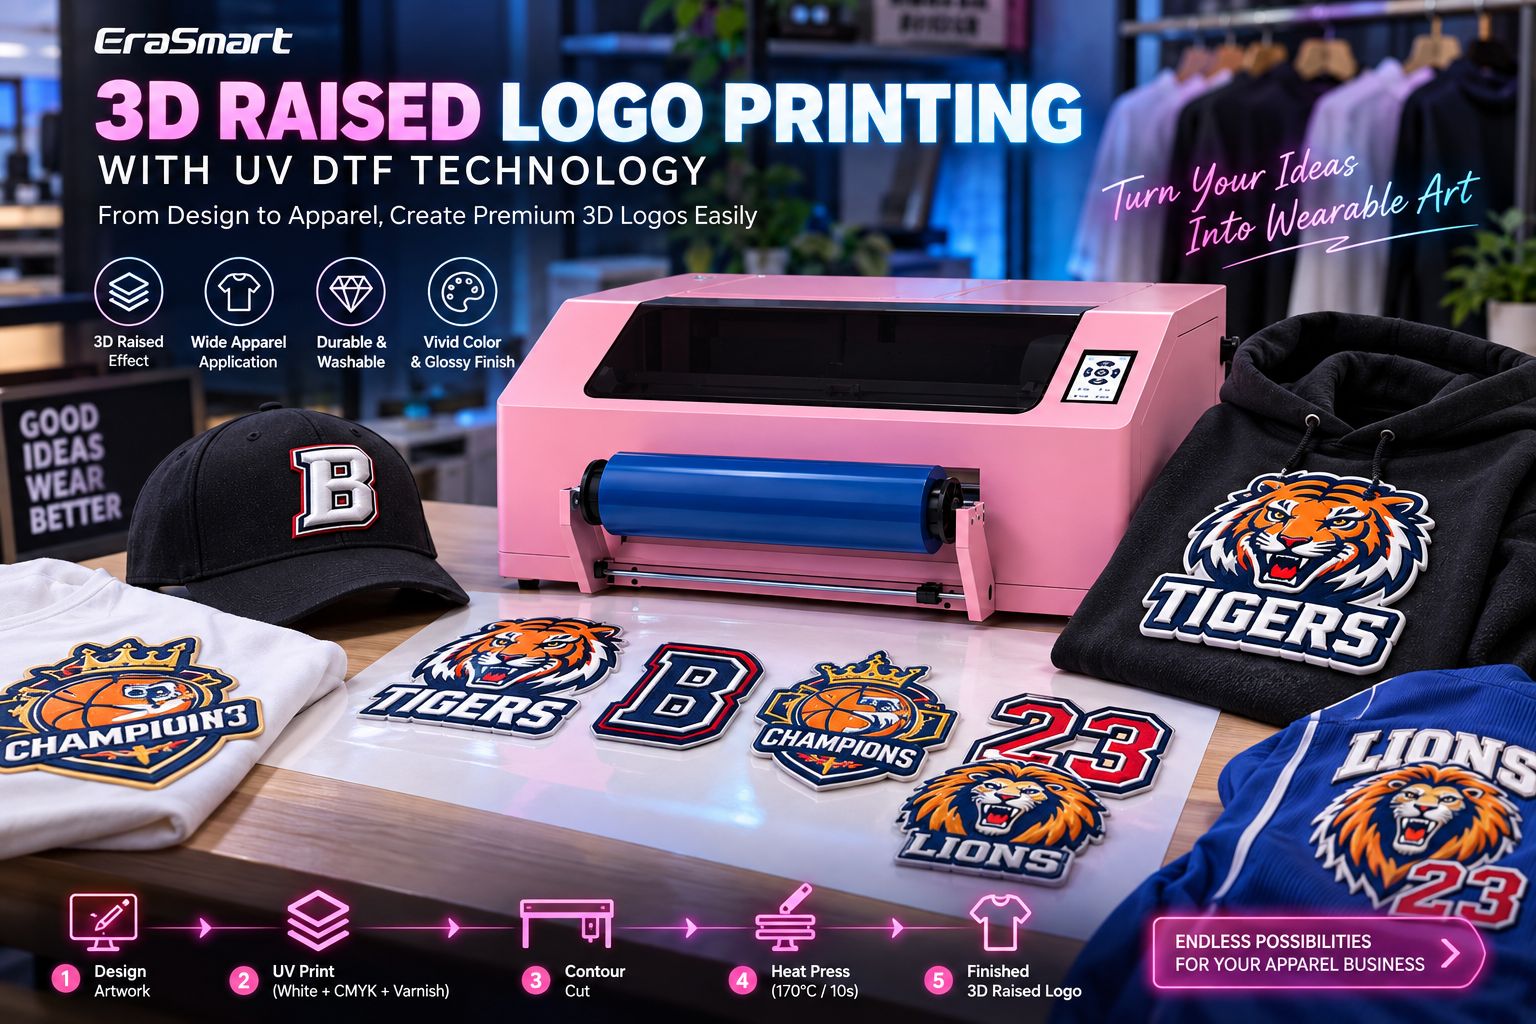
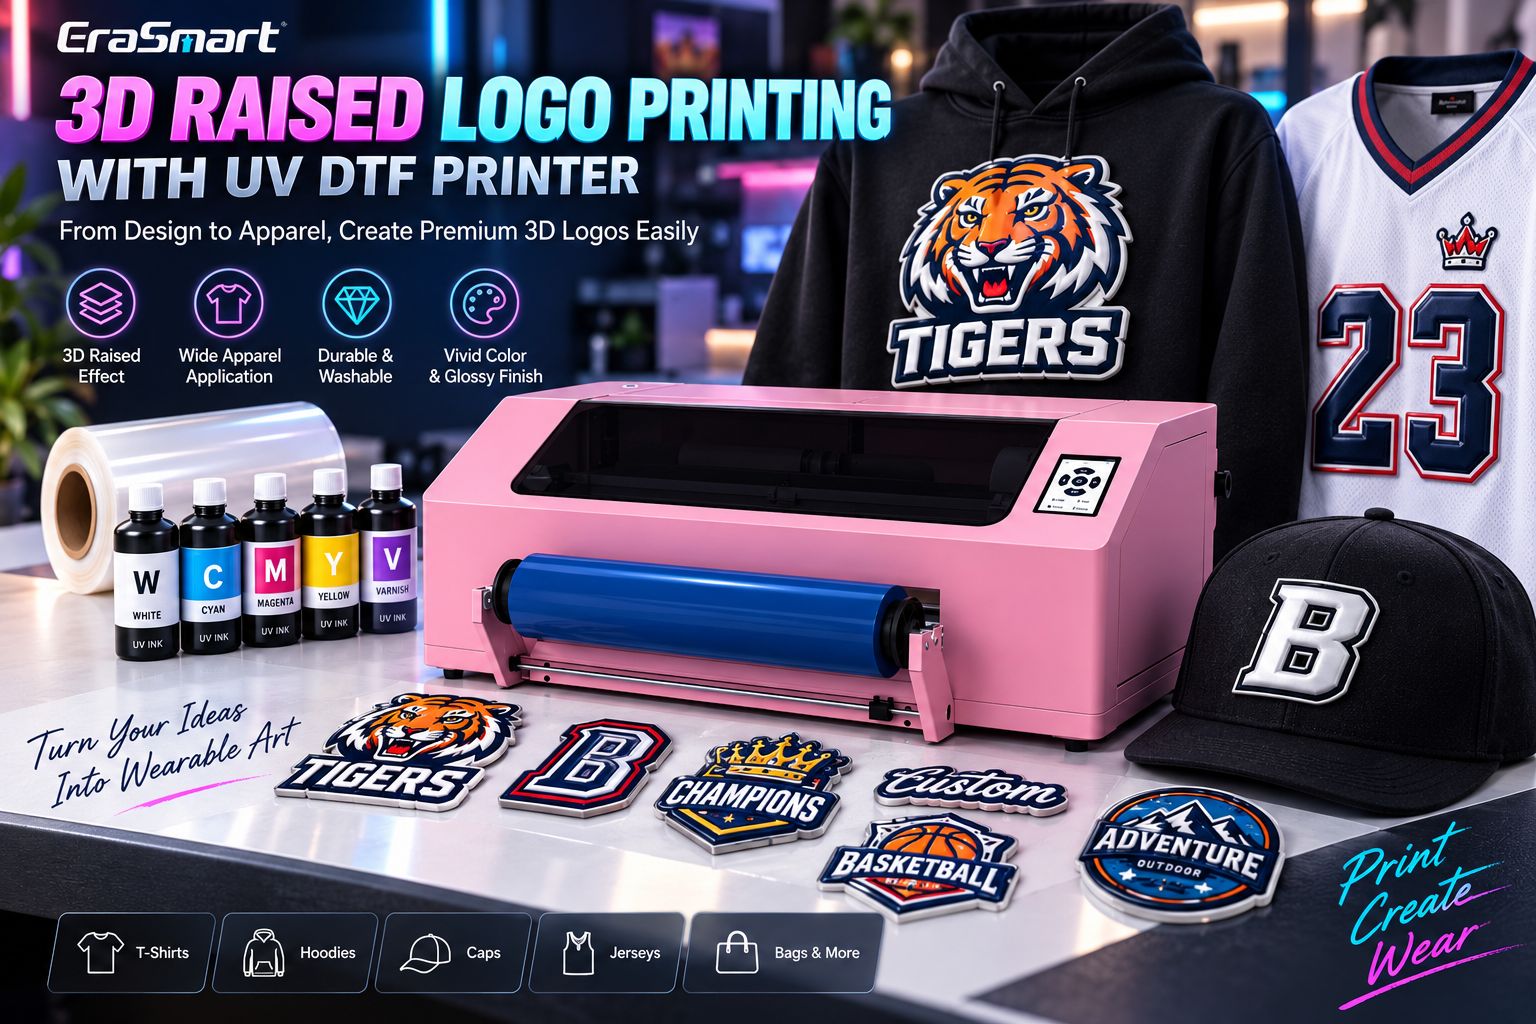
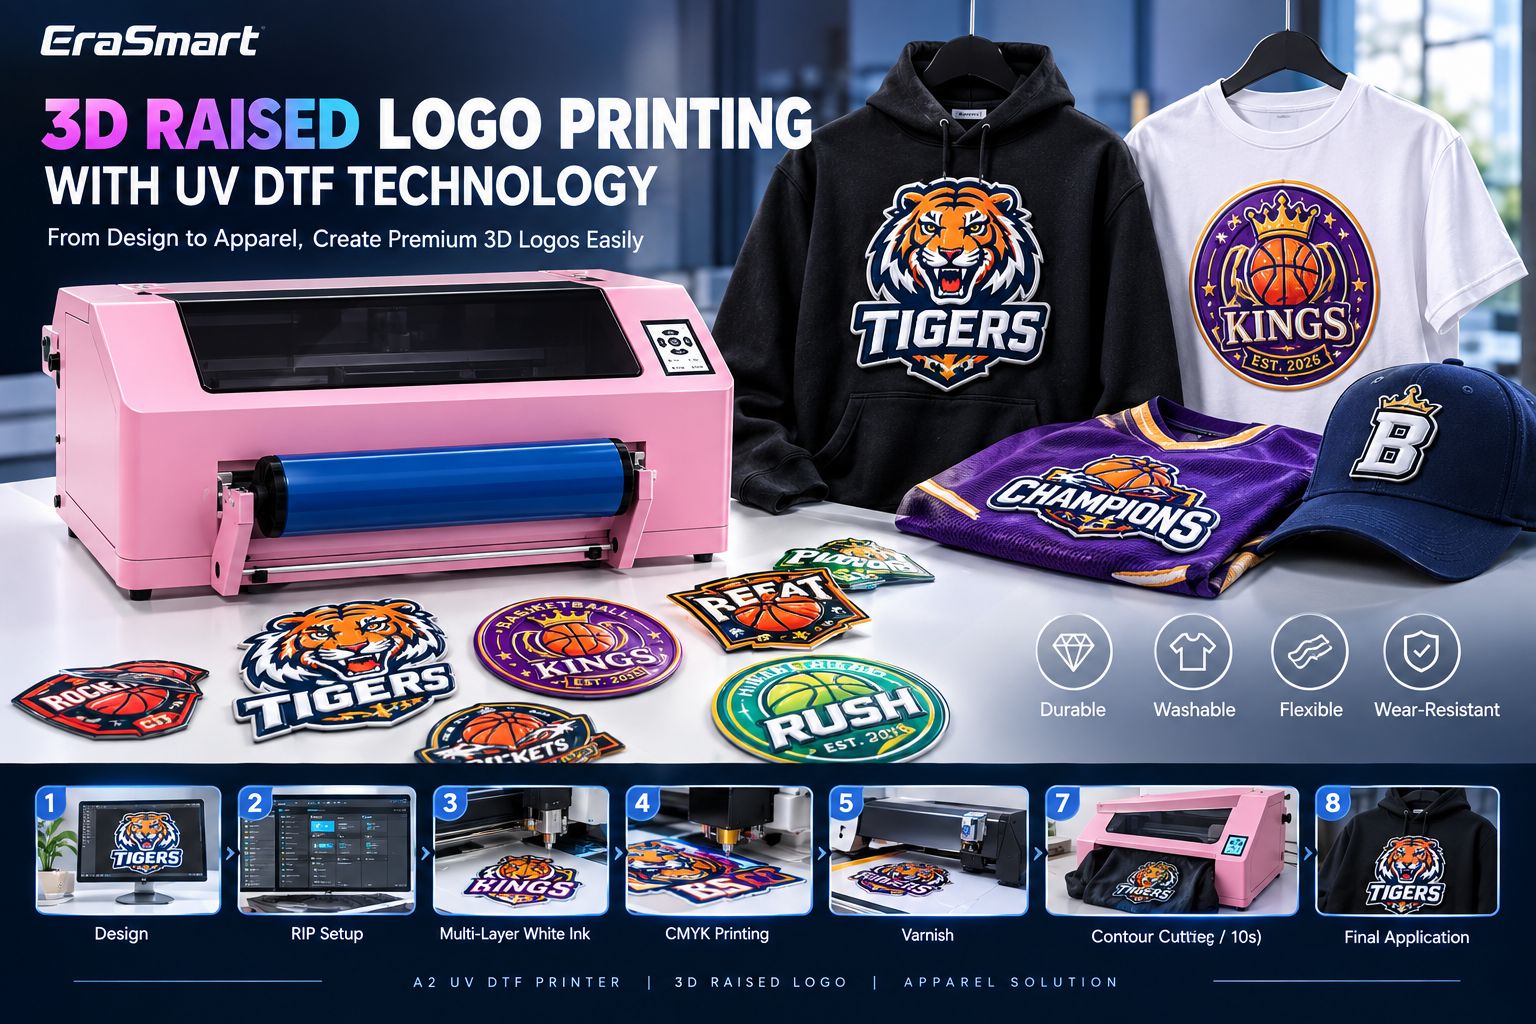
A 3D raised apparel logo is created by building physical height with repeated white UV ink layers, adding the visible CMYK artwork and varnish finish, contour-cutting the finished badge, and finally heat-pressing it onto the garment.
Unlike a conventional flat transfer, the finished design has a noticeable raised surface that can be seen and felt. This makes the process especially suitable for fashion logos, sports emblems, team badges, streetwear graphics, caps, hoodies, T-shirts and jerseys.
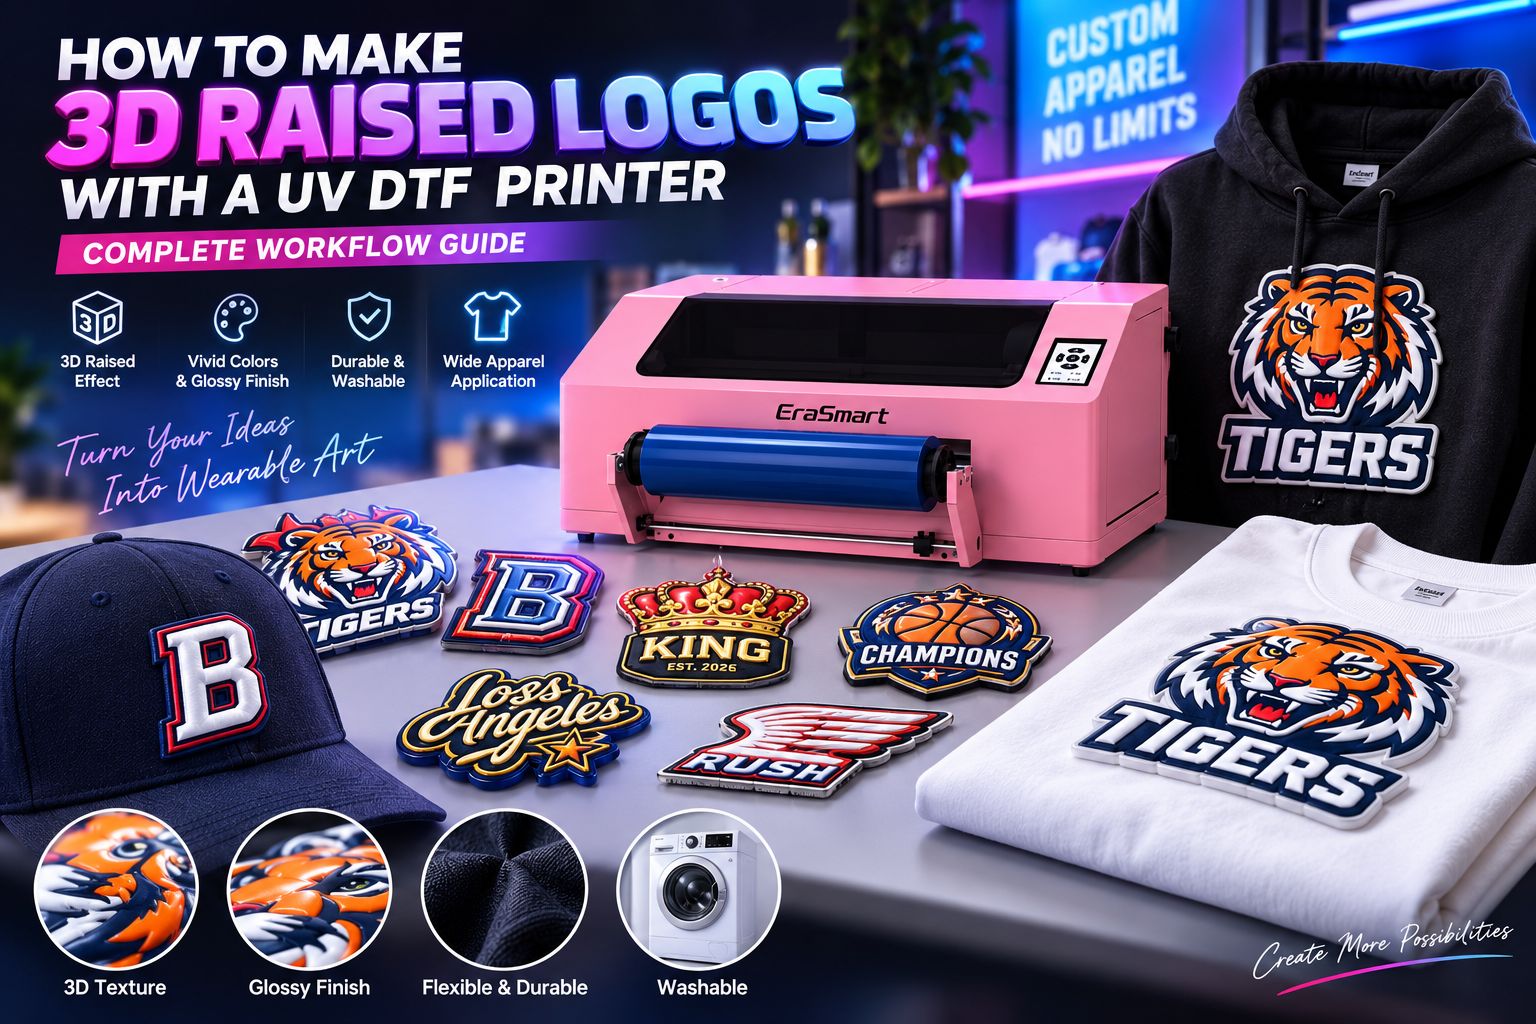
The complete workflow is:
Artwork → RIP Setup → Multi-Layer White Ink → CMYK → Varnish → UV Curing → Contour Cutting → Heat Press → Peel & Inspect
This guide explains each stage using the EraSmart 3D raised-logo workflow and shows how the process differs from a standard UV DTF crystal-sticker application.
What Is a 3D Raised Logo?
A 3D raised logo is a digitally printed textile badge with real physical depth.
Instead of using white ink only as an opacity layer, the printing process repeats the white layer several times to build the structure of the graphic. CMYK color is then added to create the visible artwork, while varnish provides the glossy surface finish.
The finished logo can include raised:
- lettering
- borders
- numbers
- sports emblems
- brand marks
- graphic details
Because the surface has real height, the result feels closer to a premium molded badge than a conventional flat print.
For a broader overview of this application, including apparel examples and compatible printer configurations, see the EraSmart 3D Raised Logo Printing Solution.
What Equipment and Materials Do You Need?
A successful 3D raised-logo workflow requires more than only a UV printer.
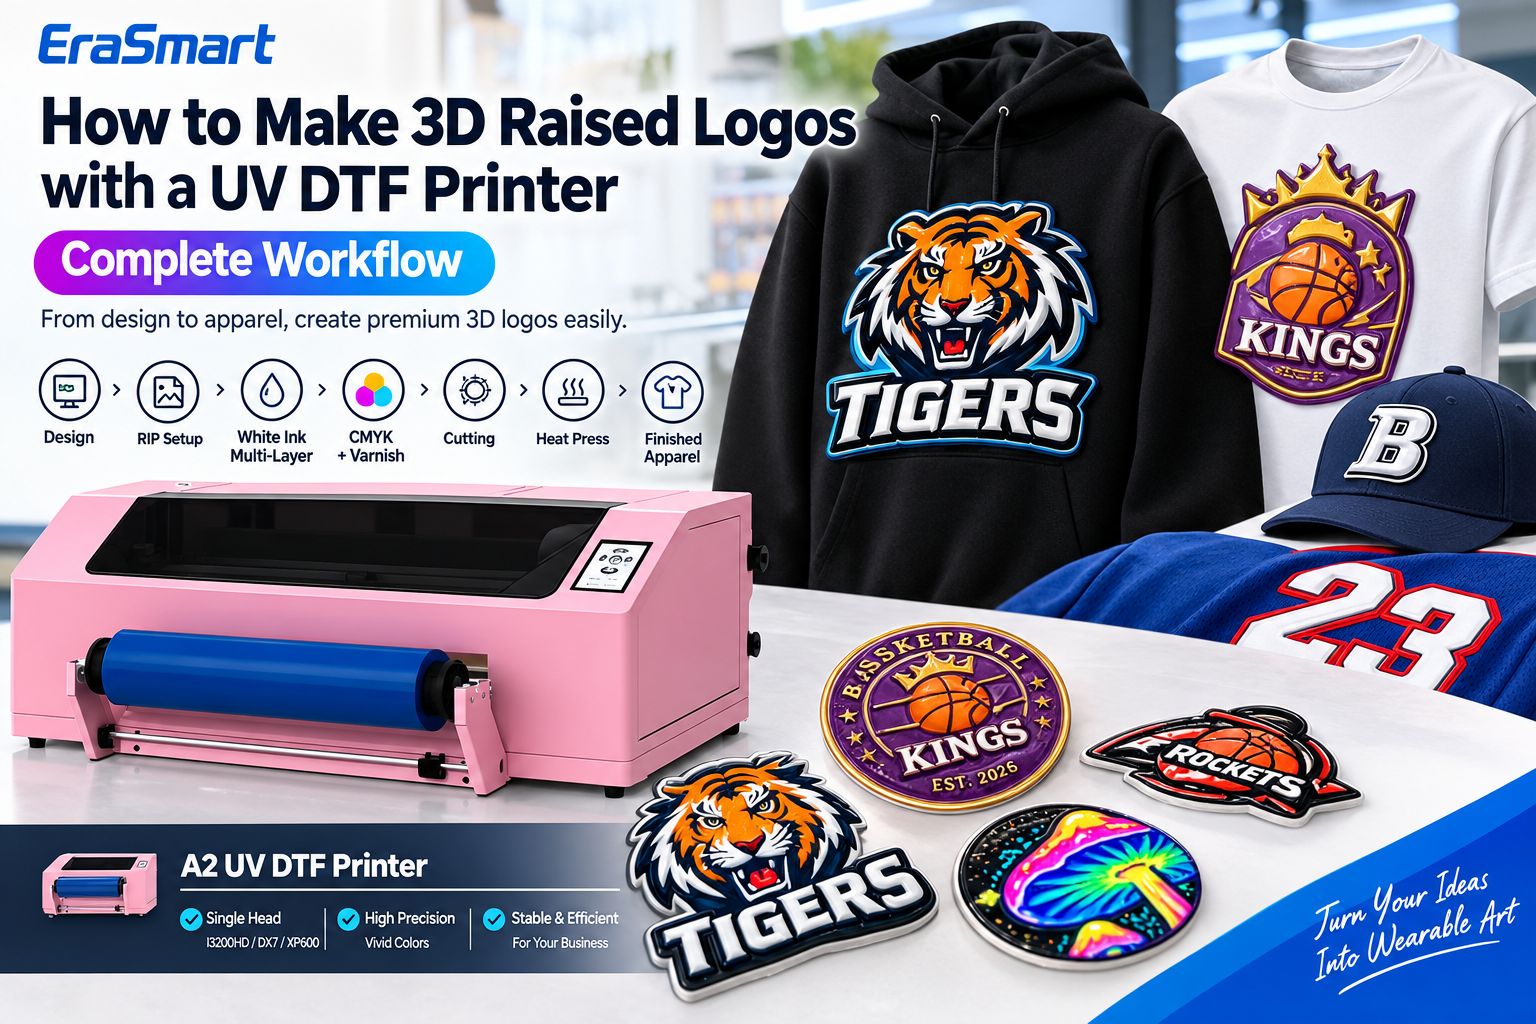
The main production system includes an A2 UV DTF printer, suitable UV ink, dedicated 3D heat-transfer film, RIP software, a contour cutting machine and a heat press.
A2 UV DTF Printer
The printer creates the white, color and varnish layers that form the 3D badge.
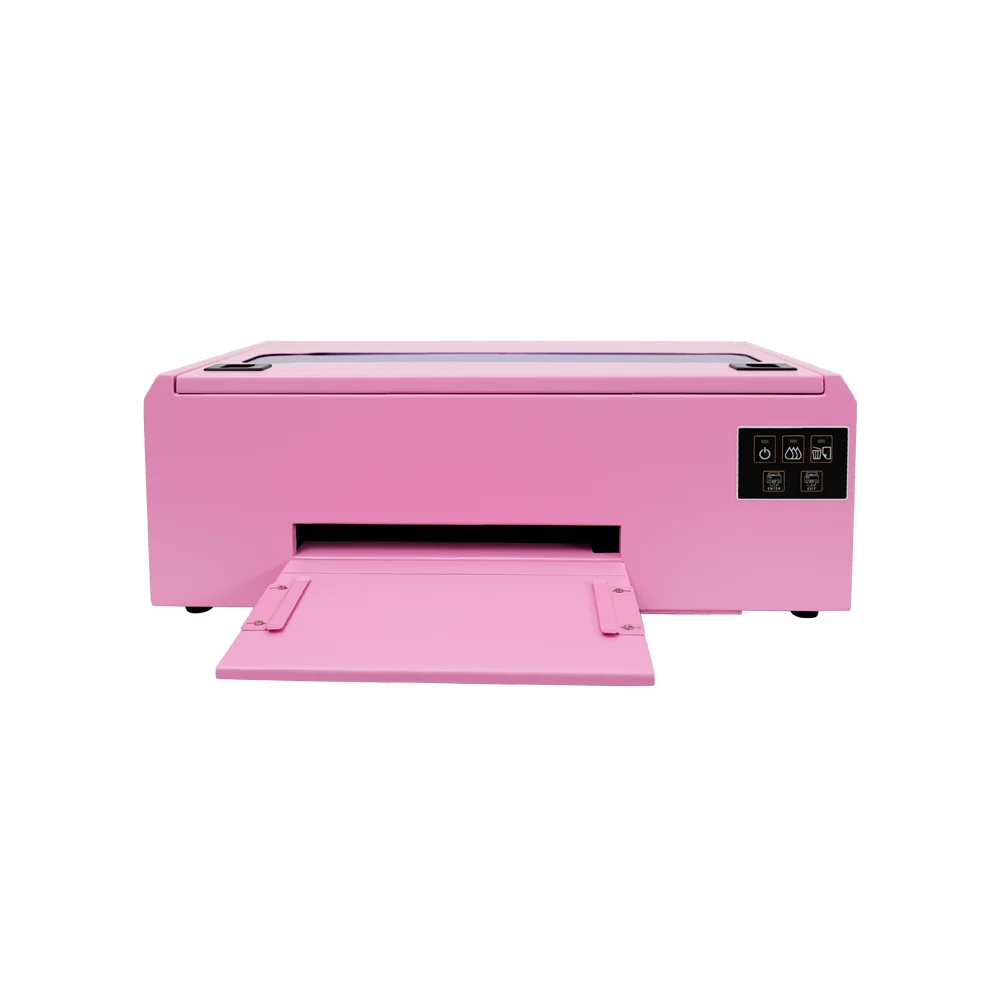
EraSmart’s A2 UV DTF Printer is available with several printhead configurations, including single I3200, single DX7 and dual XP600 options.
The same machine platform can support different UV DTF applications, but the consumables and downstream workflow need to match the intended product.
A standard UV DTF crystal sticker and a 3D apparel badge are therefore not produced with exactly the same film and transfer process.
Dedicated 3D Heat-Transfer Film
The raised-logo workflow uses a film system suitable for textile transfer and contour cutting.
This is different from the conventional A/B film workflow commonly used for UV DTF crystal stickers on glass, acrylic, bottles, metal and other hard surfaces.
Do not assume that ordinary UV DTF A/B film can simply be substituted for the apparel film used in this process.
UV Ink
The ink system has three functional parts:
White ink builds the physical height.
CMYK creates the visible full-color artwork.
Varnish creates the glossy surface and enhances visual depth.
If you want a more detailed explanation of these three ink functions, see the EraSmart UV Ink Guide: CMYK, White Ink and Varnish.
RIP Software
RIP software controls how the artwork is translated into white, color and varnish output.
The important point is that a raised-logo job is not simply a normal CMYK image sent directly to the printer.
Different parts of the artwork need different output functions.
EraSmart EraRIP software supports spot-color generation, white-ink control and multiple printer platforms.
The exact number of white passes used for the raised structure should still be matched to the printer, ink, film and target height.
Contour Cutting Machine
After printing, the individual badge needs to be cut around its outside shape.
A contour cutter uses registration information to follow the logo outline accurately, which is especially useful for:
- sports emblems
- shield-shaped logos
- letters
- irregular brand graphics
- batch production
Heat Press
The heat press transfers the completed 3D badge onto the garment.
In the EraSmart workflow described in this guide, 170°C for 10 seconds is used as the reference transfer setting.
This should be treated as a starting production reference for this specific workflow rather than a universal setting for every film, adhesive and fabric.
Step 1: Prepare the 3D Logo Artwork
Good raised-logo production starts with the file.
The graphic should first be prepared at the final output size.
Vector artwork is usually preferable for logos, lettering, geometric graphics and sports badges because edges remain clean when the design is resized.
High-resolution raster artwork can also be used when appropriate.
The next step is deciding which parts of the design actually need physical height.
For example, a sports badge might use raised white structure underneath:
- the team name
- the outer border
- the basketball graphic
- selected decorative lines
Not every part of the design necessarily needs the same height.
A more controlled structure usually produces a cleaner result than simply building every area as thick as possible.
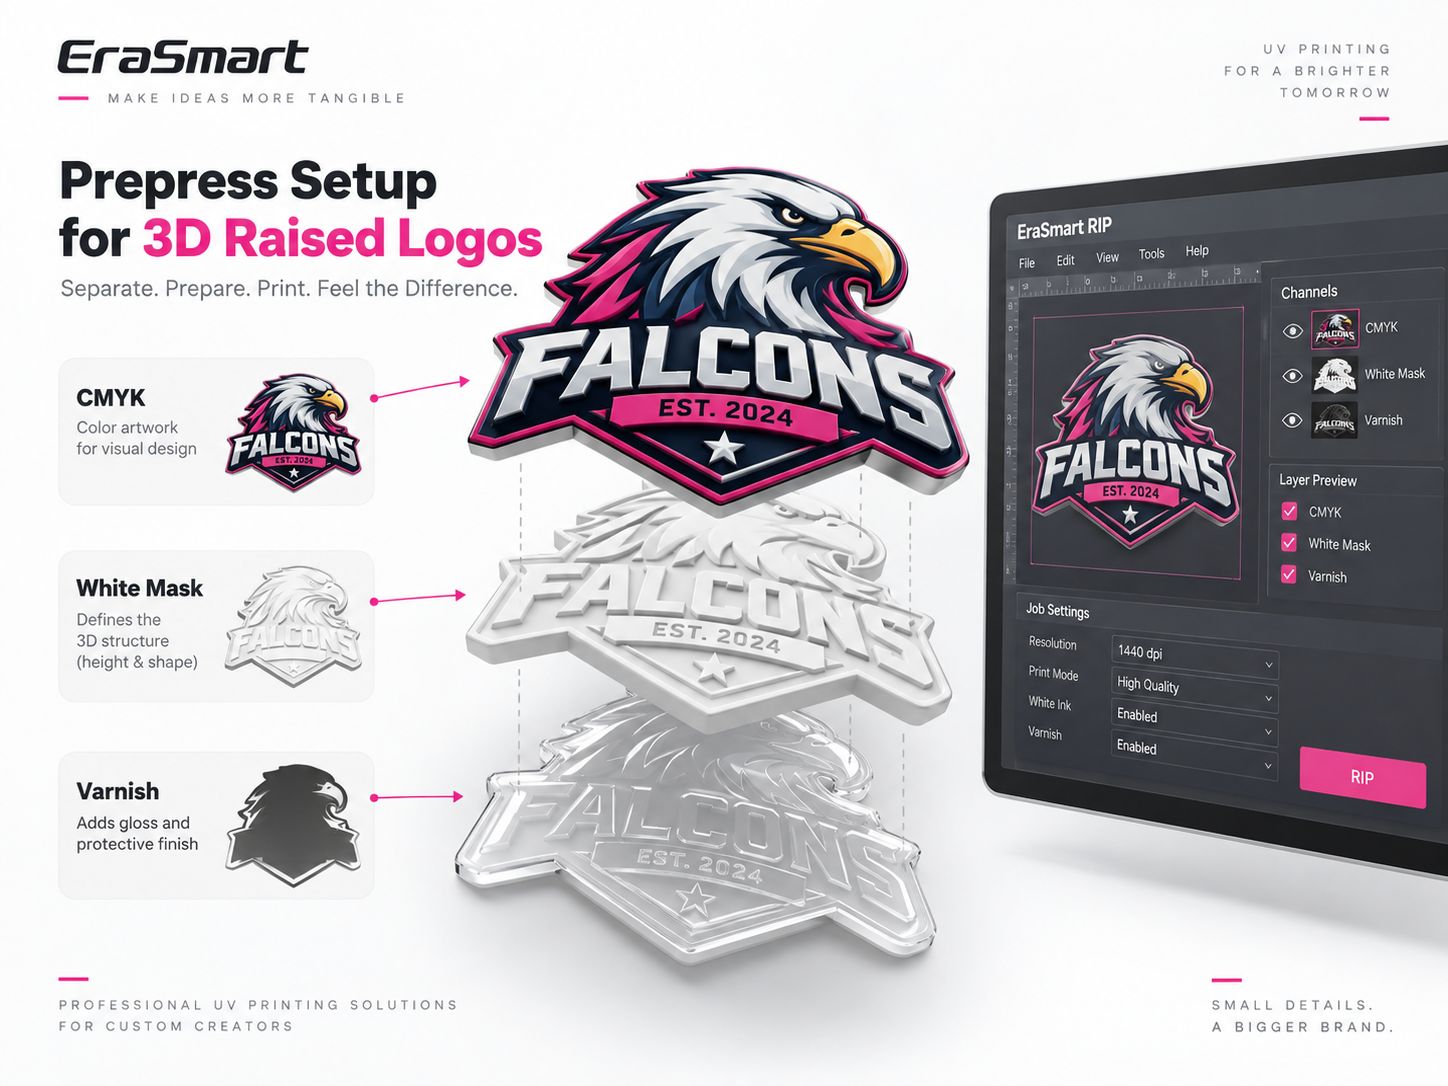
Step 2: Separate White, CMYK and Varnish Layers
The artwork now needs to be translated into functional printing layers.
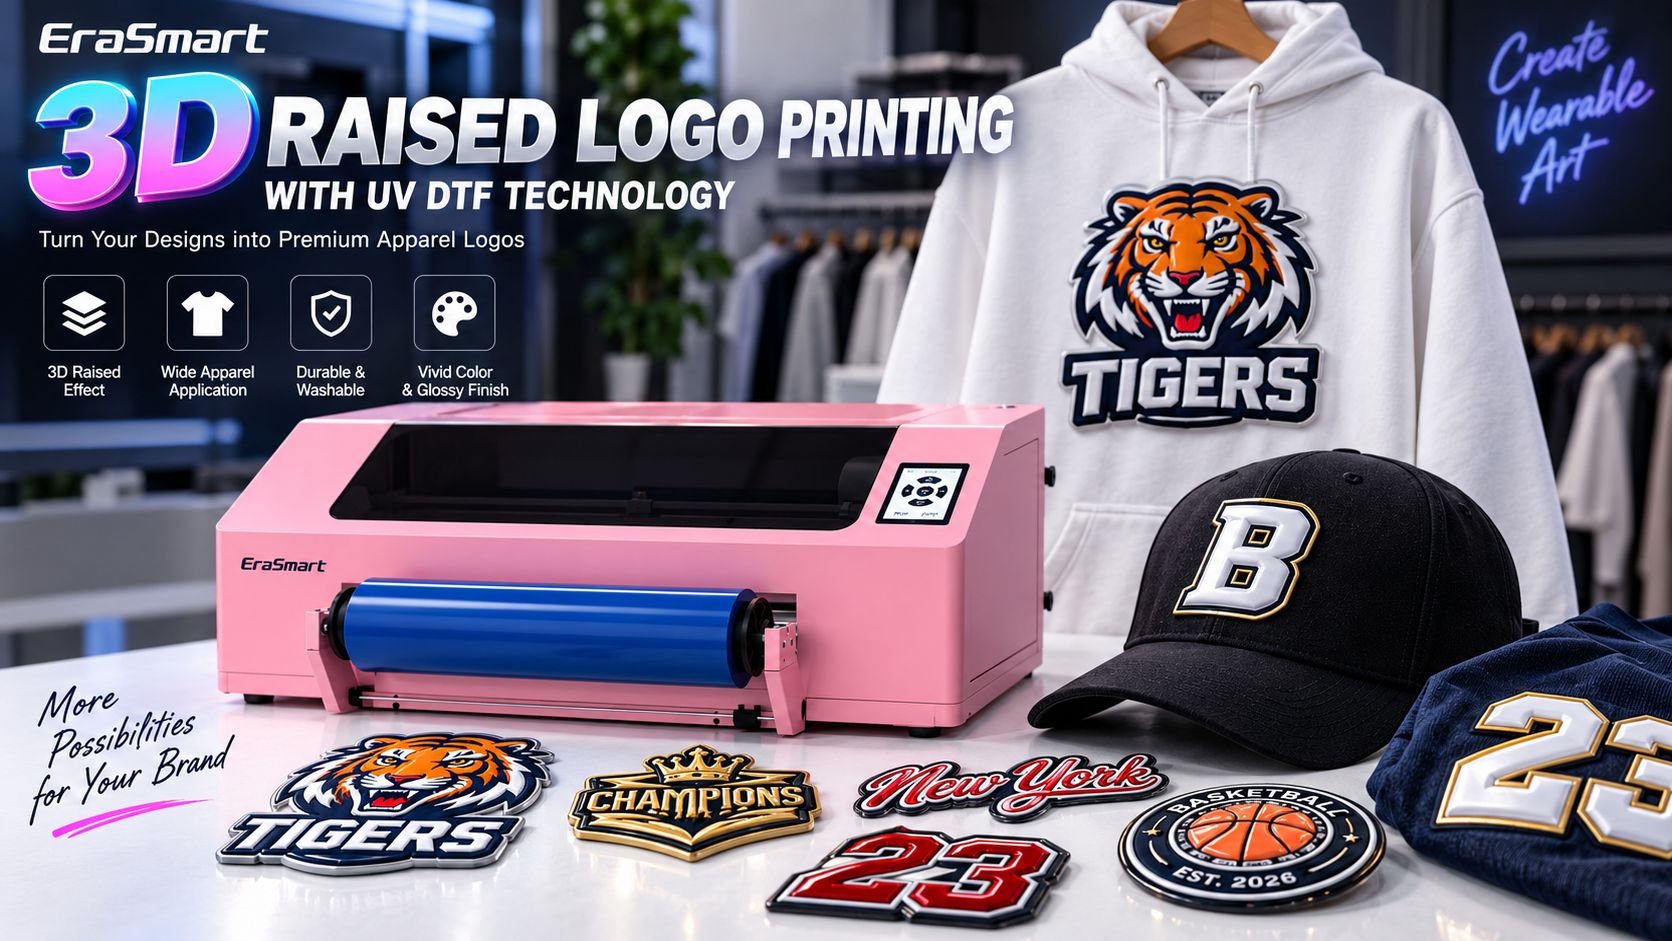
Think of the design as three separate jobs working together.
White Layer
The white layer defines where the physical structure will be built.
For a standard UV print, white ink is often used mainly to create opacity.
For this 3D raised-logo application, white ink has an additional role:
it becomes part of the physical structure of the badge.
CMYK Layer
CMYK creates the visible graphic.
It controls:
- brand colors
- photographs
- gradients
- team graphics
- text
- illustrations
The CMYK design sits over the raised foundation created by the white ink.
Varnish Layer
Varnish controls the visible surface finish.
It can be used over selected areas or across the main graphic depending on the desired appearance.
For a raised apparel badge, varnish can add:
- gloss
- visual depth
- surface definition
- premium appearance
Correct registration between all three layers is important because any offset becomes much more visible when multiple passes are involved.
Step 3: Configure the Job in RIP Software
Before printing, confirm the RIP setup.
The exact interface depends on the software and printer configuration, but the production logic should remain clear:
White controls height.
CMYK controls color.
Varnish controls the finishing layer.
The job also needs accurate size, position and spot-color information.
White alignment deserves particular attention. If the white structure extends beyond the CMYK artwork, a visible white edge can appear around the final logo.
That is why white choking, spot-color expansion or contraction and accurate layer registration can become useful during setup.
For general UV production, EraSmart also has a dedicated UV Printing Workflow Guide covering artwork, RIP parameters, ink density, white ink, varnish and UV curing.
For a raised logo, however, the standard UV workflow is extended by repeated white printing and later contour cutting and heat transfer.
Step 4: Build the 3D Height with Multiple White Ink Layers
This is the most important stage in the entire process.
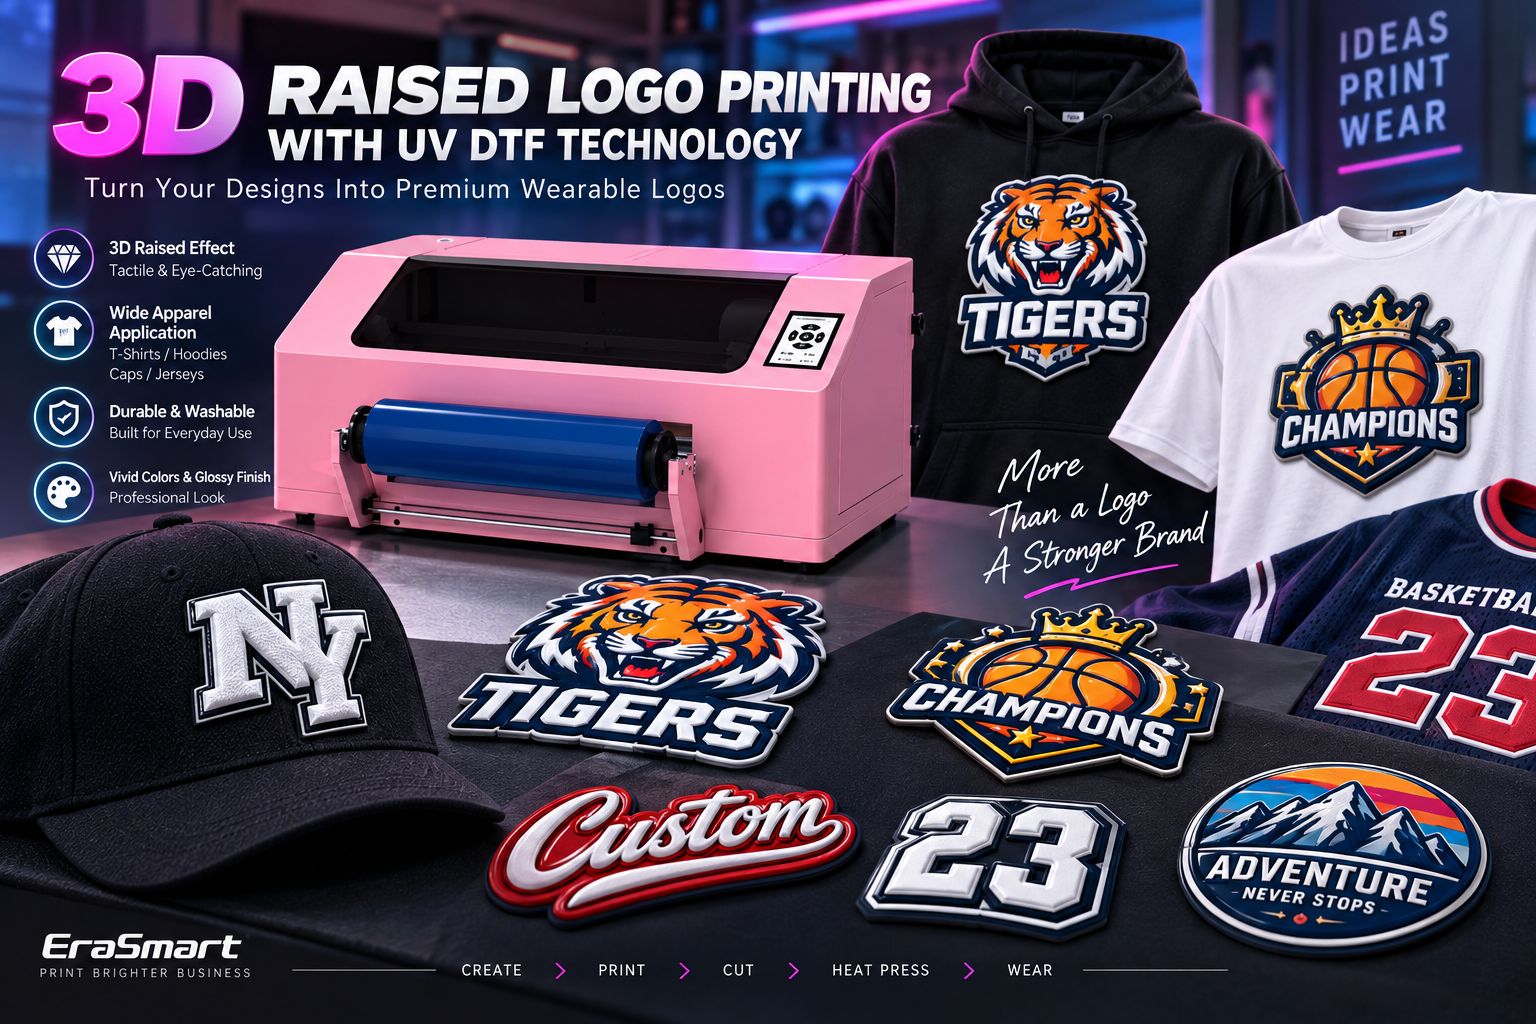
A normal white underbase is relatively thin.
A 3D raised logo requires repeated white output so that the ink itself begins to create measurable physical depth.
The simplified structure looks like this:
Varnish
CMYK
White Ink Layer
White Ink Layer
White Ink Layer
Additional White Layers as Required
Special Heat-Transfer Film
Each white pass adds material to the printed structure.
The more important question is not simply:
How many white layers should I print?
The correct question is:
How much height can this specific ink, film, curing setup and garment application support while remaining flexible and transferable?
The ideal number of passes depends on:
- desired height
- artwork size
- detail level
- ink characteristics
- film
- curing behavior
- flexibility requirements
This is why copying a fixed white-pass number from another printer or another film system is not recommended.
A production profile should be established using the actual EraSmart machine and consumables being used.
Step 5: Print the CMYK Artwork
After the raised white structure has been established, the visible color artwork is printed.
CMYK provides the recognizable visual identity of the badge.
For sportswear this might include:
- orange basketball graphics
- team colors
- black outlines
- gradients
- colored lettering
For fashion and streetwear it may include much more complex illustrations.
The quality of the finished raised badge depends on both height and print registration.
If the color layer is shifted relative to the white structure, the 3D edge will look uneven.
Before continuing, inspect the printed color for:
- missing nozzles
- banding
- registration error
- weak color
- unwanted white edges
- contaminated film
Fix these issues before adding the final finish.
Step 6: Add the Varnish Finish
The varnish layer completes the visible surface.
In the EraSmart raised-logo workflow described here, white ink is responsible for building most of the physical height, while varnish is used primarily to create the final glossy and premium surface appearance.
This distinction is important.
Some UV printing applications use varnish itself to create raised texture.
That is a valid UV printing technique, but it is not exactly the same production strategy as the multi-layer white-ink process described in this guide.
For this apparel badge workflow:
White = structural build
CMYK = visual design
Varnish = surface finish
That separation makes it easier to understand and control the final result.
Step 7: UV Cure the Printed Layers
UV-curable ink needs correct curing throughout the print process.
The goal is not simply to make the surface feel dry.
The full multi-layer structure needs to remain stable enough for the next stages:
- handling
- contour cutting
- heat transfer
- garment flexing
Insufficient curing can create problems with surface stability or cutting.
Excessive curing or excessive total ink buildup can also make a thick structure more rigid than intended.
For this reason, production testing should evaluate the complete system rather than one ink layer in isolation.
Step 8: Contour Cut the Finished Logo
The printed badge is now ready for cutting.
A contour cutting machine follows the outer edge of the printed design.
This step turns a printed sheet into individual badges that can be positioned on garments.
Accurate contour cutting matters for several reasons.
The edge becomes part of the finished visual appearance.
Poor registration can cut into the artwork.
Too much excess film makes the badge look less professional.
Very complex details can also reduce production efficiency.
For batch work, consistent registration marks and stable material feeding become especially important.
When preparing artwork, leave enough spacing between the raised structure and the cut line so the cutter does not pass directly through critical raised details.
Step 9: Position the Badge on the Garment
Before heat pressing, position the finished badge carefully.
Typical placements include:
T-Shirts
Chest logos, small brand marks and promotional graphics.
Hoodies
Chest badges, streetwear branding and fashion emblems.
Sports Jerseys
Team crests, league graphics, sponsor marks and custom club logos.
Caps
Front emblems and fashion brand badges.
For every garment type, check that the fabric sits flat and the transfer area is free from wrinkles.
Placement should be confirmed before applying full heat and pressure.
Step 10: Heat Press at 170°C for 10 Seconds
For the EraSmart workflow described here, the reference transfer setting is:
| Parameter | Reference Setting |
|---|---|
| Temperature | 170°C |
| Time | 10 seconds |
| Pressure | Even, controlled pressure |
The transfer should make full contact with the garment during pressing.
However, these values should not be treated as universal settings for every textile.
Fabric composition, film, adhesive behavior and garment construction can change the required conditions.
Before bulk production, test the actual garment.
If you are producing multiple garment types, save separate validated settings instead of assuming that one setting will always work equally well on every material.
Step 11: Peel and Inspect the Finished 3D Logo
The final step is quality inspection.
Do not judge the result only by whether the badge is attached.
A commercial 3D logo should be checked from several angles.
Check the Height
Look at the logo from the side.
The raised areas should have visible dimensional structure rather than looking like a normal flat transfer.
Check the Gloss
The varnish should look even and intentional.
Avoid dull patches or inconsistent surface areas.
Check the Edges
The badge should sit cleanly against the garment.
Look for:
- lifting
- incomplete bonding
- distorted edges
- cutting defects
Flex the Garment
Gently bend the decorated area.
This helps reveal whether the finished structure is excessively rigid or begins to crack.
Check Adhesion
The badge should remain fully attached after normal handling.
Perform Wash Testing
If the product is going into commercial apparel production, test representative samples using the washing conditions expected for the final product.
Repeatability is more important than one successful sample.
3D Raised Logo vs Standard UV DTF Crystal Sticker
One of the most common areas of confusion is the difference between this process and conventional UV DTF crystal stickers.
They can use a similar printer platform, but they are designed for different products.
| Comparison | 3D Raised Apparel Logo | Standard UV DTF Crystal Sticker |
|---|---|---|
| Main Substrate | Textile / apparel | Smooth hard surfaces |
| Typical Products | T-shirts, hoodies, caps, jerseys | Bottles, glass, acrylic, metal, gifts |
| Main Structure | Repeated white ink build-up | Standard color, white and varnish transfer |
| Film | Special apparel-compatible film | UV DTF A/B film |
| Finishing | Contour cutting | Transfer-film preparation / trimming |
| Application | Heat press | Pressure / cold application |
| Reference Transfer | 170°C / 10s for this workflow | No garment heat press |
| Main Goal | Raised textile badge | Decorative hard-surface transfer |
If you want to understand the conventional A/B film method in more detail, see How to Make UV DTF Stickers at Home.
That process uses Film A and Film B to create a transfer for suitable hard surfaces and normally does not use the garment heat-press workflow described in this article.
The distinction is important because the same phrase “UV DTF” can refer to products with very different downstream applications.
Common 3D Raised Logo Problems
The Raised Effect Is Too Weak
Possible reasons include insufficient white build-up, incorrect layer output or a profile that was designed for a conventional UV print rather than a raised badge.
Increase height only through controlled testing.
Do not add excessive ink blindly.
The Logo Feels Too Stiff
Excessive total ink thickness can reduce flexibility.
Also check whether the ink and film are designed for the intended textile application.
The goal is visible height without turning the badge into an unnecessarily rigid piece.
White Is Visible Around the Color
This usually indicates a layer-registration or white-mask problem.
Check:
- spot-color setup
- white choke
- print registration
- media movement
The Cut Edge Is Inaccurate
Check the contour-cut registration and material feeding.
Also make sure the cut path was created with enough spacing around critical raised elements.
The Badge Lifts After Heat Pressing
Check the complete transfer process:
- temperature
- time
- pressure
- film
- adhesive system
- garment compatibility
Do not assume the issue is always caused by the printer.
The Surface Cracks When Bent
Check whether the total ink structure is too thick, over-cured or incompatible with the required garment flexibility.
Reducing unnecessary build-up can sometimes produce a better commercial result than maximizing height.
The Varnish Looks Uneven
Check varnish output, nozzle condition, curing and spot-layer alignment.
A raised logo can have excellent height but still look low-quality if the finishing layer is inconsistent.
Which EraSmart Printer Can Be Used?
The EraSmart A2 UV DTF Printer provides the machine platform used for this application.
Available A2 configurations include:
| Configuration | Printhead Setup |
|---|---|
| I3200 | Single printhead |
| DX7 | Single printhead |
| XP600 | Dual printheads |
The correct configuration should be selected according to production requirements.
For standard UV DTF crystal-label production, the A2 platform uses the conventional UV DTF film workflow.
For 3D raised apparel logos, the printer is paired with the appropriate raised-logo ink, film, RIP setup, contour cutting and heat-transfer process.
The important point is that the machine platform may remain similar while the consumables and final production workflow change.
Can You Use a Standard UV DTF Printer for 3D Raised Logos?
Potentially, but not simply by loading a normal crystal-sticker job.
The complete system needs to support:
- repeated white ink output
- accurate white/CMYK/varnish registration
- suitable UV curing
- compatible raised-logo film
- downstream contour cutting
- garment heat transfer
The final result depends on how all of these parts work together.
That is why a tested application workflow is more valuable than treating 3D raised printing as only another RIP preset.
Where Are 3D Raised Logos Most Useful?
The process is particularly attractive when customers want a premium badge appearance but still need digital customization.
Typical applications include:
- sports club logos
- fashion branding
- streetwear
- custom hoodies
- caps
- jersey emblems
- event apparel
- short-run branded clothing
- personalized merchandise
Unlike a simple flat print, the raised structure becomes part of the visual identity of the garment.
It adds another design dimension: height.
Final Workflow Summary
The complete EraSmart raised-logo process can be summarized as:
1. Prepare the artwork
Create the logo at final size and define the areas that need 3D structure.
2. Prepare White, CMYK and Varnish layers
Separate the functions of height, color and finish.
3. Configure the RIP
Confirm spot layers, registration and output settings.
4. Build the white ink height
Print repeated white UV ink layers according to the validated production profile.
5. Add CMYK
Print the visible color artwork over the raised structure.
6. Add varnish
Create the glossy surface finish.
7. UV cure
Stabilize the complete printed structure.
8. Contour cut
Cut each logo cleanly around its outside shape.
9. Position on the garment
Place the badge accurately on the T-shirt, hoodie, cap or jersey.
10. Heat press
Use the validated EraSmart workflow reference of approximately 170°C for 10 seconds.
11. Peel and inspect
Check height, gloss, edge quality, flexibility and adhesion before production approval.
Build a 3D Raised Logo Production Workflow with EraSmart
3D raised-logo printing turns a UV DTF printer into more than a conventional crystal-sticker production system.
With the correct combination of multi-layer white ink, CMYK, varnish, dedicated film, contour cutting and heat transfer, the same digital production concept can be extended into premium apparel decoration.
If you are planning to produce raised logos for T-shirts, hoodies, caps or sports jerseys, explore the EraSmart A2 UV DTF Printer and our 3D Raised Logo Printing Solution.
For deeper technical background, you can also read the EraSmart UV Ink Guide, UV Printing Workflow Guide and EraRIP software overview.
Frequently Asked Questions
How is the 3D height created?
In the EraSmart workflow described here, repeated white UV ink layers build most of the physical height. CMYK creates the visible artwork and varnish provides the final glossy finish.
Is a 3D raised logo the same as a UV DTF crystal sticker?
No. The printer platform may be similar, but the consumables and final application are different. Standard UV DTF crystal stickers normally use an A/B film workflow for hard surfaces, while 3D raised apparel logos use dedicated film, contour cutting and heat pressing.
What temperature is used for the 3D logo transfer?
The EraSmart reference setting for this workflow is approximately 170°C for 10 seconds. Always test the actual film and garment before bulk production.
Do I need a contour cutting machine?
Yes, for this workflow the printed logo is contour-cut before being transferred to the garment. This creates a clean finished badge shape.
Can 3D raised logos be used on hoodies?
Yes. Hoodies are one of the typical applications, together with T-shirts, caps and sports jerseys.
Can I use ordinary UV DTF A/B film?
Do not assume standard A/B crystal-sticker film is suitable. The raised apparel workflow requires the appropriate film and adhesive system for contour cutting and garment heat transfer.
Which ink creates the raised effect?
White ink creates the main structural height in the workflow described here. CMYK provides color and varnish provides the glossy surface finish.
How many white ink passes are required?
There is no universal number that should be applied to every machine and film. The correct number depends on the ink, film, desired height, curing conditions and required flexibility.
Is the finished raised logo washable?
The intended application is apparel decoration, but wash performance depends on the complete combination of ink, film, adhesive, transfer conditions and garment. Production samples should be wash tested before commercial release.
Which EraSmart printer can produce 3D raised logos?
The EraSmart A2 UV DTF Printer can be configured for this workflow when paired with the appropriate ink, film, RIP settings, contour cutting and heat-transfer process.
MAY BE YOU LIKE ALSO
Copyright 2020 © EraSmart. | Sitemap