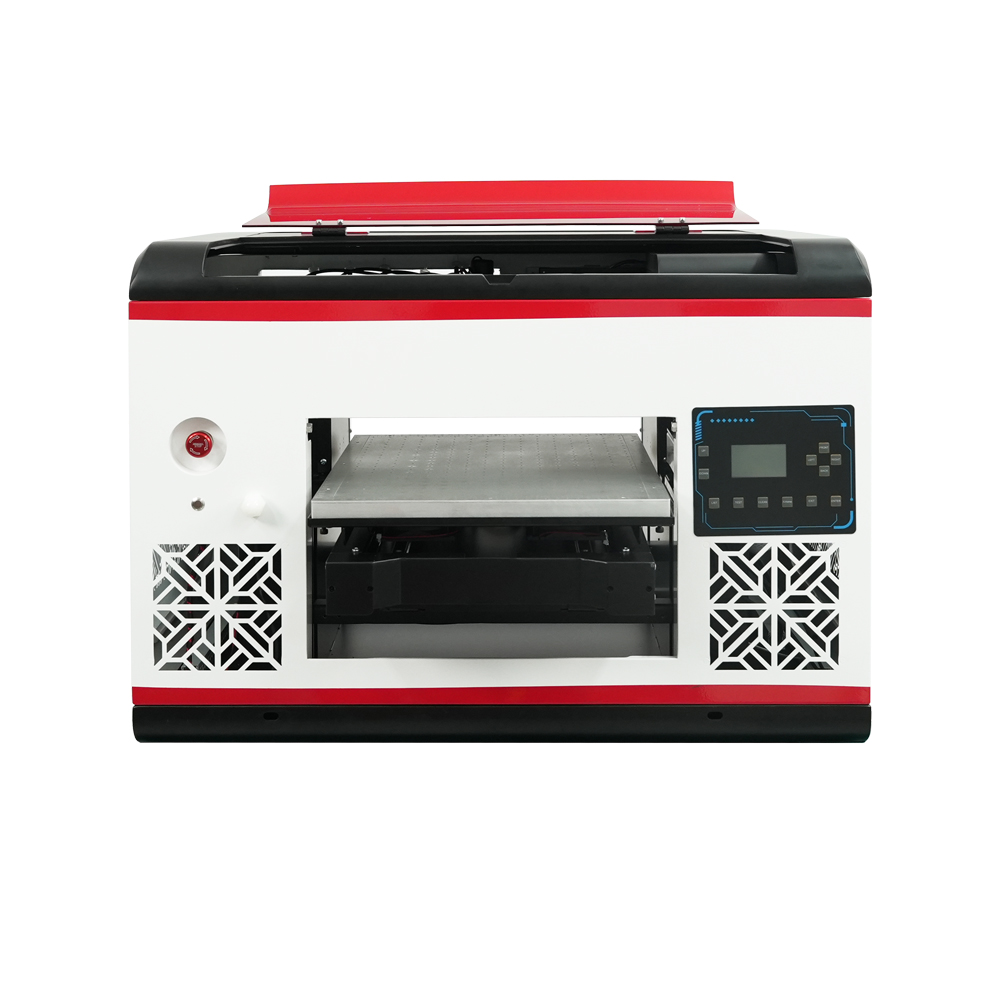
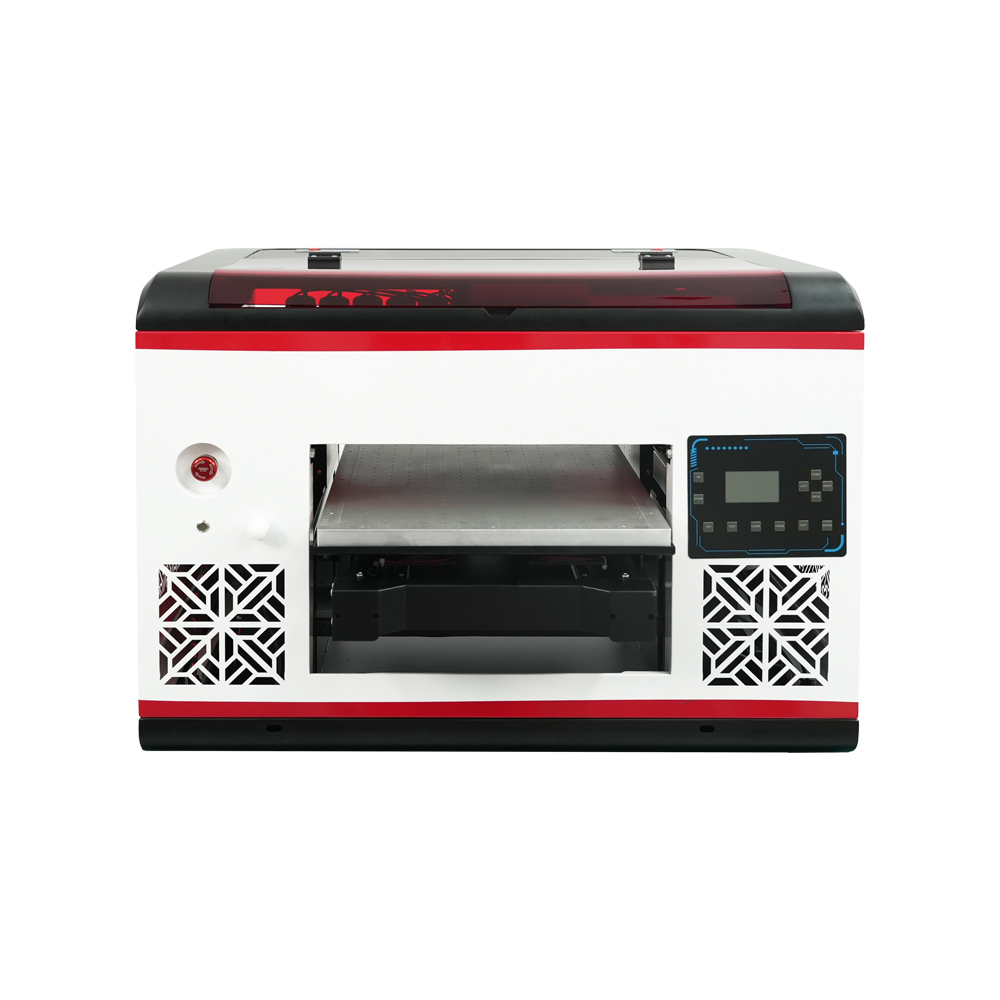
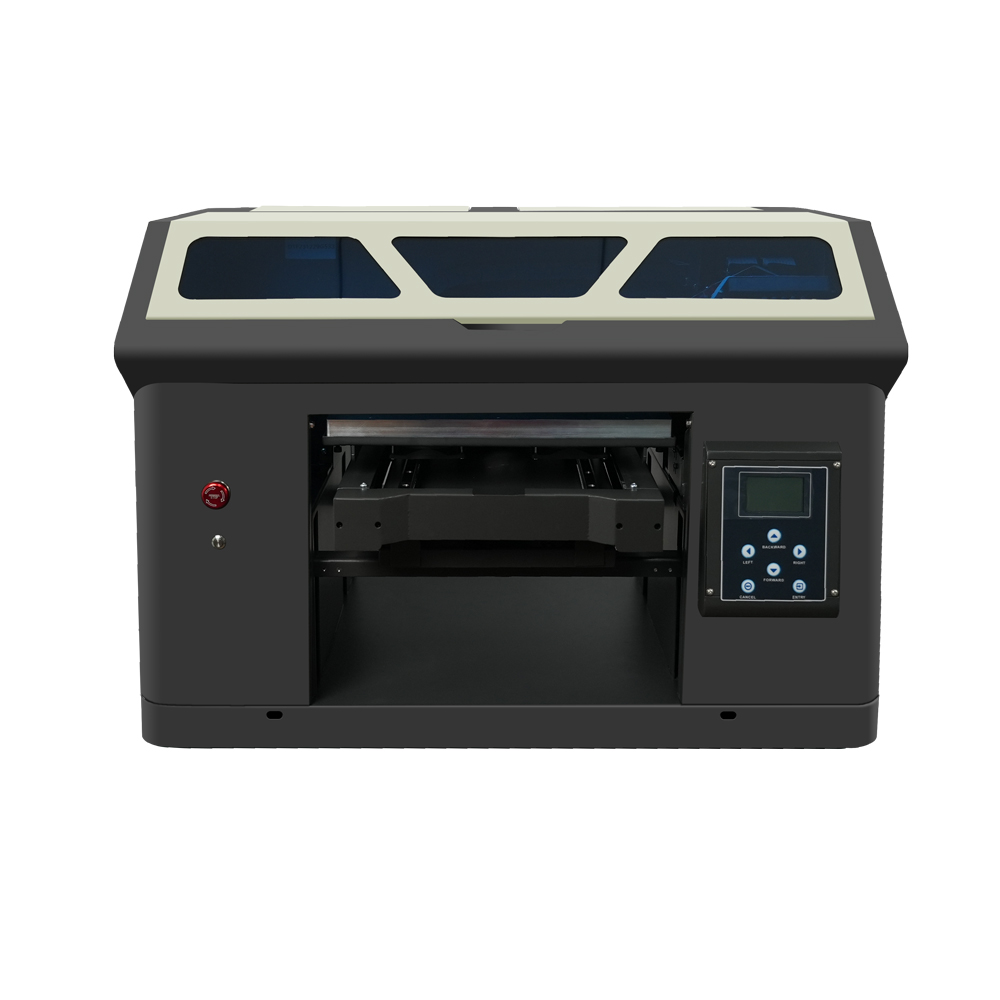
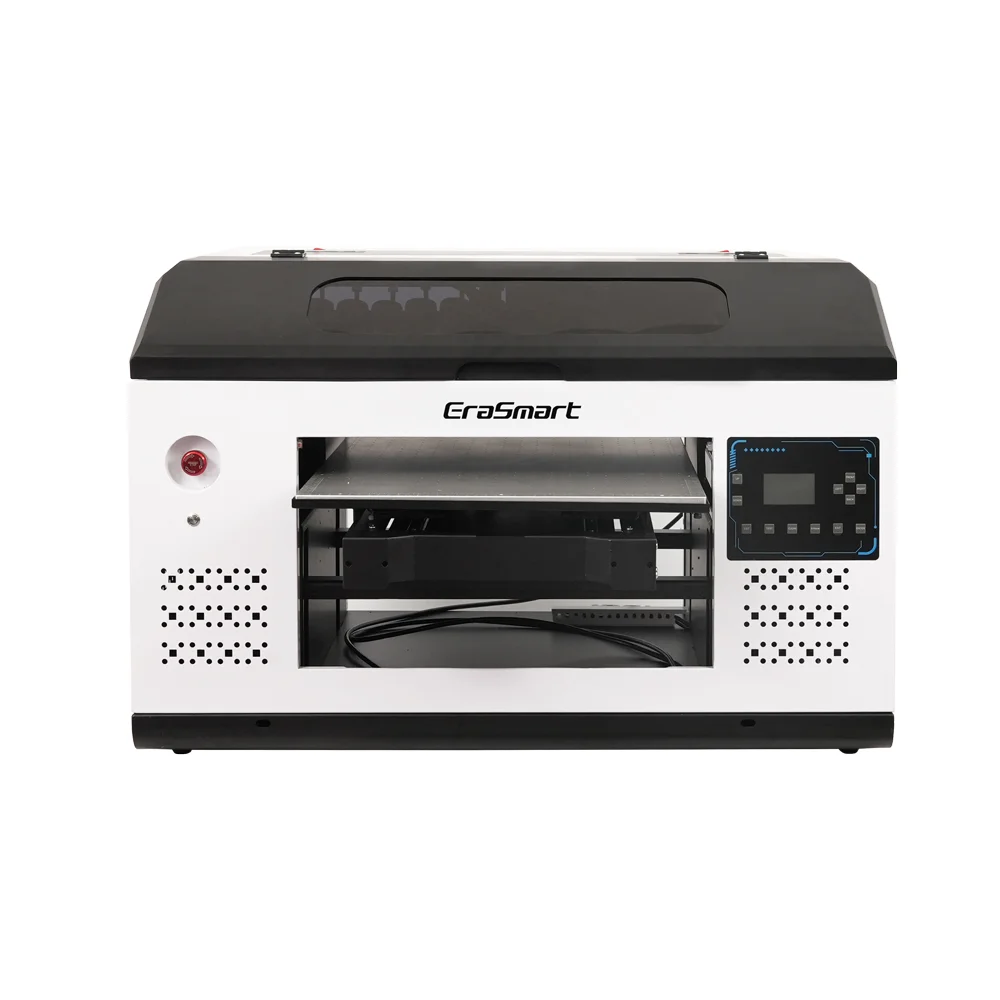
Small Size Flatbed Inkjet Printer Manufacturer

86-18566233796 [email protected]

Blog How to Print on Acrylic with a UV Printer: A Complete Step-by-Step Guide
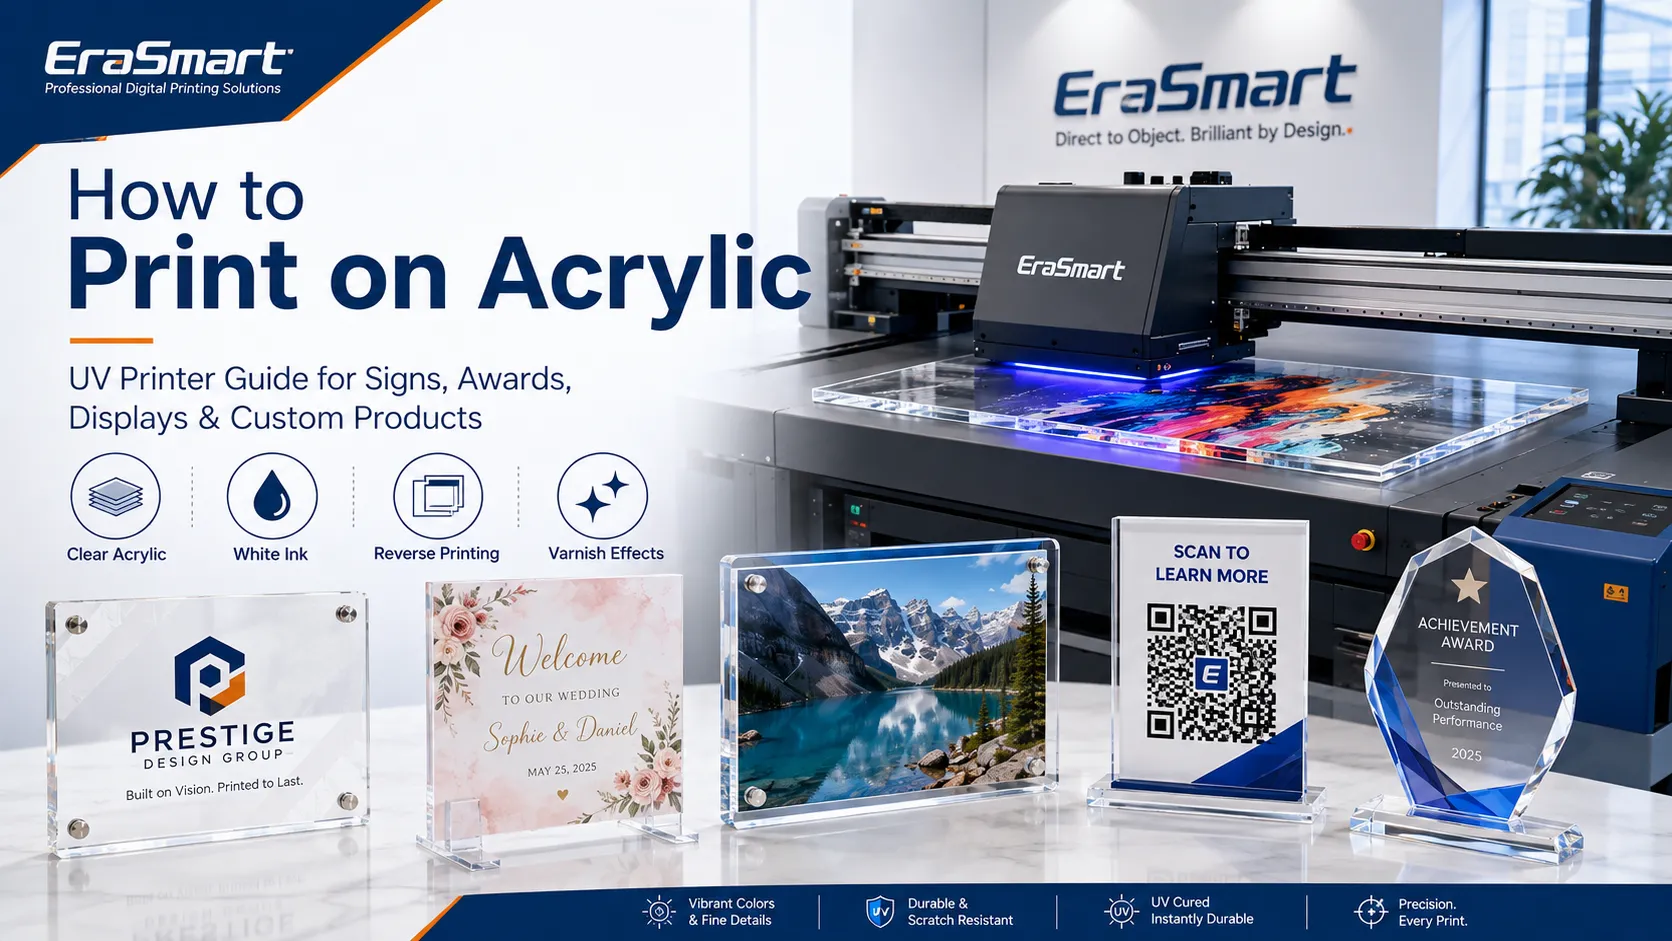
How to Print on Acrylic with a UV Printer: A Complete Step-by-Step Guide

August 5, 2026     Blog

Acrylic is one of the most practical materials for UV flatbed printing.

Its smooth surface, consistent thickness and premium transparent appearance make it suitable for custom signs, awards, photo panels, retail displays, wedding products, business plaques and personalized gifts.

A UV printer can apply CMYK, white ink and clear varnish directly onto the acrylic surface. The built-in UV lamps cure the ink during printing, allowing the finished piece to move quickly to inspection, cutting, mounting or packaging.

However, successful acrylic printing requires more than placing a sheet on the flatbed and pressing Print.

The result depends on:

  • Acrylic type and surface condition
  • Cleaning method
  • Static and dust control
  • Material thickness
  • Printhead height
  • Artwork orientation
  • White ink layer
  • Ink printing order
  • Primer requirements
  • UV curing
  • Product positioning
  • Final adhesion testing

This guide explains how to print directly on clear, colored, frosted and opaque acrylic using a UV printer, including front printing, reverse printing, white ink, varnish, product preparation and common problem solving.

Can You Print Directly on Acrylic?

Yes. A compatible UV flatbed printer can print directly onto many acrylic sheets and finished acrylic products.

Acrylic is particularly suitable for direct UV printing because it is normally:

  • Flat
  • Rigid
  • Dimensionally stable
  • Available in consistent thicknesses
  • Easy to position
  • Suitable for full-color graphics
  • Available in clear, white, colored and frosted finishes

Typical products include:

  • Acrylic signs
  • QR code displays
  • Business logo plaques
  • Wedding signs
  • Photo blocks
  • Awards
  • Table numbers
  • Menu holders
  • Keychains
  • Desk nameplates
  • Retail display panels
  • LED light-base inserts
  • Decorative wall art

Clear acrylic also supports reverse-side printing, in which the artwork is printed onto the back of the sheet and viewed through the front.

For a product-focused overview, see the EraSmart UV printer for acrylic page.

UV Printing on Acrylic at a Glance

ItemRecommended approach
Best printer typeUV flatbed printer
Standard inkCMYK UV ink
White inkRecommended for opaque color on clear or dark acrylic
VarnishOptional for gloss, texture and raised effects
PrimerMaterial- and ink-dependent
Best surfaceFlat, clean and stable
Artwork orientationNormal for front printing; mirrored for reverse printing
Main riskDust, static, fingerprints and poor adhesion
Typical productsSigns, awards, displays, gifts and photo panels
Batch-production toolJig, template or positioning guide
Required testNozzle, alignment, adhesion and scratch testing

What Type of Acrylic Can Be UV Printed?
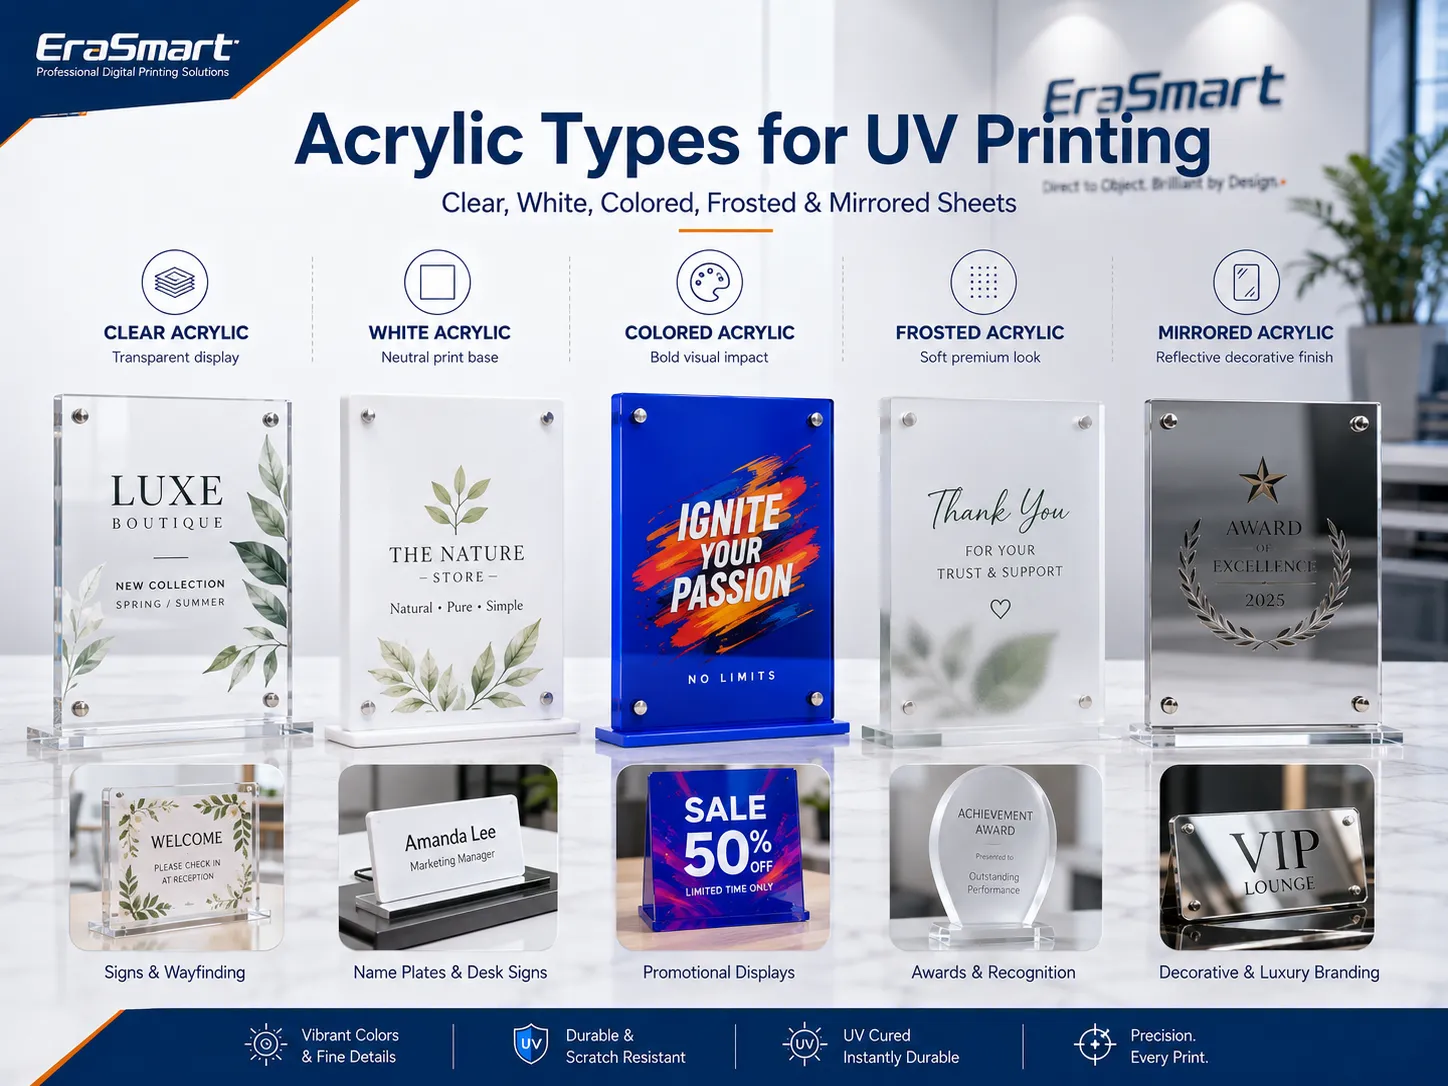
“Acrylic” can refer to several materials and surface finishes. The exact sheet should be tested before commercial production.

Clear Acrylic

Clear acrylic is widely used for:

  • Photo blocks
  • Business signs
  • Awards
  • Wedding décor
  • Display panels
  • LED signs
  • Desk plaques

CMYK ink is transparent, so printing color directly onto clear acrylic may create a stained-glass or translucent appearance.

To make the image more opaque and vibrant, add white ink behind the color layer.

White Acrylic

White acrylic provides a neutral base for CMYK printing.

It is suitable for:

  • Signs
  • Logo plaques
  • Product displays
  • Nameplates
  • Decorative panels

White acrylic may not require a full white ink underbase unless:

  • The artwork includes visible white elements.
  • Extra opacity is needed.
  • The surface color is not completely neutral.
  • A multilayer effect is being created.

Colored Acrylic

Colored acrylic can influence the appearance of CMYK ink.

Dark blue, black, red and other strong colors may show through the printed image unless a white underbase is used.

Test:

  • White ink density
  • White choke
  • CMYK density
  • Edge registration
  • Surface adhesion

Frosted Acrylic

Frosted acrylic creates a softer decorative appearance and is popular for:

  • Privacy signs
  • Wedding décor
  • Premium branding
  • Light-diffusing panels
  • Office signs

The textured or treated surface may affect image sharpness and adhesion. Test both sides because one side may be smoother than the other.

Mirrored Acrylic

Mirrored acrylic can be used for:

  • Decorative signage
  • Event décor
  • Display products
  • Personalized gifts

The reflective surface can make alignment and visual evaluation more difficult. It may also have a coating or backing layer that behaves differently from ordinary clear acrylic.

Test the exact printable side before accepting an order.

Cast Acrylic vs Extruded Acrylic

Both cast and extruded acrylic may be suitable for UV printing, but they can differ in:

  • Surface condition
  • Thickness tolerance
  • Cutting behavior
  • Internal stress
  • Protective film
  • Cost
  • Supplier consistency

Do not assume that settings developed for one sheet will work perfectly on another.

When changing the acrylic brand, finish or thickness, repeat the basic adhesion and color tests.

Direct UV Printing vs UV DTF on Acrylic

Flat acrylic products are usually better suited to direct UV flatbed printing.

UV DTF may be useful when the acrylic product is already assembled, difficult to position or contains a curved or irregular area.

ApplicationDirect UV flatbedUV DTFBetter starting choice
Flat acrylic signExcellentUsually unnecessaryDirect UV
Clear acrylic awardExcellentLimited advantageDirect UV
Acrylic photo panelExcellentPossibleDirect UV
Small acrylic keychainExcellent with a jigPossibleDirect UV
Curved acrylic objectDifficultMore flexibleUV DTF
Already assembled displayDepends on size and shapeOften practicalCase by case
Replaceable product decalPossibleExcellentUV DTF

Direct printing creates the image on the acrylic surface without a separate carrier film.

UV DTF applies a completed adhesive graphic to the product. It is useful for curves and difficult shapes, but the transfer layer remains distinguishable from direct UV printing.

For a broader comparison, read UV DTF printer vs UV printer.

Equipment and Supplies Needed

Prepare the following items before starting.

Essential Equipment

  • UV flatbed printer
  • Computer
  • RIP software
  • Design software
  • Suitable worktable
  • Nozzle-check media
  • Height-measuring system or printer height sensor

UV Printing Consumables

  • CMYK UV ink
  • White UV ink
  • Clear varnish when required
  • Approved primer when required
  • Cleaning solution
  • Maintenance swabs
  • Lint-free cloths

Acrylic Preparation Tools

  • Acrylic sheet or blank product
  • Soft damp cloth
  • Mild detergent or approved acrylic cleaner
  • Anti-static cleaning method
  • Ionizing air gun where available
  • Low-lint gloves
  • Protective sheet or masking
  • Alignment ruler
  • Positioning jig
  • Low-profile tape where appropriate

Finishing and Testing Tools

  • Adhesion-test tape
  • Soft scratch-test tool
  • Caliper or thickness gauge
  • Cutting or laser equipment where required
  • Mounting hardware
  • Packaging film
  • Corner protectors

How to Prepare Artwork for Acrylic Printing

Artwork preparation depends on whether the image will be viewed from the printed side or through the acrylic.

Set the Final Print Size

Prepare the artwork at the required physical dimensions.

Confirm:

  • Width
  • Height
  • Orientation
  • Bleed
  • Safe area
  • Mounting-hole position
  • Cut-line clearance
  • Acrylic edge allowance

Do not place small text or important details directly beside:

  • Screw holes
  • Rounded corners
  • Cut edges
  • Standoffs
  • Decorative borders

Use a Suitable Source File

Useful formats include:

  • TIFF
  • PNG
  • PSD
  • PDF
  • AI
  • EPS
  • High-quality JPEG

Avoid:

  • Screenshots
  • Social media thumbnails
  • Heavily compressed files
  • Small logos enlarged far beyond their original size

The necessary resolution depends on final size, artwork detail and viewing distance. The EraSmart guide to the best DPI for printing explains why 300 DPI should not be treated as a mandatory value for every print size.

Create Separate Ink Layers

Depending on the design, your RIP workflow may require:

  • CMYK artwork
  • White underbase
  • Visible white artwork
  • Varnish layer
  • Primer layer
  • Cut or product outline
  • Alignment reference

Name and organize layers clearly before sending the file to RIP software.

Mirror Artwork for Reverse Printing

If the image is printed on the back of clear acrylic and viewed through the front, mirror the design before printing.

This is especially important for:

  • Text
  • Logos
  • QR codes
  • Directional icons
  • Photographs
  • Serial numbers

Confirm that the RIP software does not mirror the image a second time.

Understand Acrylic Ink Layer Orders

The order of CMYK and white ink determines how the finished product looks.

CMYK Only

Use CMYK only when:

  • A translucent effect is desired.
  • The acrylic color should remain part of the design.
  • The product will be illuminated.
  • White opacity is not required.
  • A stained-glass appearance is intended.

On clear acrylic, CMYK-only artwork may look weak against a bright background.

White Then CMYK

This layer order is commonly used for front-surface printing on transparent, dark or colored acrylic.

The printer first creates a white base, then prints CMYK over it.

The visible structure is:

  1. Acrylic
  2. White ink
  3. CMYK image

This helps prevent the acrylic color or background from changing the printed color.

White underprinting is a standard method for retaining color strength on transparent and colored substrates.

CMYK Then White

This order is commonly used for reverse printing.

The design is mirrored and printed onto the back of clear acrylic:

  1. CMYK is printed first.
  2. White ink is printed behind the color.
  3. The artwork is viewed through the unprinted front surface.

The acrylic creates a glossy, protected viewing surface while the white layer supports color opacity. Official UV printing workflows use CMYK followed by white when the image is viewed from the opposite side of a transparent object.

CMYK, White, CMYK

A color-white-color structure can make a transparent sign readable from both directions.

Possible applications include:

  • Window signs
  • Hanging displays
  • Transparent retail panels
  • Double-sided acrylic graphics

The image should be tested from both viewing directions because layer registration and light transmission affect the final result. Multilayer color-white-color printing is used commercially for transparent and backlit graphics.

CMYK with Varnish

Clear varnish may be applied to selected areas to create:

  • Spot gloss
  • Raised logos
  • Simulated embossing
  • Decorative texture
  • Highlighted text
  • Premium surface effects

Varnish should be used intentionally. Printing varnish across the entire surface may increase production time and create an appearance that differs from the natural gloss of acrylic.

How to Print on Acrylic with a UV Printer
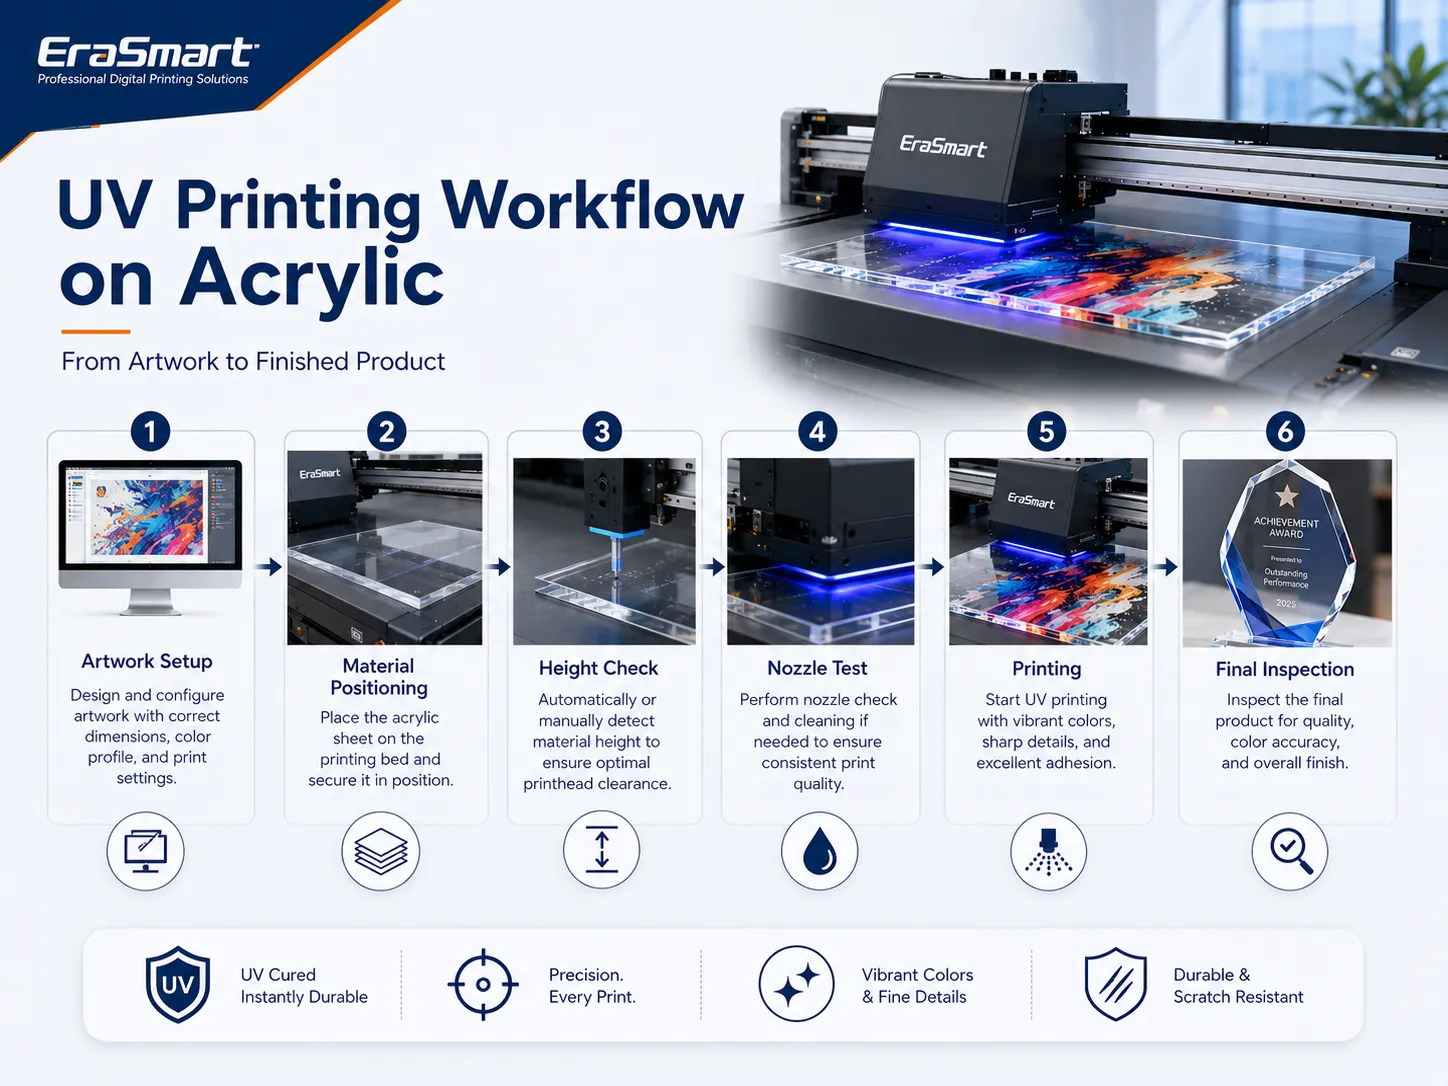
The following workflow applies to flat acrylic sheets, panels, plaques and similar products.

Exact settings depend on the printer, ink, sheet finish and required product performance.

Step 1: Inspect the Acrylic

Before removing the protective film, inspect the product for:

  • Scratches
  • Chips
  • Warping
  • Surface coating
  • Incorrect thickness
  • Damaged corners
  • Adhesive residue
  • Protective-film defects

Do not print a damaged blank unless the customer has approved it.

Step 2: Confirm the Printable Side

Some acrylic products have different front and back surfaces.

This is especially common with:

  • Frosted acrylic
  • Mirrored acrylic
  • Coated sheets
  • Printed or laminated products
  • Laser-ready blanks

Mark the printable side before removing the masking.

Step 3: Remove the Protective Film Carefully

Remove the protective film from the printing side shortly before loading the sheet.

This reduces exposure to:

  • Dust
  • Scratches
  • Fingerprints
  • Static contamination

If the product will be reverse printed, keep the protective film on the display side when possible.

Do not leave loose film near the printhead.

Step 4: Clean the Surface Safely

Acrylic should be clean, dry and free from dust.

Use:

  • A soft damp cloth
  • Lukewarm water
  • Mild detergent
  • An approved acrylic cleaner
  • A material-specific anti-static cleaner

Avoid automatically using acetone, lacquer thinner, gasoline or undiluted alcohol. Acrylic manufacturers warn that some aggressive solvents can weaken the surface or cause fine cracks known as crazing. (ACRYLITE®)

If a cleaning chemical is required, confirm compatibility with the exact acrylic sheet.

Step 5: Control Static and Dust

Removing the protective masking can create a static charge.

Static may attract:

  • Dust
  • Fibers
  • Plastic chips
  • Hair
  • Packaging particles

These contaminants can become visible beneath white or color ink.

Helpful methods include:

  • Ionizing air
  • Approved anti-static cleaner
  • Damp lint-free cloth
  • Clean workbench
  • Low-lint clothing
  • Covered acrylic storage

Acrylic sheet manufacturers note that removing the masking can generate static and recommend ionized air or suitable anti-static cleaning methods before painting or printing. (ACRYLITE®)

Step 6: Measure the Material Thickness

Measure the acrylic together with any:

  • Jig
  • Support board
  • Adhesive platform
  • Positioning sheet

The combined height must remain within the printer’s supported range.

Do not rely only on the supplier’s nominal thickness.

Step 7: Position and Secure the Acrylic

Place the acrylic flat on the printer platform.

Use:

  • Vacuum hold-down where available
  • A positioning jig
  • Corner stops
  • Registration marks
  • Low-profile tape outside the print area
  • A flat support board

The sheet should not:

  • Move
  • Rock
  • Bow upward
  • Lift at the corners
  • Interfere with the printhead

Thin sheets may need full support to remain flat.

Step 8: Set the Printhead Height

An incorrect print gap may cause:

  • Blurred images
  • Ink mist
  • Overspray
  • Misaligned white ink
  • Reduced detail
  • Head strikes

Set the printhead as close as safely permitted by the machine.

Check the highest point of the complete product, not only the center of the sheet.

Step 9: Run a Nozzle Check

Check:

  • Cyan
  • Magenta
  • Yellow
  • Black
  • White
  • Varnish

Do not print the final acrylic product when the nozzle pattern is incomplete.

White nozzle loss can create:

  • Uneven opacity
  • Gray areas
  • Color inconsistency
  • Visible striping

Varnish nozzle loss can create uneven gloss and texture.

Step 10: Load and Position the Artwork

Import the file into the RIP software.

Confirm:

  • Final dimensions
  • Orientation
  • Mirror setting
  • White ink layer
  • Varnish layer
  • Printing origin
  • Product outline
  • Margin
  • Layer order

When printing multiple acrylic products, use a saved template or jig coordinate system.

Step 11: Select the Print Mode

Choose a print mode according to:

  • Artwork detail
  • Product value
  • White density
  • Required speed
  • Varnish effect
  • Viewing distance

A high-quality mode may improve:

  • Fine text
  • Gradients
  • White registration
  • Photographs
  • Small logos

Do not automatically use maximum ink density. Excessive ink can create thick layers, longer curing requirements and reduced surface quality.

Step 12: Print One Test Sample

Before printing a batch, produce one sample.

Inspect:

  • Position
  • Color
  • White opacity
  • Layer registration
  • Edge sharpness
  • Varnish
  • Surface contamination
  • Curing

View clear acrylic against several backgrounds, including:

  • White
  • Black
  • Gray
  • Natural room light
  • Backlight where relevant

Step 13: Perform an Adhesion Test

After the sample has stabilized according to the ink system instructions, test:

  • Fingernail resistance
  • Tape adhesion
  • Dry cloth rubbing
  • Controlled scratching
  • Edge handling
  • Cleaning resistance

If adhesion is weak, investigate:

  • Surface contamination
  • Acrylic coating
  • Ink compatibility
  • Curing
  • Primer
  • Excessive ink density

Do not immediately increase UV power or add more ink without identifying the cause.

Step 14: Use Primer When Required

Some acrylic products accept UV ink without primer, while others benefit from an approved primer.

Primer may improve ink bonding on difficult or coated acrylic surfaces. Official UV printer documentation lists acrylic among the materials whose adhesion may improve with compatible primer. (Roland DG 下载中心)

Apply primer only to the required printing area when possible.

Excess primer may:

  • Change surface appearance
  • Leave visible borders
  • Affect transparency
  • Attract dust
  • Increase production steps

Test primer and direct printing side by side before choosing the production workflow.

Step 15: Print the Production Batch

Once the test is approved:

  • Use the same acrylic supplier.
  • Use the same printable side.
  • Keep the platform height unchanged.
  • Save the RIP preset.
  • Use the same cleaning process.
  • Check nozzles regularly.
  • Inspect every product.

Record the batch settings for future reorders.

Step 16: Finish the Acrylic Product

Finishing may include:

  • Laser cutting
  • CNC routing
  • Drilling
  • Edge polishing
  • Flame polishing
  • Mounting
  • Adding standoffs
  • Installing an LED base
  • Attaching magnets
  • Adding keychain hardware
  • Packaging

When possible, decide whether cutting should occur before or after printing during the product-design stage.

Printing after cutting may simplify positioning of small finished pieces but usually requires a jig.

Printing before cutting may improve sheet utilization but requires accurate registration between printing and cutting.

Front Printing vs Reverse Printing on Acrylic
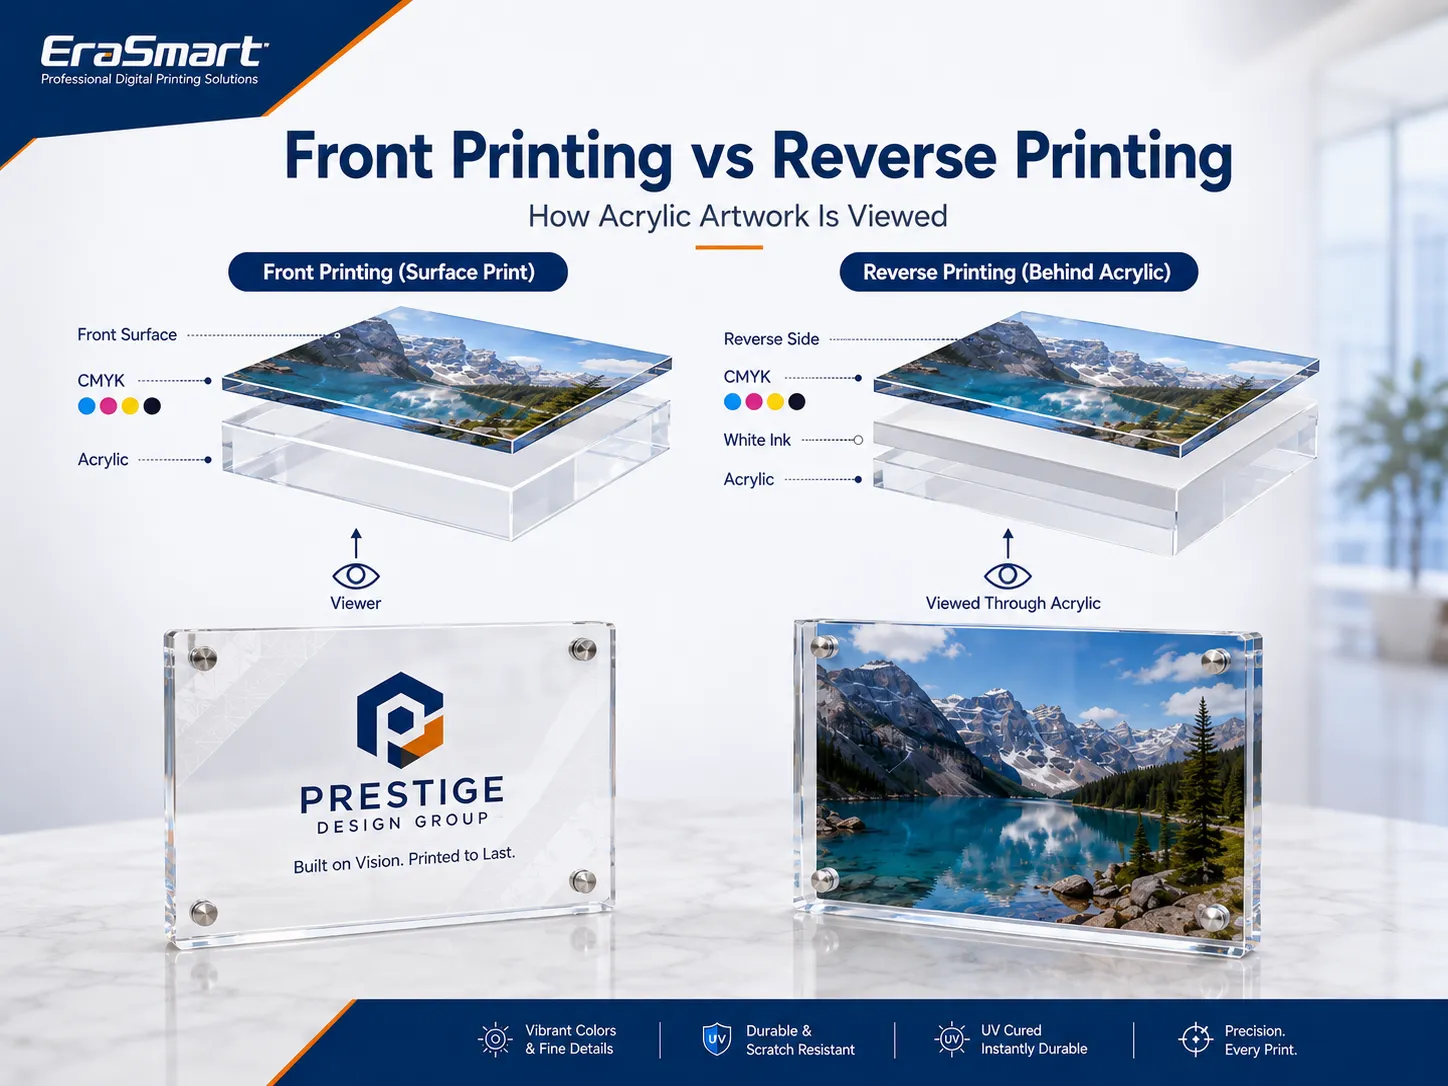
Front-Surface Printing

The ink is printed onto the visible front surface.

Advantages:

  • Straightforward artwork orientation
  • Easy to add raised varnish
  • Suitable for textured effects
  • Works well on opaque and colored acrylic

Limitations:

  • Printed ink is directly exposed to handling.
  • The surface may require additional durability testing.
  • Heavy varnish can change the natural acrylic appearance.

Reverse Printing

The design is mirrored and printed onto the rear surface of clear acrylic.

Advantages:

  • Smooth glossy viewing surface
  • Ink protected behind the acrylic
  • Premium photo-panel appearance
  • Easy-to-clean front surface
  • Strong depth effect

Limitations:

  • Artwork must be mirrored.
  • Layer order must be correct.
  • Surface scratches on the front remain visible.
  • White ink alignment is important.
  • Varnish behind acrylic may be less visually useful.

Reverse printing is particularly suitable for:

  • Acrylic photo blocks
  • Awards
  • Signs
  • Desk displays
  • Decorative wall panels
  • Premium branding products

When Should White Ink Be Used?

Use white ink when:

  • Printing on clear acrylic
  • Printing on dark acrylic
  • Printing on strongly colored acrylic
  • Accurate CMYK color is required
  • The artwork contains white details
  • The background behind the product may change
  • A double-sided design is required

White ink may be reduced or removed when:

  • A translucent design is desired.
  • The product will be illuminated.
  • The acrylic color should show through.
  • A layered or stained-glass effect is intended.

The best white density is not necessarily the highest available setting.

Excessive white ink may increase:

  • Production time
  • Ink consumption
  • Surface thickness
  • Curing demand
  • Registration risk

Use test samples to find the lowest density that provides the required opacity.

When Should Varnish Be Used?

Clear varnish is useful for:

  • Raised logos
  • Spot gloss
  • Decorative highlights
  • Simulated embossing
  • Tactile text
  • Patterned surfaces
  • Premium packaging displays

Varnish is not essential for every acrylic product because the material already has a naturally glossy appearance.

Use it where the contrast between matte, printed and glossy areas adds visible value.

For more detail about layer configuration, read the EraSmart UV ink guide for CMYK, white and varnish.

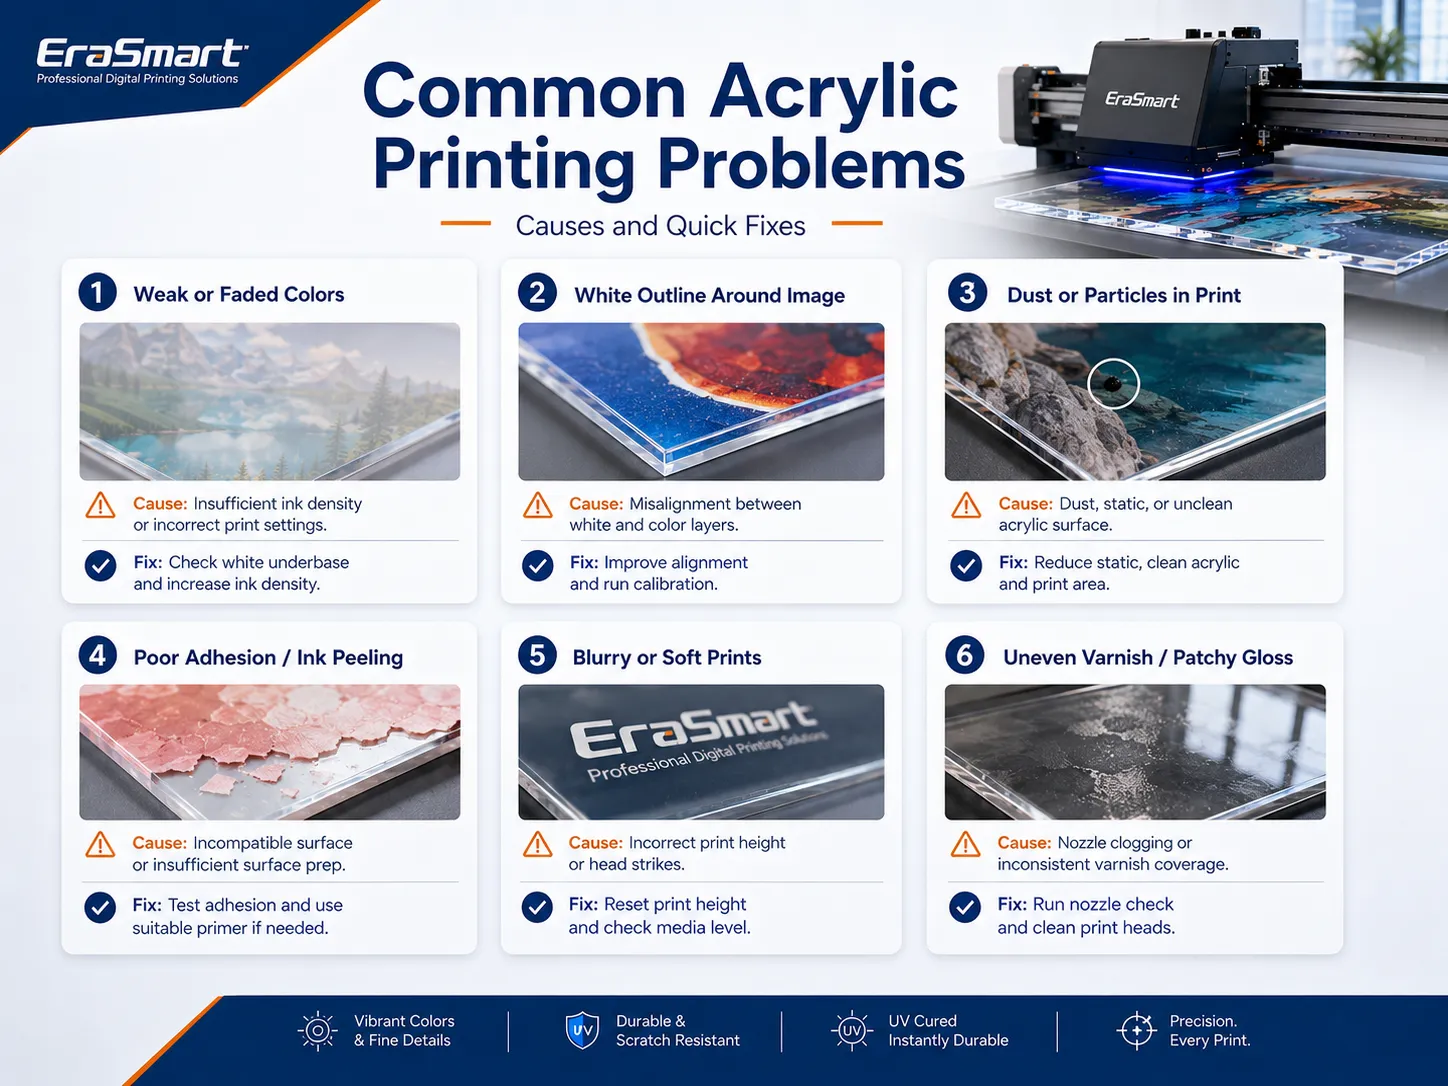
Common Acrylic UV Printing Problems

ProblemPossible causeRecommended action
Colors look weakNo white underbase on clear acrylicAdd or increase a tested white layer
White border appearsCMYK and white misalignmentCheck alignment and adjust white choke
Ink scratches offContamination, coating or weak adhesionClean correctly and test primer
Dust is trapped in printStatic or dirty workspaceUse anti-static control and clean handling
Image looks blurryPrinthead gap too largeRecheck acrylic and jig height
Ink mist appearsExcessive printhead distanceReduce the safe printing gap
Varnish looks unevenMissing nozzles or uneven product heightRun a nozzle check and confirm flatness
Sheet moves during printingWeak vacuum or poor fixtureSecure the sheet with a suitable jig
Acrylic bends or liftsThin or unsupported sheetUse full support and low-profile restraint
Reverse image is backwardArtwork was not mirroredMirror before reverse printing
QR code does not scanLow contrast, small size or blurIncrease size and test on the final product
Fine cracks appearIncompatible cleaning solvent or internal stressStop using the chemical and consult the sheet supplier
White ink looks grayWeak opacity or incomplete nozzle outputCheck the white system and RIP settings
Printed area feels stickyIncomplete curing or excessive inkReview ink density and curing settings
Edges chip during finishingCutting or drilling issueOptimize the fabrication process separately

How to Improve Ink Adhesion on Acrylic

Use a controlled test instead of guessing.

  1. Identify the acrylic brand and finish.
  2. Confirm the printable side.
  3. Clean it using an approved method.
  4. Print a small CMYK and white test.
  5. Allow the print to stabilize.
  6. Perform a tape or scratch test.
  7. Test primer if direct adhesion is weak.
  8. Compare different print modes.
  9. Record the result.
  10. Repeat the test after cleaning or handling exposure.

Adhesion may differ between:

  • Clear and colored acrylic
  • Cast and extruded acrylic
  • Gloss and frosted surfaces
  • Coated and uncoated sheets
  • Different sheet manufacturers

The EraSmart UV printer materials guide provides a broader checklist for testing acrylic, glass, metal, wood and other substrates.

How to Protect Acrylic from Scratches

Acrylic can scratch during:

  • Film removal
  • Cleaning
  • Printing
  • Cutting
  • Assembly
  • Packaging
  • Shipping

Recommended practices include:

  • Keep protective masking on non-printed surfaces.
  • Use soft, clean gloves.
  • Avoid dry abrasive wiping.
  • Keep the workbench free from chips.
  • Use clean jigs.
  • Separate finished pieces.
  • Apply protective film after the print has stabilized.
  • Use corner protectors for larger panels.
  • Package glossy surfaces face-to-face only with suitable protection.

Do not stack freshly printed acrylic pieces directly against one another.

Product Ideas for Acrylic Printing

Business Signs

Produce:

  • Logo plaques
  • Door signs
  • QR code signs
  • Opening-hours signs
  • Reception signs
  • Desk nameplates
  • Directional panels

Wedding and Event Products

Produce:

  • Welcome signs
  • Table numbers
  • Reserved signs
  • Seating charts
  • Place cards
  • Menu boards
  • Photo plaques
  • Personalized favors

Acrylic Awards

Possible products include:

  • Employee awards
  • Sports trophies
  • Achievement plaques
  • Sponsor recognition
  • Corporate gifts

White ink and varnish can be combined with printed color, laser-cut edges and decorative bases.

Acrylic Photo Products

Produce:

  • Family photo blocks
  • Pet portraits
  • Wedding photos
  • Memorial products
  • Travel images
  • Art reproductions

Reverse printing can create a smooth, glossy viewing surface.

Retail Displays

Produce:

  • Product information panels
  • Price displays
  • Shelf signs
  • Cosmetic stands
  • Promotional cards
  • Branded display blocks

Acrylic Keychains and Accessories

Produce:

  • Name keychains
  • Logo tags
  • Bag charms
  • Event souvenirs
  • Pet tags
  • Decorative pendants

Use a jig to position multiple pieces consistently.

LED Acrylic Signs

Clear acrylic can be placed in an LED base to produce illuminated:

  • Logos
  • Names
  • Decorative art
  • Menu signs
  • Event displays
  • Gaming signs

Test the design with the actual light source because white ink and CMYK density affect light transmission.

For more product inspiration, see things to print with a UV printer.

Is Acrylic UV Printing Suitable for Outdoor Use?

Some UV-printed acrylic products may be suitable for sheltered or outdoor environments, but outdoor durability should not be assumed automatically.

Performance depends on:

  • UV ink formulation
  • Acrylic grade
  • Adhesion
  • Primer
  • Ink-layer structure
  • Sunlight exposure
  • Temperature changes
  • Rain
  • Cleaning chemicals
  • Installation method

Before marketing a product as outdoor-safe:

  • Test the exact ink and acrylic.
  • Review the ink specification.
  • Check adhesion after weather exposure.
  • Test color change.
  • Evaluate edge lifting.
  • Confirm whether an additional protective process is needed.

Avoid promising a fixed outdoor lifespan without evidence from the actual production system.

How to Choose a UV Printer for Acrylic

Consider the following factors.

Print Area

Match the printer platform to the products you intend to sell.

Typical paths include:

  • Compact printers for keychains, small plaques and samples
  • A4 models for desk signs, gifts and small panels
  • A3 models for signage, awards and batch production
  • A2 models for larger panels and commercial work

Maximum Product Height

Measure:

  • Acrylic
  • Stand or frame
  • Jig
  • Support platform

If you plan to print assembled acrylic photo blocks or awards, product height may be more important than sheet thickness.

White Ink Configuration

White ink is important for:

  • Clear acrylic
  • Colored acrylic
  • Dark acrylic
  • Reverse printing
  • Double-sided graphics

Varnish Capability

Choose varnish if your products need:

  • Raised logos
  • Gloss highlights
  • Tactile effects
  • Premium decorative finishes

Primer Capability

Some machines can print primer only on the required areas.

This may simplify production when working with difficult acrylic coatings, glass, metal or selected plastics.

Positioning System

For small or repeated acrylic products, look for:

  • Reliable origin control
  • Camera or visual positioning where available
  • Jig compatibility
  • Saved templates
  • Accurate platform movement

RIP Software

The RIP should support:

  • CMYK
  • White ink
  • Varnish
  • Primer
  • Layer order
  • Mirroring
  • White choke
  • Saved presets

Maintenance

Evaluate:

  • White ink circulation
  • Automatic cleaning
  • Nozzle-check process
  • Cleaning-fluid availability
  • Dampers
  • Capping stations
  • Printhead supply
  • Technical support

Before purchasing, review the EraSmart UV printer buying checklist.

Which EraSmart UV Printer Size Is Suitable?

The suitable model depends on product size, order quantity and required ink configuration.

Compact Acrylic Products

An A4-class UV printer can be suitable for:

  • Keychains
  • Nameplates
  • Small photo panels
  • Desk signs
  • Personalized gifts

Acrylic Signs and Small-Batch Production

An A3-class printer provides more space for:

  • Business signs
  • Multiple keychains
  • Awards
  • Retail panels
  • Batch fixtures

Larger Acrylic Panels

An A2-class printer is more suitable for:

  • Larger signs
  • Display panels
  • Wall décor
  • Commercial production
  • Multiple products in one fixture

Compare the complete EraSmart UV printer range according to printing area, product height, printhead configuration and expected production volume.

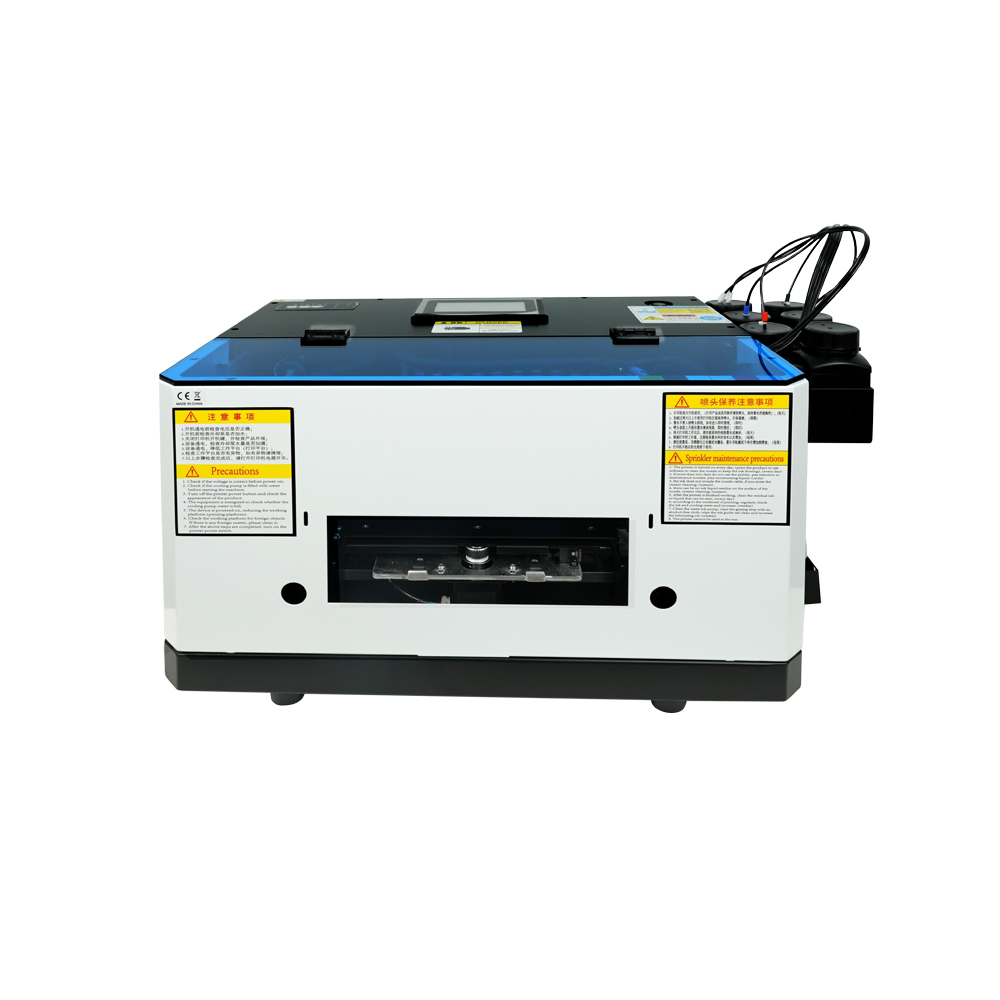
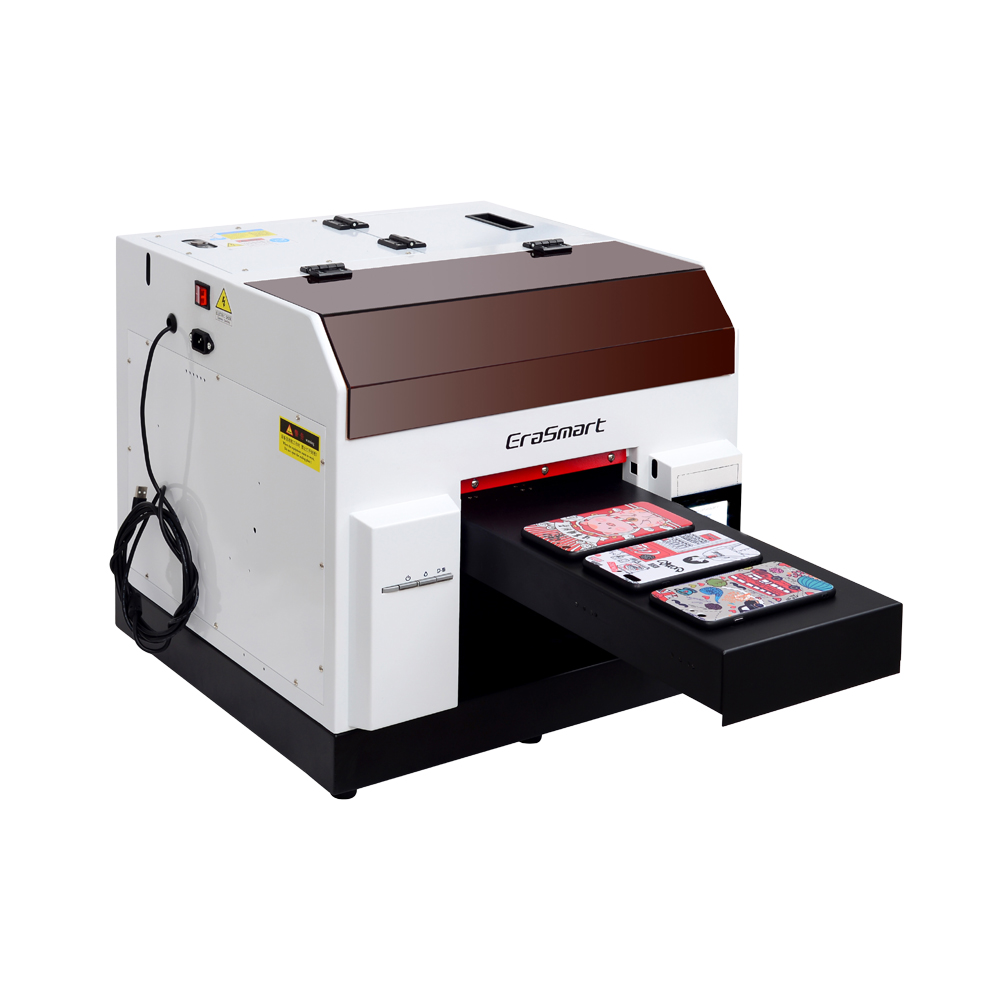
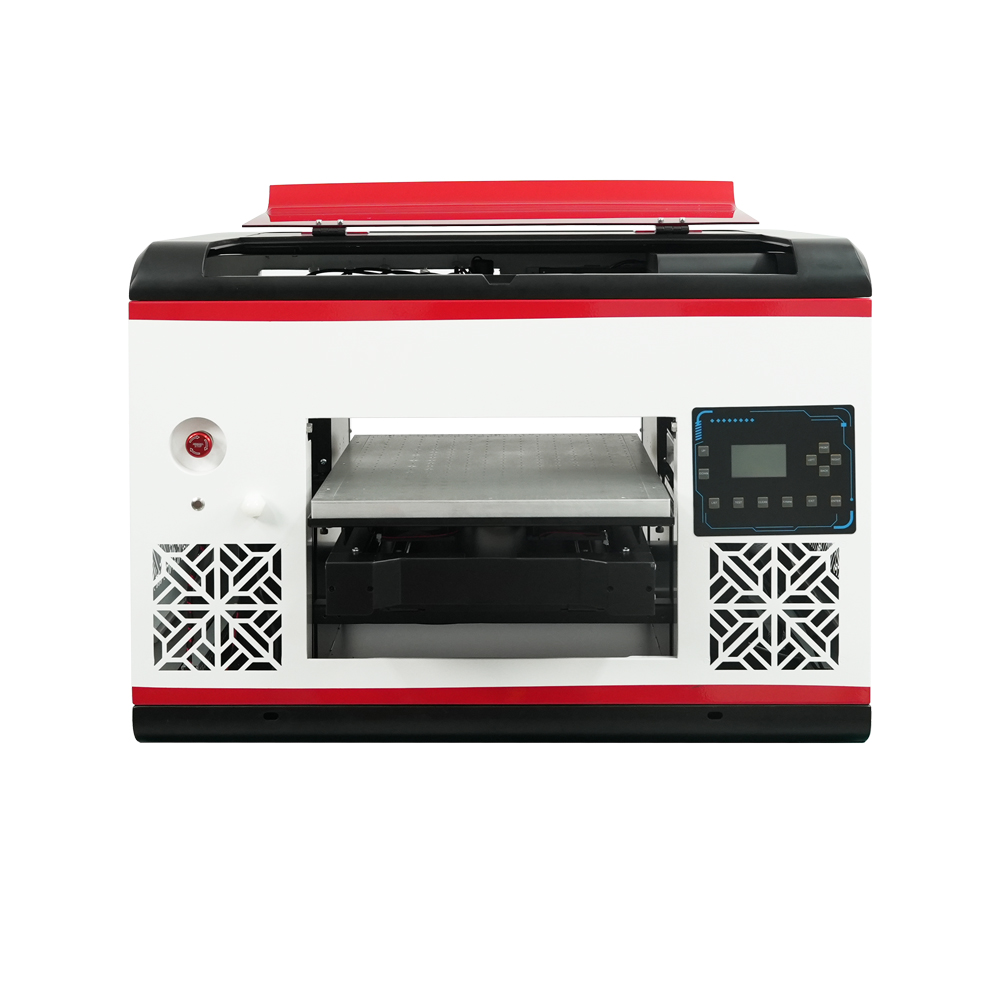
EraSmart UV Printer Series

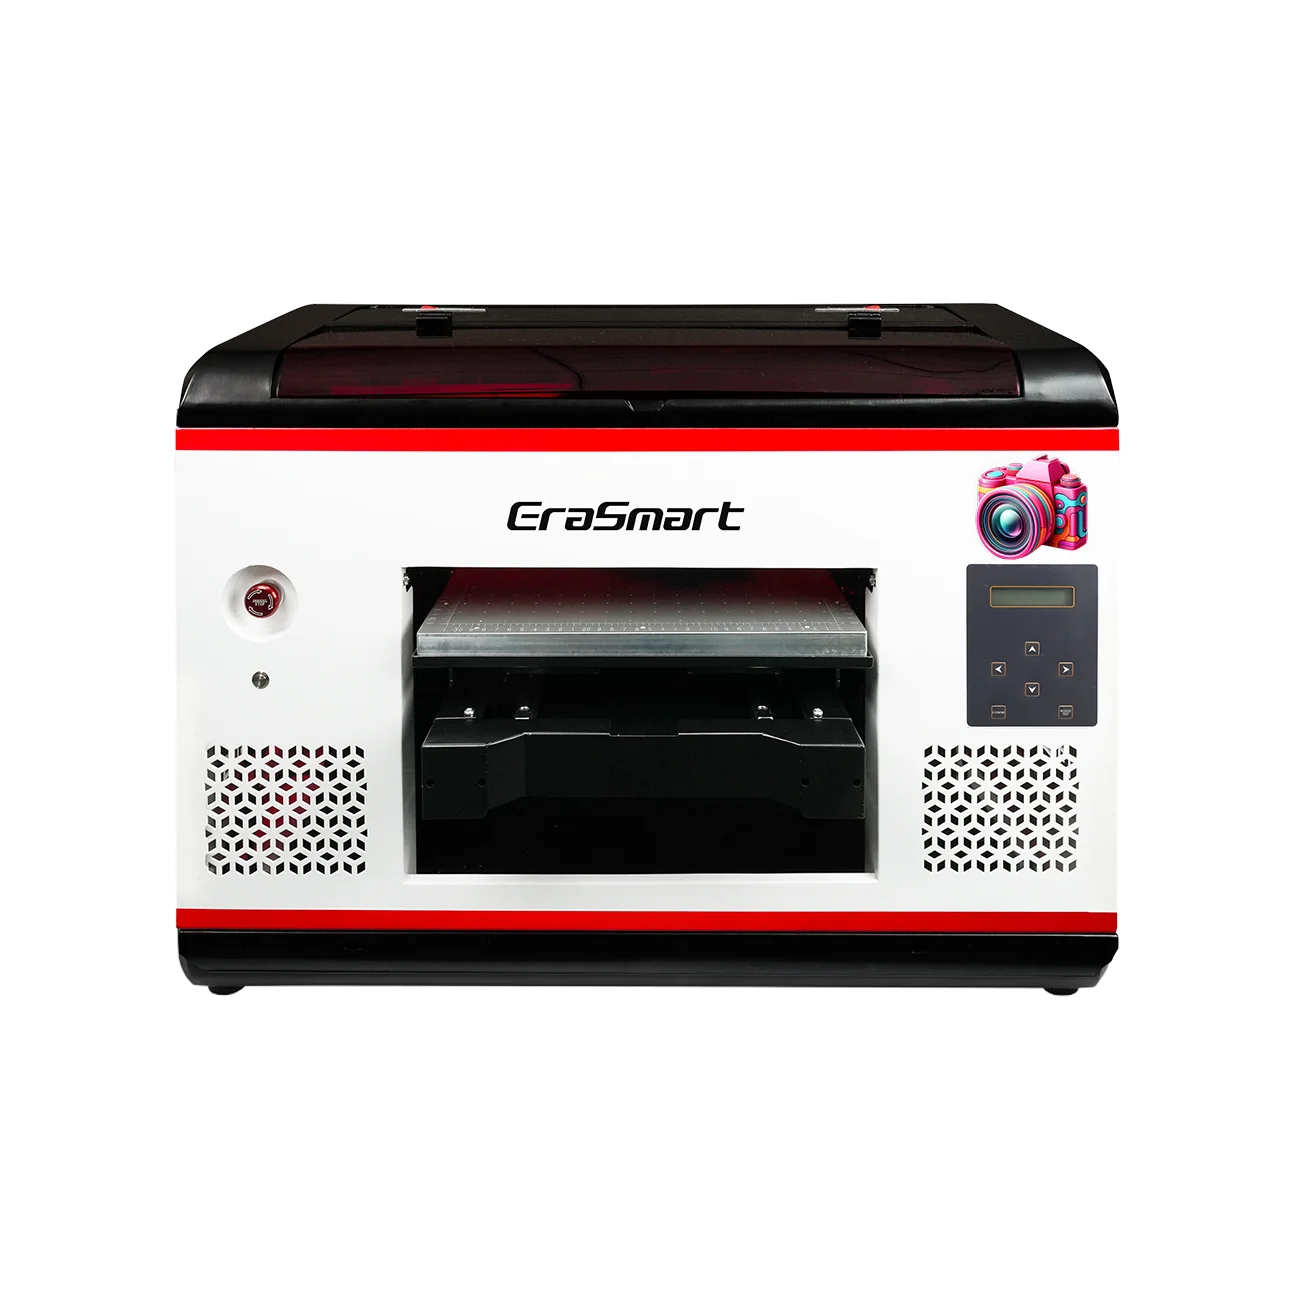
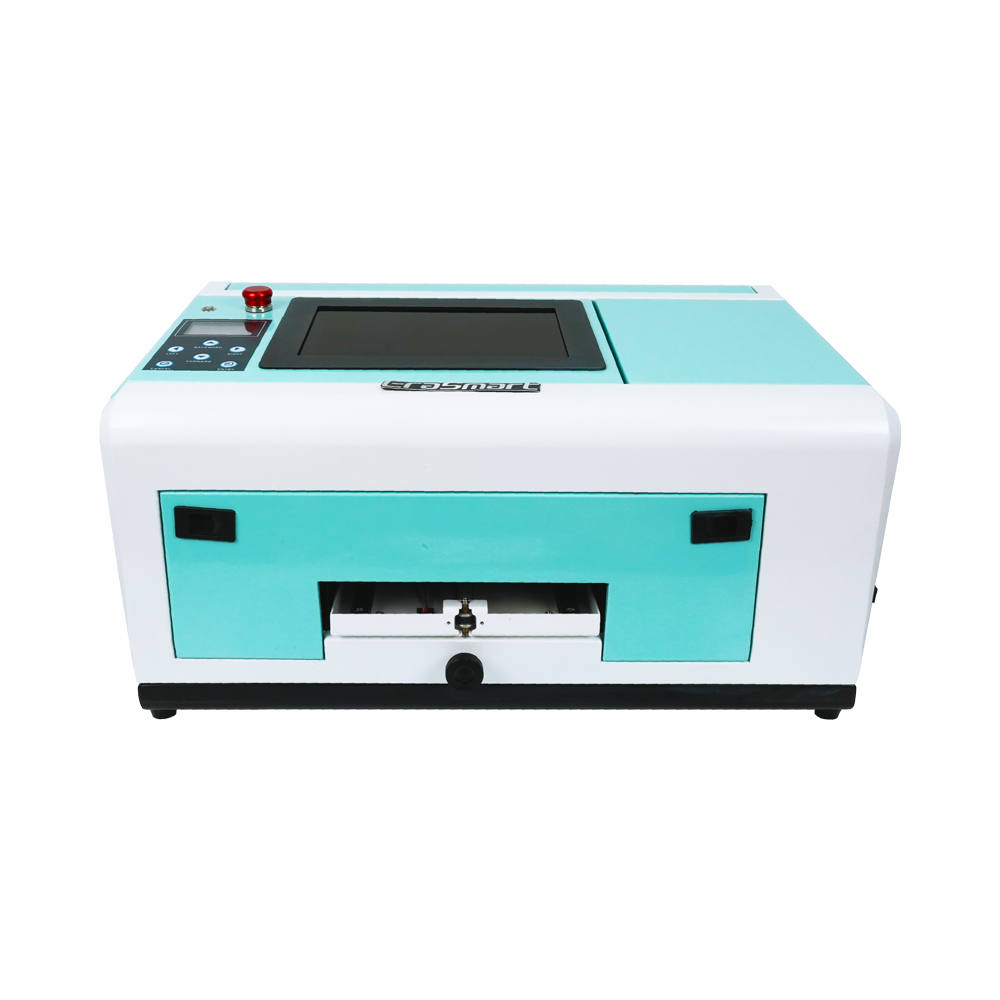
Discover our comprehensive range of UV printers, engineered to deliver exceptional results on diverse materials. From compact A5 models to large-format A2 printers, find the perfect solution for your business.

Compact entry-level model with L800 print head, ideal for small items and hobby projects (120*210mm print size).

a4 uv printer

L800 print head with 210*290mm print size, perfect for small businesses and personalized gifts (0-130mm print height).

a3 max uv printer DX7

DX7 print head with 350*450mm print size, suction platform, and CMYK+WW+VV for high-volume production.

a3 max uv printer XP600

XP600 print head with 350*450mm print size, 5㎡/H speed, ideal for medium to large production runs.

a3 pro uv printer XP600

Dual XP600 print heads with 5.5㎡/H speed, CMYK+WW+VVVVVV for enhanced color gamut and productivity.

Dual XP600 print heads with 350*450mm print size, designed for industrial-grade continuous production.

Large-format 420*600mm printer with dual XP600 heads, perfect for signage, panels and large materials.

Dual XP600 heads with automatic lamination, specialized for UV DTF film printing (width up to 350mm).

Specialized for phone cases (TPV/PVC/wood/metal), with 10-inch display and 0-10mm adjustable height.

How Much Does Acrylic Printing Cost?

Acrylic printing cost includes more than UV ink.

Calculate:

  • Acrylic blank
  • Cutting
  • Polishing
  • CMYK ink
  • White ink
  • Varnish
  • Primer
  • Printer time
  • Artwork preparation
  • Jig preparation
  • Failed products
  • Mounting hardware
  • Packaging
  • Labor
  • Selling fees
  • Shipping protection

A practical formula is:

Total product cost = acrylic blank + fabrication + printing + labor + waste + finishing + packaging

Then calculate:

Selling price = total product cost + overhead + target profit

Reverse printing, multilayer white ink and raised varnish normally require more printer time than a simple CMYK-only print.

The EraSmart guide on how much UV printing costs explains the broader cost structure of UV ink, maintenance and production.

Final Thoughts

Acrylic is one of the strongest product categories for a UV flatbed printing business.

It supports:

  • Direct CMYK printing
  • White ink
  • Reverse printing
  • Multilayer graphics
  • Varnish
  • Signs
  • Awards
  • Photo products
  • Personalized gifts
  • Retail displays

For reliable results:

  • Identify the exact acrylic type.
  • Keep the protective film in place until necessary.
  • Use a safe cleaning method.
  • Control static and dust.
  • Measure the full product height.
  • Keep the acrylic flat and secure.
  • Prepare the correct ink layers.
  • Mirror reverse-printed artwork.
  • Run a nozzle check.
  • Print one sample.
  • Perform an adhesion test.
  • Save successful production settings.

Do not assume that every acrylic sheet, solvent, primer or UV ink behaves the same.

EraSmart provides compact and commercial UV printer solutions for acrylic signs, awards, displays, photo panels, keychains and other direct-to-object customization applications.


MAY BE YOU LIKE ALSO

  • EraSmart Printer

    uv printer
    DTF printer
    DTG printer
    Heat press machine
    Advertising printer

  • Printer tools

    DTF oven
    Hot Press
    Carving machine
    Mug heat transfer
    Laminating machine

  • Consumables

    Printing INK
    Cellphone case
    Glass product
    Cleaning fluid
    Cotton swab

  • Contact Us

    WhatsApp:+8618566233796
    WeChat: +8618566233796
    Mobile: +8618566233796
    Web:www.erasmart.com
    Shop:www.erasmartmall.com

  • Request A Quote

    Just provide a few details and we will help you get quick quotes!

    Need Printer Price?

    Tell us your printing needs. Our team will reply within 24 hours.