DTF Prin Process (Direct To Film Printing) – Guide 2022
December 1, 2021
DTF Printing Process (Direct To Film Printing) – Ultimate Guide 2022
Overview –
The market for digital textile printing has seen explosive growth over the past decade, as more and more people opt for digitalization of textile printing. Digital printers permits one to create simplicity, ease, performance as well as consistency and the most important thing is an incredible range of colors for textiles, making the entire process cost-effective and reliable. There are a variety of techniques that fall under the fabric printing process digitally. In this post, we’ll discuss the DTF printing (Direct to Film Printing) process.
Popular Textile Printing Processes –
- Digital Sublimation Printing
- Digital Textile Printing
- Direct To Film Printing
What is DTF Printing?
The DTF procedure is as easy in its process as the name implies – Printing on film, then directly transfer it onto fabric. The main thing that makes this method useful for more individuals is the ability to select almost any fabric. It doesn’t matter if it’s cotton, polyester silk, synthetic fibres such as rayon or Terrycot The DTF printing process is certain to make a difference on these fabrics.
Pre-requisites for DTF Printing –
The prerequisites for DTF printing are not requiring huge cost from the user. It could be someone who is currently working by one of these digital printing processes described above, and is looking to move towards DTF printing for the benefit of their business, or someone who wishes to explore digital textile printing, starting with DTF the user must invest in the following :
- Direct to Film Printer Direct to Film Printer These printers are usually referred to as DTF modified printers. They’re typically simple six-color ink tank printers, such as Epson L800 and L805, as well as L1800, among others. The reason that this line of printers was chosen is the fact that they work with six colors. This allows for a more convenient operation because they are able to use CMYK DTF inks are able to go into regular CMYK tanks while the tanks for LC and LM of the printer are full of White DTF dyes. Additionally, the rollers used to slide the pages are taken off to prevent from appearing as ‘linings’ that white paper printed onto the DTF film.
- Films PET films are utilized in the DTF printing. They differ from the ones used for screen printing. They are thicker at about 0.75mm and have better transfer properties. In the terminology that is used in the marketplace, they are commonly called DTF Transfer Films. They are offered with the forms of cut sheets (can be employed for small-scale usage) as well as roll forms (used in a commercial set-up). Another classification for PET film is the kind of peeling done following the transfer. In accordance with the degree of temperature the films are classified as hot peel film or cold peel type films.
- SoftwareThe software is a key component to the entire process. The characteristics of the print, the performance of the inks’ colors and the performance of the final print on the fabric following transfer are heavily influenced from the Software. To print DTF printing, it’s necessary to have an RIP program that is able to handle CMYK as well as White Colors. The color profile ink levels drop sizes and other elements that affect the best print outcome are all controlled by the DTF printing software.
- Hot-melt adhesive powder This DTF printing material is white and functions as an adhesive substance that bonds the pigments of printing to fibers within the fabric. There are several kinds of DTF hot melt powder which are described in microns. A suitable grade must be chosen based on the requirements.
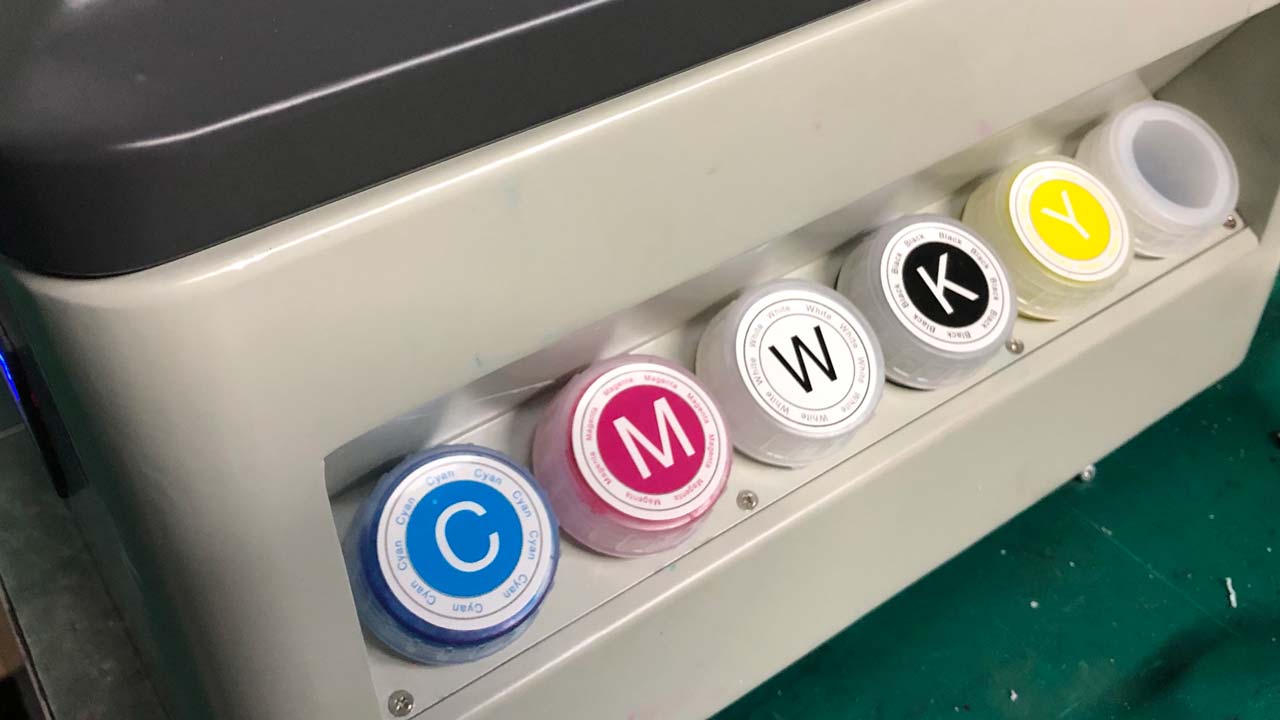
- printing inks DTF They are specially-designed pigment inks that are available for purchase in Cyan, Magenta, Yellow, Black and White colors. They are White Ink is a special component that creates the white background of the design film, and then the design of the color is printed.
- Automatic Powder Shaker It is an Automatic Powder Shaker is used in commercial DTF configurations to spread the powder evenly , and to get rid of any excess powder.
- Curing Oven Curing ovens are an industrial small oven employed to melt melt that is then sprayed on the transferred film. A heat press machine could be employed for this purpose, however it must be used in a non-contact mode.
- Heating Press MachineThe heat press machine is used to transfer images of the film into the material. It is also utilized to heat the melt powder onto the DTF film. The procedure to do this is described in the following procedure.
Direct to Film Printing (Basic Steps) –
Step 1 – Print on Film
Instead of regular paper, put the PET film into the tray for printing. Then print the entire image onto the PET film. Following this using the appropriate setting for the color of the device printer print out the desired image onto the white layer. One important thing to note is that the image printed on the film should reflect the actual image to be printed upon the material.
Step 2 – Powdering
This is the process of applying of hot-melt on the film with the image printed on it. This powder will be evenly applied when the image is damp and any excess powder has to be removed in a controlled manner. The most important thing is to make sure that powder evenly distributed all over the printed area of the paper. The most common way to do this is to place the film on its short edges, so that the long edges are parallel to the ground (landscape perspective) and then place the powder into between the top and bottom of the movie, so that it is a 1 inch thick layer at the center starting from top and ending at the bottom. Take the film and cover it with the powder and turn it to the side so that it creates an U shape with the concave side facing towards oneself. You can now shake this movie from right to left gently so that the powder gradually and evenly spread across the surface of your film. Alternatively, one can use automated shakers for commercial settings.
Third step – melting the powder
In the same way as in the name the powder melts during this process. It can be accomplished in a variety of ways. The most popular method is to place the film that has the image printed on it and the powder applied inside the Curing Oven and then heat. If the oven for curing is not available, then place the film in the heat press and bring the top plate of the press closer to the film, but not touching the film. There must be about 4-7 millimeters between your film and the the top plate. It is possible to use a metal wire to secure the top plate of the heat press to ensure that it does not completely cover the film but leaves a gap. To ensure the optimal outcomes, it is highly advised to follow the specifications of the manufacturer for the melting of powder. Depending on the type of powder and the equipment used the heating process is typically completed in between 2 and five minuteswith the temperature ranging from 160-170 degrees Celsius.
Step 4 – Pre-pressing
The process involves pre-pressing the material prior to the transfer of image to the film. The fabric is placed in the press and then it is heated to pressurize for between 2 and 5 minutes. This process is used to smooth the fabric as well as make sure that there is no dehumidification on the surface. Pre-pressing aids in the proper transmission of images from film into the cloth.
Step 5 – Transfer
This is at the heart that drives the DTF printing procedure. The PET film that contains the image as well as the melted powder is placed on the fabric that has been pre-pressed using a heat press to create solid adhesion between the fabric and the film. The process is also referred to as “curing”. The curing process is carried out at temperatures of 160 – 170 degrees Celsius over about 15 to 20 seconds. Film is fixed on the cloth.
Step 6 – Cold Peel
It is crucial that the fabric as well as the film now attached on it cool to room temperature before pulling the fabric off. Because the hot-melt has characteristics similar to amides when it cools it acts as a binder which keeps the color pigments within the inks and ensures an adsorbent bond with the fibers that make up the material. When the film has been cool, it needs to be removed from the fabric leaving the needed design in ink on the fabric.
Step 7 – Post-pressing
This is a non-essential step, but is highly recommended to get the highest performance and best results. aspects like wash and rub speed. In this stage the final fabric with the transfered design is made by pressing it in the heat press for about 10 to 15 minutes.
Pros and Cons of Direct to Film Printing–
Let’s discuss what are the DTF printing pros and pros.
Pros –
- Can be used with nearly all types of fabrics
- Does not require prior treatment
- The Fabrics that have been designed show excellent wash properties.
- The fabric has a very subtle touch of hand
- The process is quicker and less gruelling than DTG printing.
Cons –
- The texture of the printed areas may be a little softer in comparison to fabrics made by Sublimation printing
- In comparison to Sublimation print, vibrancy of color is a little lower.
Splashjet is currently offering premium DTF inks that can be used with the most popular DTF printers and Epson print heads like 4720, i3200, TX800, xp600 Mach1440, and more. The inks are flawless in appearance and color as well as fabric performance. Splashjet inks are renowned for their exceptional performance and color. Splashjet inks are known for their capability to bring forth the most subtle colors on light and dark colored fabrics. A special white will ensure the proper densities to the printed colors for optimal ink consumption.
In the end, the DTF process basically eliminates any restrictions commonly encountered in other printing techniques, especially when it comes to selecting the fabric to print. Since pretreatment is not necessary and in most cases the overall printing cost is brought down and thus resulting in a greater profit margin.
The printing of textiles is predicted to experience an enormous growth in the coming years with the advent of more textiles made through DTF are expected to be produced. In the end it is true that DTF printing is a DTF printing process could be thought of as an efficient method to create fabrics at a low cost.
Blog, News dtf film printer, dtf film printing, dtf film roll, dtf film sheets, dtf ink, dtf ink alibaba, dtf ink epson, dtf printer, dtg dtf, erasmart, erasmart a3, erasmart dtf, erasmart dtg, How to printing, how to printing money, how to printing press, Printer, printer machine, printing, printing t-shirts, uv dtf film printer, UV DTF printer, uv dtg printer, uv dtg printer transfer, uv ink, uv ink printing, uv printer, uv printing, uv printing machine, uv printing on glass


 Discover the Power of EraSmart’s A4 Roll DTF Printer L805
 EraSmart 6090 uv printer
 The Ultimate Guide to Direct-to-Film Transfer Printers: Choose the Best DTF Printer for Your Business